Hexo-GitHub部署魔改第一步-config
Hexo-GitHub部署魔改第一步_config.yml
1. config.yml
# Hexo Configuration
## Docs: https://hexo.io/docs/configuration.html
## Source: https://github.com/hexojs/hexo/

# Site
# 設置博客的標題
title: Your Blog Title
# 子標題,可選
subtitle: 'xxxxx'
# 博客的描述,可選
description: ''
# 關鍵詞,可選
keywords:
# 作者信息
author: Your Name
# 博客語言
language: en
# 時區
timezone: ''

# URL
## 設置你的博客網址。例如,如果你使用GitHub Page,將url設置為 'https://username.github.io/project'
url: https://your-blog-url.com
# 文章的永久鏈接結構
permalink: :year/:month/:day/:title/
permalink_defaults:
# 是否使用美化的URL(去除.html和index.html)
pretty_urls:
  trailing_index: true # 設置為false以刪除永久鏈接中的'index.html'
  trailing_html: true # 設置為false以刪除永久鏈接中的'.html'

# Directory
# 源文件夾
source_dir: source
# 公共文件夾
public_dir: public
# 標簽文件夾
tag_dir: tags
# 存檔文件夾
archive_dir: archives
# 分類文件夾
category_dir: categories
# 代碼文件夾
code_dir: downloads/code
# 國際化文件夾
i18n_dir: :lang
skip_render:

# Writing
# 新文章的文件名格式
new_post_name: :title.md # 新文章的文件名為標題
# 默認布局
default_layout: post
# 標題是否轉換為標題樣式
titlecase: false # 不將標題轉換為標題樣式
external_link:
  enable: true # 在新標簽頁中打開外部鏈接
  field: site # 應用于整個站點
  exclude: ''
# 文件名大小寫
filename_case: 0
# 渲染草稿
render_drafts: false
# 文章的附件文件夾
post_asset_folder: true
# 相對鏈接
relative_link: false
# 未來文章
future: true
highlight:
  enable: true
  line_number: true
  auto_detect: false
  tab_replace: ''
  wrap: true
  hljs: false
prismjs:
  enable: false
  preprocess: true
  line_number: true
  tab_replace: ''

# Home page setting
# 首頁設置
# 路徑:博客首頁的根路徑(默認為空)
# 每頁顯示的文章數(0 = 禁用分頁)
# 文章的排序方式(默認按日期降序)
index_generator:
  path: ''
  per_page: 10
  order_by: -date

# Category & Tag
# 默認分類
default_category: uncategorized
category_map:
tag_map:

# Metadata elements
## https://developer.mozilla.org/en-US/docs/Web/HTML/Element/meta
# 元數據生成器
meta_generator: true

# Date / Time format
## Hexo 使用 Moment.js 來解析和顯示日期
## 你可以按照定義的格式自定義日期格式
date_format: YYYY-MM-DD
time_format: HH:mm:ss
## updated_option 支持 'mtime', 'date', 'empty'
updated_option: 'mtime'

# Pagination
## 設置每頁顯示的文章數,設置為0以禁用分頁
per_page: 12
pagination_dir: page

# Include / Exclude file(s)
## include:/exclude: 選項僅適用于'source/'文件夾
include:
exclude:
ignore:

# Extensions
## 插件: https://hexo.io/plugins/
## 主題: https://hexo.io/themes/
theme: vivia

# Deployment
## Docs: https://hexo.io/docs/one-command-deployment
deploy:
	type: git
##git: 這個字段指定了部署的類型,這里設置為git,表示你將使用Git作為部署工具。
	repository: git@github.com:Username/Username.github.io.git
## 這個字段指定了你的博客部署到的Git倉庫的地址。在這里,你將博客部署到了GitHub上的
	branch: main
## 分支,這里和github上面是對應的。 這個字段指定了要將博客部署到哪個Git分支。在這里,博客將被部署到main分支。
2. 基礎修改
圖2.1 git地址:
主題修改:
theme,我是用的是hexo的vivia。 https://hexo.io/themes/

部署設置:
deploy,按照上面的含義進行修改,
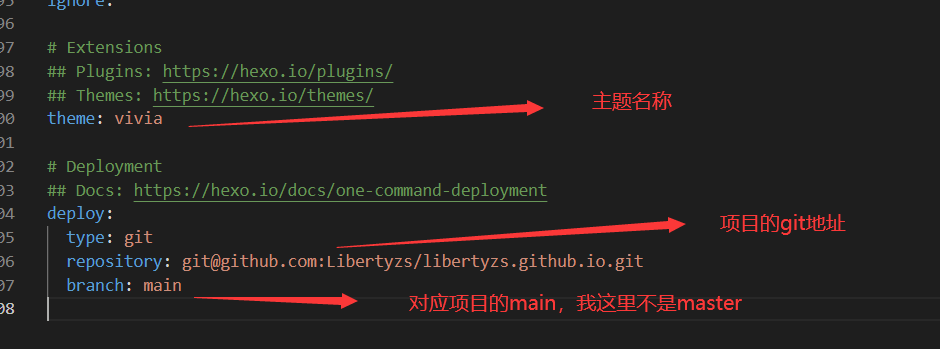
圖2.2 分頁數:
設置 6 的倍數。

## 設置每頁顯示的文章數,設置為0以禁用分頁
per_page: 12
pagination_dir: page
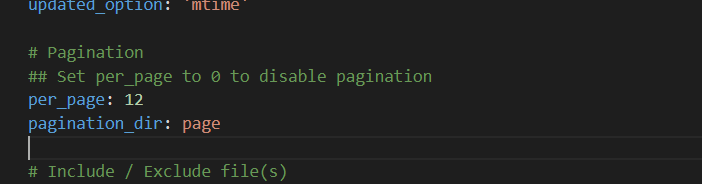
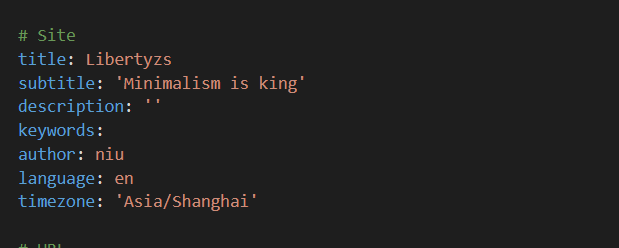
圖2.3 基礎信息:
# Site
# 設置博客的標題
title: Your Blog Title
# 子標題,可選
subtitle: 'xxxxx'
# 博客的描述,可選
description: ''
# 關鍵詞,可選
keywords:
# 作者信息
author: Your Name
# 博客語言
language: en
# 時區
timezone: ''
3. 主題vivia配置文件
對修改部分進行中文注釋
# Header
menu:
Home: /
Archives: /archives
About: /about
rss: /atom.xml
home:
style: default # default, detail
## 這里home頁有兩種設置:default:文章內容不展開。 detail:文章內容展開 (僅個人測試發現內容,勿噴)
favicon:
## 瀏覽器標簽頁的網站圖標
# Banner 我的主題的背景圖
banner:
enable: true # Display banner:是否開啟,我這里開啟
url: images/icon/banner.jpg
## 背景圖片位置,這里在source目錄下創建了一個images,并在里面放自己的圖片。友情提示:放在source里面,不會被clean掉,蘇鷗翼放心把一些靜態資源放在這里,不過放的太多會影響部署速度。我這里只放了網站需要的幾張圖片
position: center
onAllPages: true # 是否所有的頁面均顯示背景圖片
# Appearence
hue: 135 # 主題顏色,修改數值進行修改
# Sidebar
sidebar:
widgets: # Plugins to be enabled (profile, category, tag, archive, recent_posts)
normal: # Scroll along with the page
- profile
sticky: # Stick to the top of the page
- category
- tag
- archive
- recent_posts
# Widget behavior
archive_type: 'monthly'
recent_posts_limits: 5
categories:
max_depth: # Maximum depth of categories displayed in the widget (null for unlimited)
# Personal info
avatar: images/icon/icon_t2.jpg
## 圖像照片,和上面的 brnner -url一樣
author: Liberty
subtitle: Java Adventure
links:
- name: Twitter
icon: fa-brands fa-twitter # Find icon codes at https://fontawesome.com/search
url: https://twitter.com
- name: Steam
icon: fa-brands fa-steam
url: https://store.steampowered.com
- name: GitHub
icon: fa-brands fa-github
url: https://github.com
comment:
valine:
enable: true ## 評論
appId:
appKey:
placeholder: Just go go
pageSize: 10
highlight: true ##高亮顯示
serverURLs:
# Other supported parameters can be added here if needed
# Visit https://valine.js.org/configuration.html for more details
#Analytics
gauges_analytics: true ## 選開
google_analytics: true #UA-xxxxxx
baidu_analytics: true # ddxxxxxxxxxxxxxxxxx In the https://hm.baidu.com/hm.js? Afterwards
#Copyright
copyright: #<a target="_blank" rel="noopener" style="margin-inline:5px" title="本站采用知識共享署名-非商業性使用-相同方式共享4.0國際許可協議進行許可"><img src="https://img.shields.io/badge/Copyright-BY--NC--SA%204.0-d42328?style=flat&logo=Claris"></a>
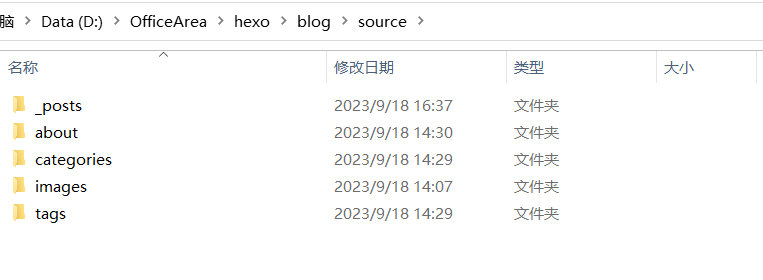
4.source文件夾操作
source文件內容在hexo clean時,不會被刪除可以存放一些靜態資源
typora圖片導入
命令安裝
npm install hexo-asset-img --save
或
cnpm install hexo-asset-img --save
或
npm install https://github.com/CodeFalling/hexo-asset-image --save
修改項目的 _config.yml配置
post_asset_folder: true
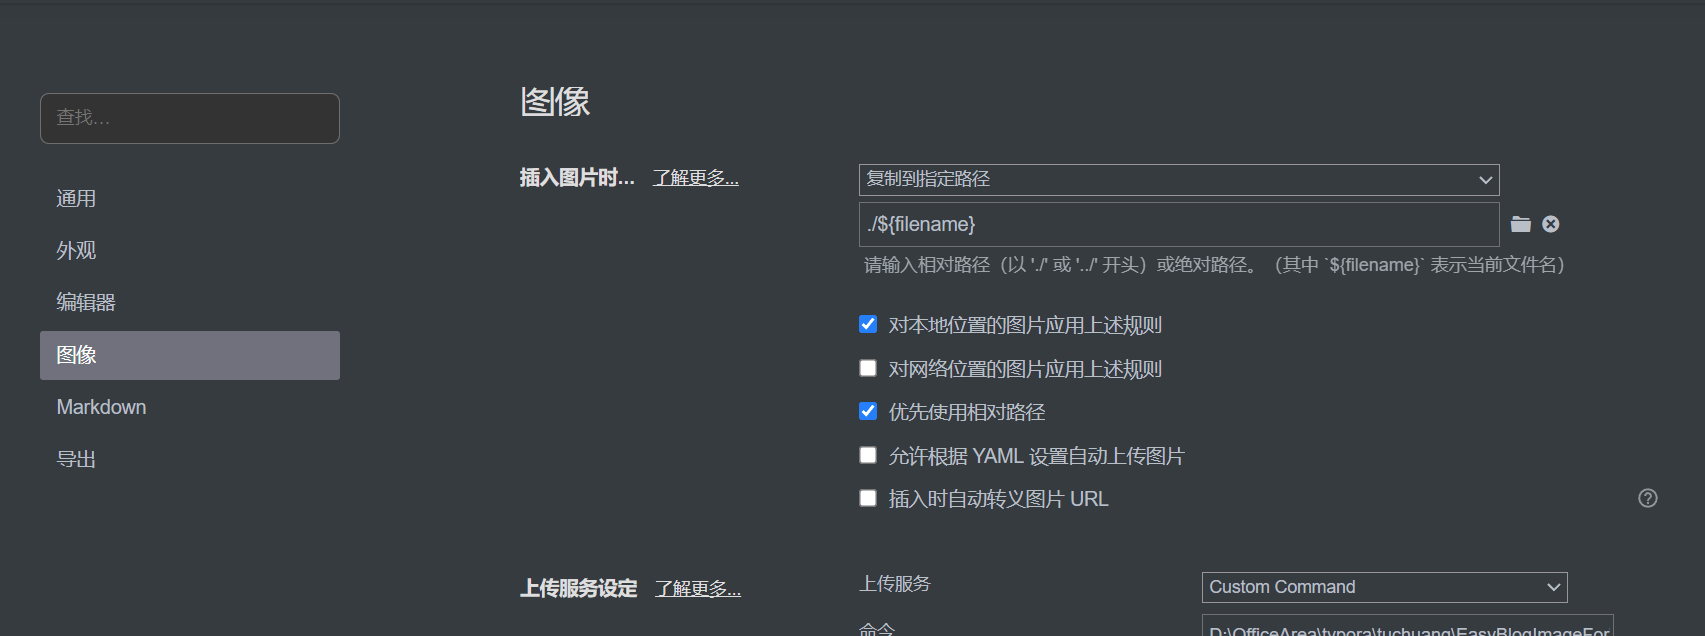
typora圖像設置:如圖4.2設置
使用方法:
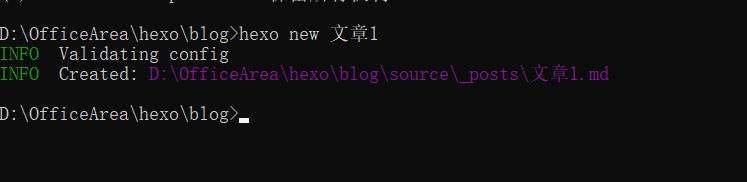
在hexo的根目錄下輸入 hexo new 文章名:如圖4.3
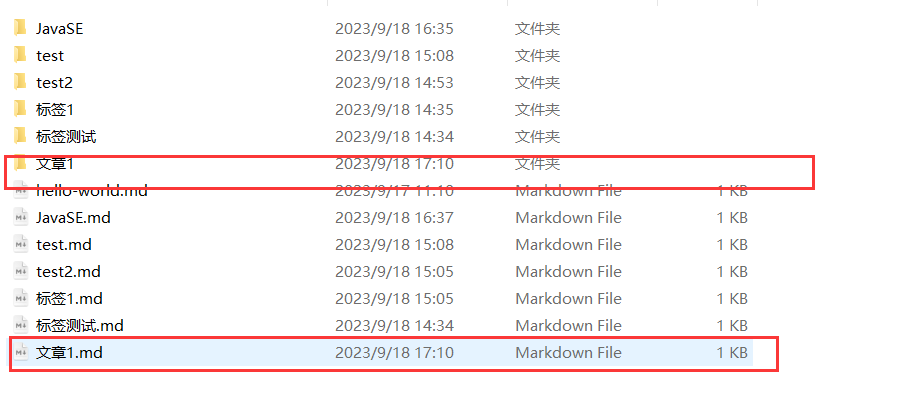
效果展示:使用成功后,會在_posts目錄下生成一個md文章和一樣名稱的文件夾。
該文件夾用于存放你文章中的圖片,也就是我們之前在typora中設置的./${filename}。
上傳成功后,就可以成功在博客中顯示
文章分類
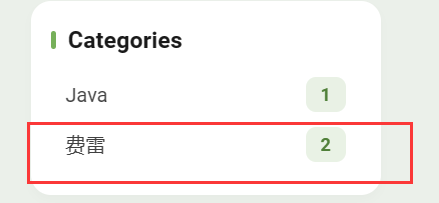
命令成功后會出現圖4.1 中的categories
hexo new page categories ## 創建分類屬性
成功回顯:
INFO Created: ~/blog/source/categories/index.md
修改categories目錄下index.md內容如下:
---
title: 文章分類
date: 2023-09-27 13:47:40
type: "categories"
---
到這里就設置成功了
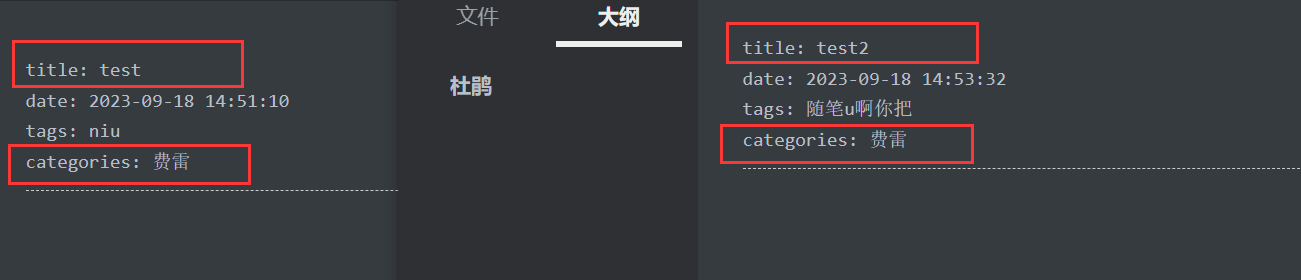
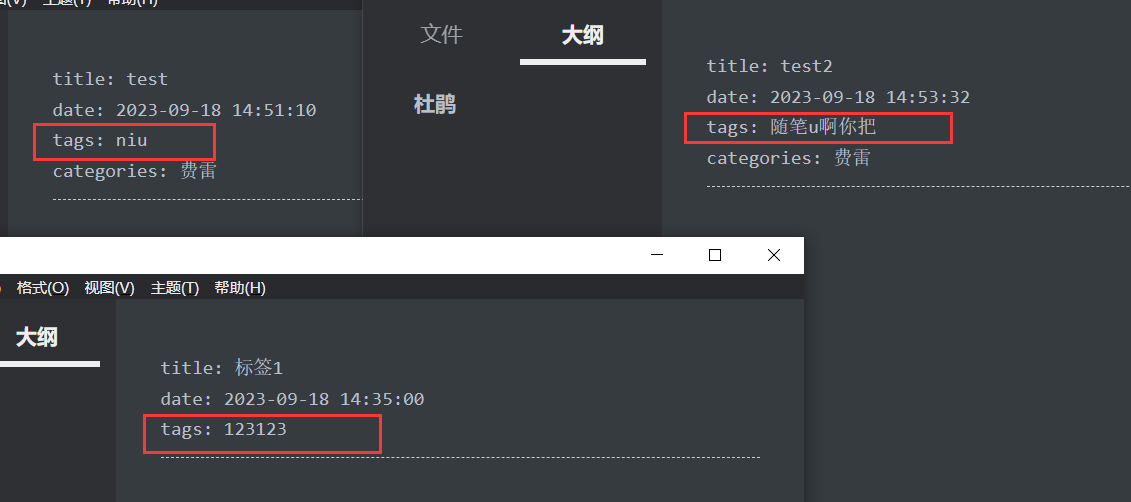
使用方法:圖4.2 中test 和test2 中添加了categories屬性,并設置內容費雷,那么這兩篇文章就是一個類別下面的
# 這是默認的寫法,給文章添加一個分類。
categories: 123
# 這會將文章分類123/456子分類目錄下。
categories: [123, 456]
這會將文章分類到123/456子分類目錄下。
categories:
   - 123
   - 456
多標簽寫法,文章被分類到123、456以及123的自分類789這3個分類下面,官方指定寫法。
categories:
   - [123]
   - [456]
   - [123, 789]
效果展示:
圖4.3 為文章分類效果展示,這里可以看到費雷里面有兩篇文章,實現了分類。
文章標簽
命令成功,實現圖4.1中的tags
hexo new page tags
成功回顯:
INFO Created: ~/blog/source/tags/index.md
修改tags目錄下index.md內容如下:
---
title: 文章標簽
date: 2023-09-27 13:47:40
type: "tags"
---
到這里就設置成功
使用方法:如圖4.4 設置tags屬性,并添加標簽
tags:
  - 123
  - 456
tags: [123, 456]
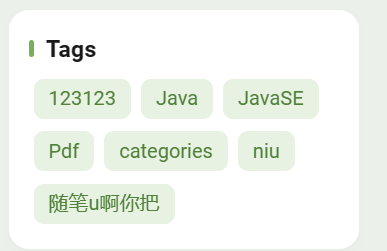
效果展示:圖4.5 顯示了所有文章的標簽
靜態圖片
如圖4.1 我在source下創建了images目錄,并在里面放置了靜態資源(圖片)。并且在主題配置文件中,直接使用路徑然后就可以訪問到這個靜態資源圖片,并且在后續使用hexo clean 也不會刪除這個資源。
pdf設置
命令:
npm install --save hexo-pdf
或
cnpm install --save hexo-pdf
修改項目的 _config.yml配置
post_asset_folder: true
正常創建文章(在hexo根目錄下):如圖:
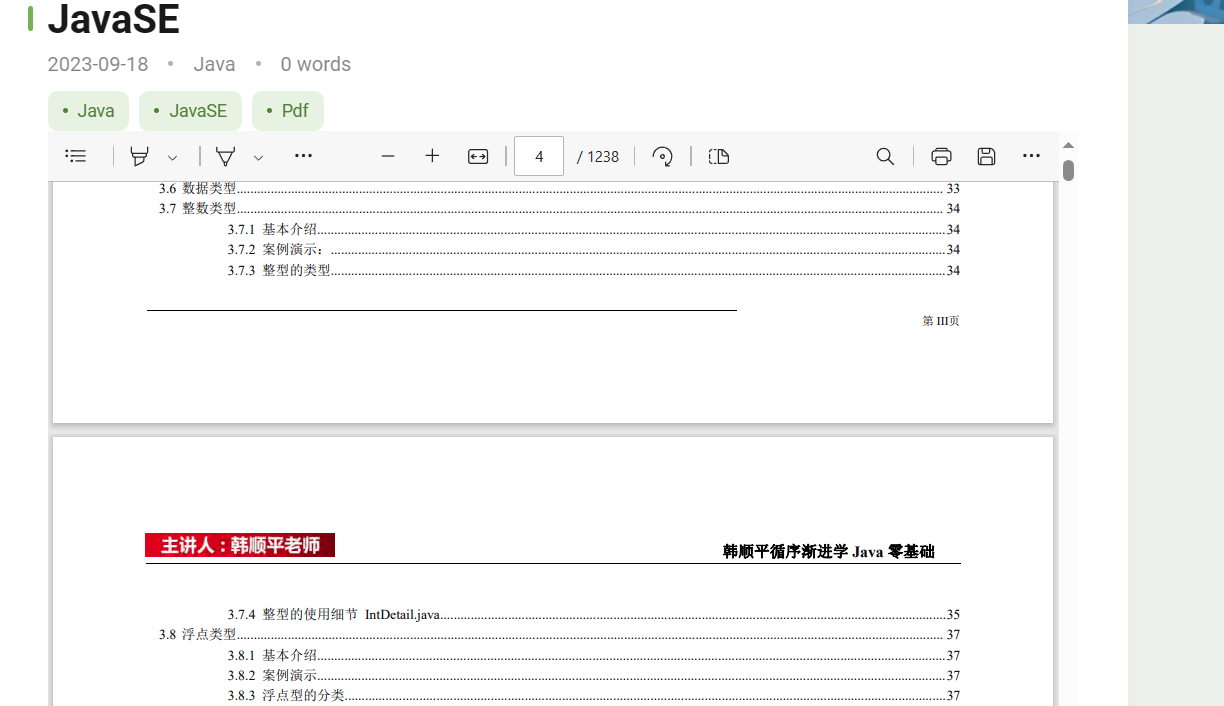
hexo new JavaSE
生成md 和文件夾
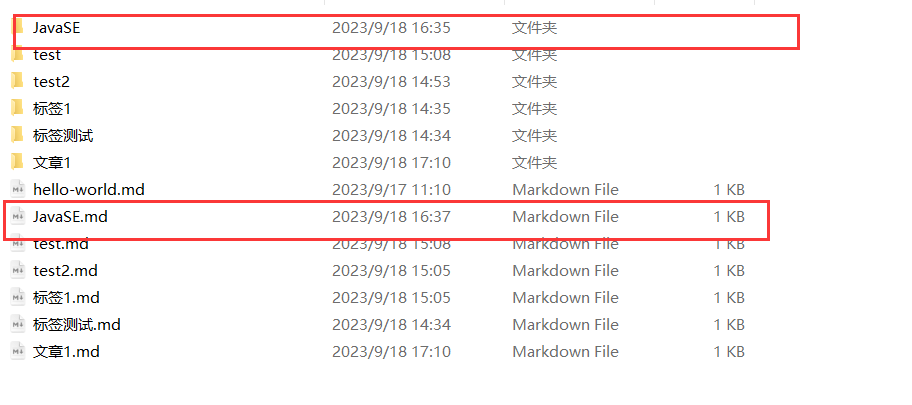
md文檔內容設置
<!-- 在線顯示PDF -->  <!-- 第一種方式,可調整pdf顯示的大小,比較靈活 -->

<embed src="./java.pdf" width="100%" height="750" type="application/pdf">

 <!-- 第二種方式 --> <!-- {% pdf ./java.pdf %} -->
文件夾下設置:如圖4.10
這里的內容在md與md 文章中src的需要一致
效果展示:如圖4.11
本文來自博客園,作者:Liberty碼農志,轉載請注明原文鏈接:http://www.rzrgm.cn/zhiliu/p/18427622

 浙公網安備 33010602011771號