
Word-通過宏格式化文檔中的表格和圖片
1、打開Word文檔,找到”視圖“,然后點擊”宏“。

2、創建宏腳本。
Sub A表格格式化()
    On Error Resume Next
    Application.ScreenUpdating = False
    Dim tbl As Table, cell As cell
    Dim counter As Integer: counter = 1
    Dim response As VbMsgBoxResult
    Dim r As Long, c As Long

    ' 遍歷文檔中所有表格
    For Each tbl In ActiveDocument.Tables

        ' --- 核心設置 ---
        ' 設置表格寬度
        tbl.PreferredWidthType = wdPreferredWidthPercent      ' 寬度度量單位:百分比
        tbl.PreferredWidth = 98                               ' 百分比
        tbl.AllowAutoFit = False

        ' 設置表格所在段落的行距
        tbl.Range.ParagraphFormat.LineSpacingRule = wdLineSpaceSingle
        tbl.Range.ParagraphFormat.SpaceBefore = 0
        tbl.Range.ParagraphFormat.SpaceAfter = 0

        ' 設置表格整體對齊
        tbl.Rows.Alignment = wdAlignRowCenter

        ' --- 邊框設置(支持合并單元格)---
        With tbl.Borders
            .Enable = True
            .OutsideLineStyle = wdLineStyleSingle
            .OutsideLineWidth = wdLineWidth050pt
            .InsideLineStyle = wdLineStyleSingle
            .InsideLineWidth = wdLineWidth050pt
        End With

        ' --- 逐個單元格處理(避免合并單元格錯誤)---
        For r = 1 To tbl.Rows.Count
            For c = 1 To tbl.Columns.Count
                ' 跳過合并單元格中的重復單元格
                If tbl.cell(r, c).rowIndex = r And tbl.cell(r, c).ColumnIndex = c Then

                    With tbl.cell(r, c)
                        ' 設置單元格垂直對齊
                        .VerticalAlignment = wdCellAlignVerticalCenter

                        ' 設置段落水平對齊
                        .Range.ParagraphFormat.Alignment = wdAlignParagraphCenter

                        ' 設置字體
                        .Range.Font.Name = "宋體"
                        .Range.Font.NameFarEast = "宋體"
                        .Range.Font.Size = 10.5
                        .Range.Font.Color = RGB(0, 0, 0)

                        ' 設置首行格式
                        If r = 1 Then
                            .Range.Font.Bold = True
                            .Shading.BackgroundPatternColor = RGB(242, 242, 242)
                        Else
                            .Range.Font.Bold = False
                            .Shading.BackgroundPatternColor = wdColorAutomatic
                        End If
                    End With

                End If
            Next c
        Next r

        ' --- 設置行高 ---
        ' 單獨處理每行,避免合并單元格影響
        For r = 1 To tbl.Rows.Count
            On Error Resume Next
            tbl.Rows(r).Height = CentimetersToPoints(0.8)  ' 調整為0.8厘米,更緊湊
            tbl.Rows(r).HeightRule = wdRowHeightAtLeast
        Next r

        ' --- 每20個表格提示一次 ---
        If counter Mod 20 = 0 Then
            response = MsgBox("已處理第 " & counter & " 個表格" & vbNewLine & _
                              "點擊【確定】繼續,【取消】中止", _
                              vbOKCancel + vbInformation, "批量進度提示")

            If response = vbCancel Then
                Application.ScreenUpdating = True
                MsgBox "操作已中止!共完成 " & (counter - 1) & " 個表格", vbExclamation, "表格樣式設置"
                Exit For
            End If
        End If
        counter = counter + 1

    Next tbl

    ' 收尾處理
    Application.ScreenUpdating = True
    If response <> vbCancel Then
        MsgBox "表格設置已完成!" & vbCrLf & vbCrLf & _
               "所有表格已設置為頁面寬度、居中對齊" & vbCrLf & _
               "支持合并單元格的復雜表格" & vbCrLf & vbCrLf & _
               "共處理 " & (counter - 1) & " 個表格", _
               vbInformation, "表格樣式設置"
    End If
End Sub


'' 厘米轉磅函數(1厘米=28.35磅)
Function CentimetersToPoints(ByVal cm As Single) As Single
    CentimetersToPoints = cm * 28.35
End Function


Sub B圖片格式化()
    ' 聲明變量
    Dim shp As Shape
    Dim ilshp As InlineShape
    Dim pageWidth As Single
    Dim leftMargin As Single
    Dim rightMargin As Single
    Dim usableWidth As Single

    ' 關閉屏幕更新以提高宏運行速度
    Application.ScreenUpdating = False

    ' 設置錯誤處理,跳過無法處理的圖片
    On Error Resume Next

    ' 計算頁面可用寬度(點數)
    With ActiveDocument.PageSetup
        pageWidth = .pageWidth
        leftMargin = .leftMargin
        rightMargin = .rightMargin
    End With

    ' 計算可用寬度 = 頁面寬度 - 左邊距 - 右邊距
    usableWidth = pageWidth - leftMargin - rightMargin

    ' 第一部分:處理嵌入型圖片(InlineShapes)
    For Each ilshp In ActiveDocument.InlineShapes
        If ilshp.Type = wdInlineShapePicture Or ilshp.Type = wdInlineShapeLinkedPicture Then
            ' 設置圖片寬度為頁面可用寬度
            ilshp.Width = usableWidth
            ' ★ 新增:取消首行縮進并設置居中對齊
            With ilshp.Range.ParagraphFormat
                .CharacterUnitFirstLineIndent = 0    ' 取消字符單位首行縮進
                .FirstLineIndent = 0                 ' 取消磅單位首行縮進
                .Alignment = wdAlignParagraphCenter   ' 段落后中包括圖片
            End With
        End If
    Next ilshp

    ' 第二部分:處理浮動型圖片(Shapes)
    For Each shp In ActiveDocument.Shapes
        If shp.Type = msoPicture Or shp.Type = msoLinkedPicture Then
            ' 鎖定縱橫比,設置寬度為頁面可用寬度
            shp.LockAspectRatio = msoTrue
            shp.Width = usableWidth
            ' ★ 新增:通過錨定段落取消首行縮進并居中對齊
            If Not shp.Anchor Is Nothing Then
                With shp.Anchor.ParagraphFormat
                    .CharacterUnitFirstLineIndent = 0
                    .FirstLineIndent = 0
                    .Alignment = wdAlignParagraphCenter
                End With
            End If
        End If
    Next shp

    ' 完成提示(更新提示文本)
    MsgBox "圖片設置已完成!" & vbCrLf & vbCrLf & _
           "所有圖片已設置為頁面寬度、居中對齊,并取消首行縮進。", _
           vbInformation, "圖片樣式設置"

    ' 重新開啟屏幕更新
    Application.ScreenUpdating = True
End Sub
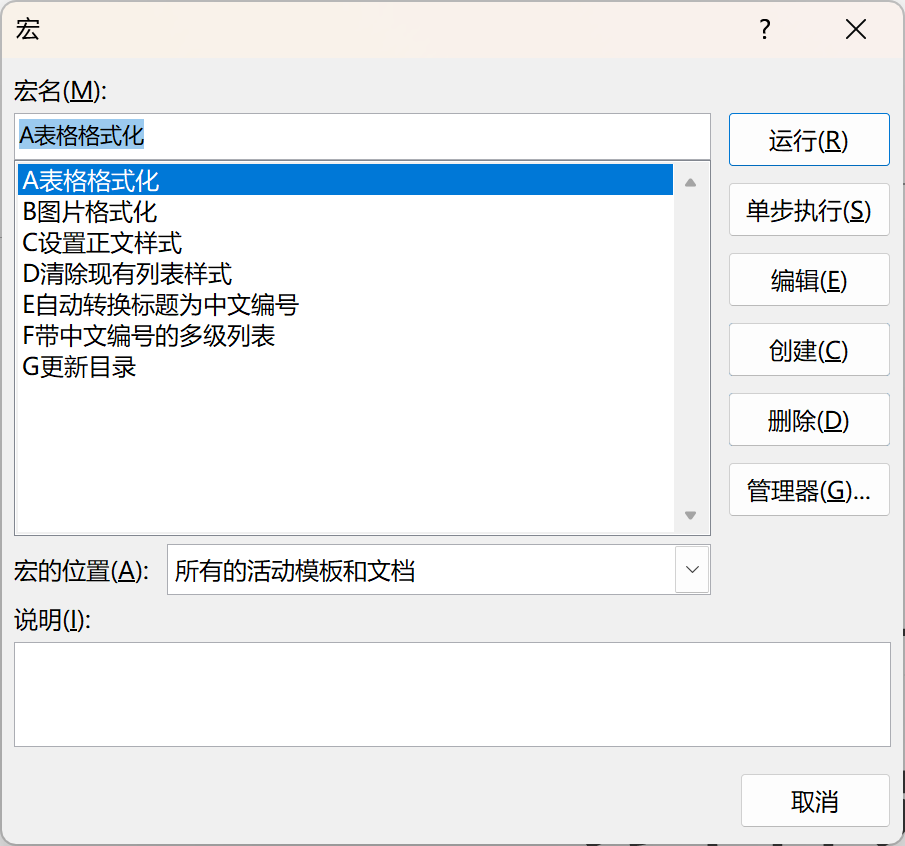
3、運行宏腳本,選中"A表格格式化",點擊”運行“ 按鈕,即可格式化表格。
執行完成后,彈出對話框。

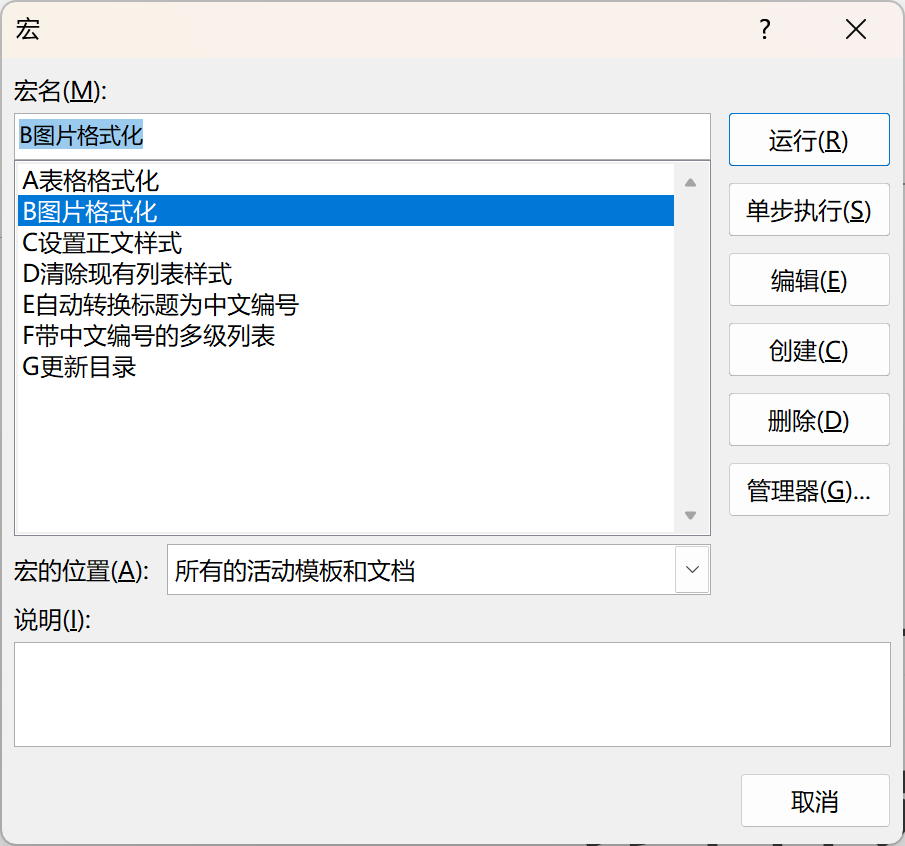
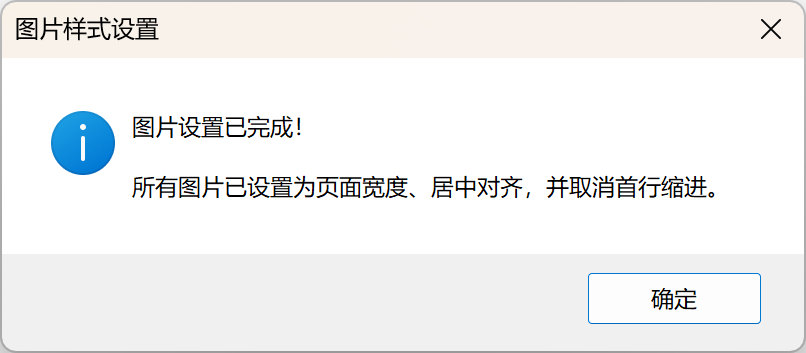
4、運行宏腳本,選中"B圖片格式化",點擊”運行“ 按鈕,即可格式化圖片。
執行完成后,彈出對話框。
本文來自博客園,作者:業余磚家,轉載請注明原文鏈接:http://www.rzrgm.cn/yeyuzhuanjia/p/19108805

 浙公網安備 33010602011771號