
labelImg安裝、設置顏色、打包成exe
本文實現了兩個功能:
- 打包的labelImg.exe自動識別同目錄的data/predefined_classes.txt,請標注前定義好具體的標簽。
- 選擇圖像目錄后,自動復制上述的predefined_classes.txt到圖像目錄,并重命名為classes.txt,避免了自己拷貝。
需要python3.9,不建議更高版本。
0、創建python3.9環境
conda create --name=labelImg python=3.9
conda activate labelImg
1、安裝labelImg
pip install labelimg -i https://pypi.tuna.tsinghua.edu.cn/simple
2、設置顏色

shape.py
DEFAULT_LINE_COLOR = QColor(255, 0, 0, 255)
DEFAULT_FILL_COLOR = QColor(0, 0, 0, 0)
DEFAULT_SELECT_LINE_COLOR = QColor(255, 0, 0)
DEFAULT_SELECT_FILL_COLOR = QColor(255, 0, 0, 0)
DEFAULT_VERTEX_FILL_COLOR = QColor(255, 0, 0, 255)
DEFAULT_HVERTEX_FILL_COLOR = QColor(255, 100, 100,255)
utils.py,這個可以不改顏色。

打開看下效果,先刪除 C:\Users\YourAccount\.labelImgSettings.pkl,重新打開labelImg
2種打開方式:
- 終端里直接輸入labelImg,回車
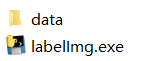
- 如下目錄雙擊labelImg.exe

3、打包exe
安裝pyinstaller
pip install pyinstaller
進入目錄
cd /d D:\miniconda3\envs\labelImg\Lib\site-packages\labelImg
修改labelImg.py文件,在文件末尾
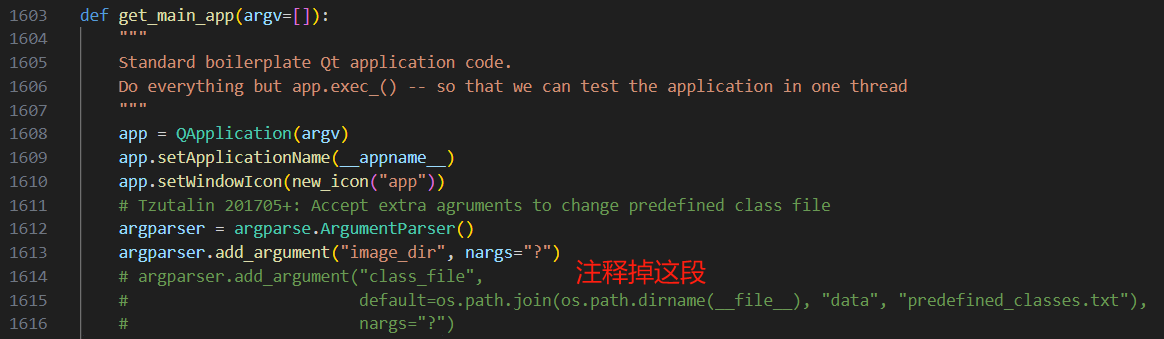
替換為下述代碼
    if getattr(sys, 'frozen', False):
    # 打包環境下使用可執行文件同目錄的data/predefined_classes.txt
        default_class_file = os.path.join(os.path.dirname(sys.executable), "data", "predefined_classes.txt")
    else:
    # 開發環境下使用原始路徑
        default_class_file = os.path.join(os.path.dirname(__file__), "data", "predefined_classes.txt")

    argparser.add_argument("class_file",
                        default=default_class_file,
                        nargs="?",
                        help="Path to the predefined classes file")
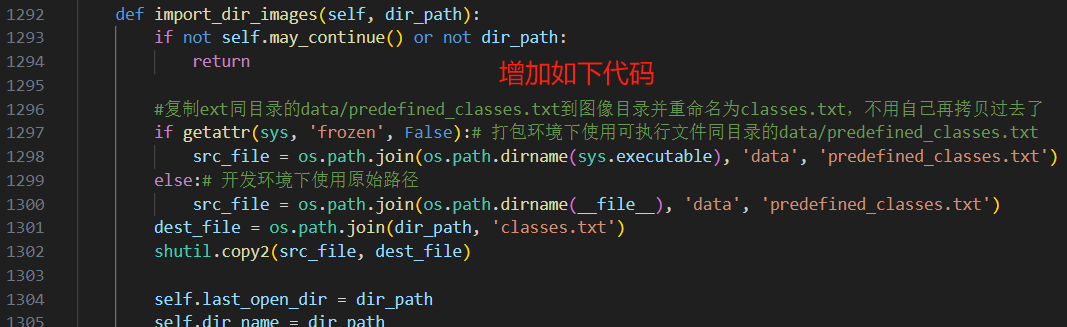
        #復制exe同目錄的data/predefined_classes.txt到圖像目錄并重命名為classes.txt,不用自己再拷貝過去了
        if getattr(sys, 'frozen', False):# 打包環境下使用可執行文件同目錄的data/predefined_classes.txt
            src_file = os.path.join(os.path.dirname(sys.executable), 'data', 'predefined_classes.txt')
        else:# 開發環境下使用原始路徑
            src_file = os.path.join(os.path.dirname(__file__), 'data', 'predefined_classes.txt')
        dest_file = os.path.join(dir_path, 'classes.txt')
        shutil.copy2(src_file, dest_file)
打包,--windowed不帶小黑窗口
pyinstaller --onefile --windowed labelImg.py
得到的exe可以放到其他地方,使用時請先編輯好data/predefined_classes.txt

 浙公網安備 33010602011771號