
在瀏覽器播放多個視頻 opencv+Nicegui
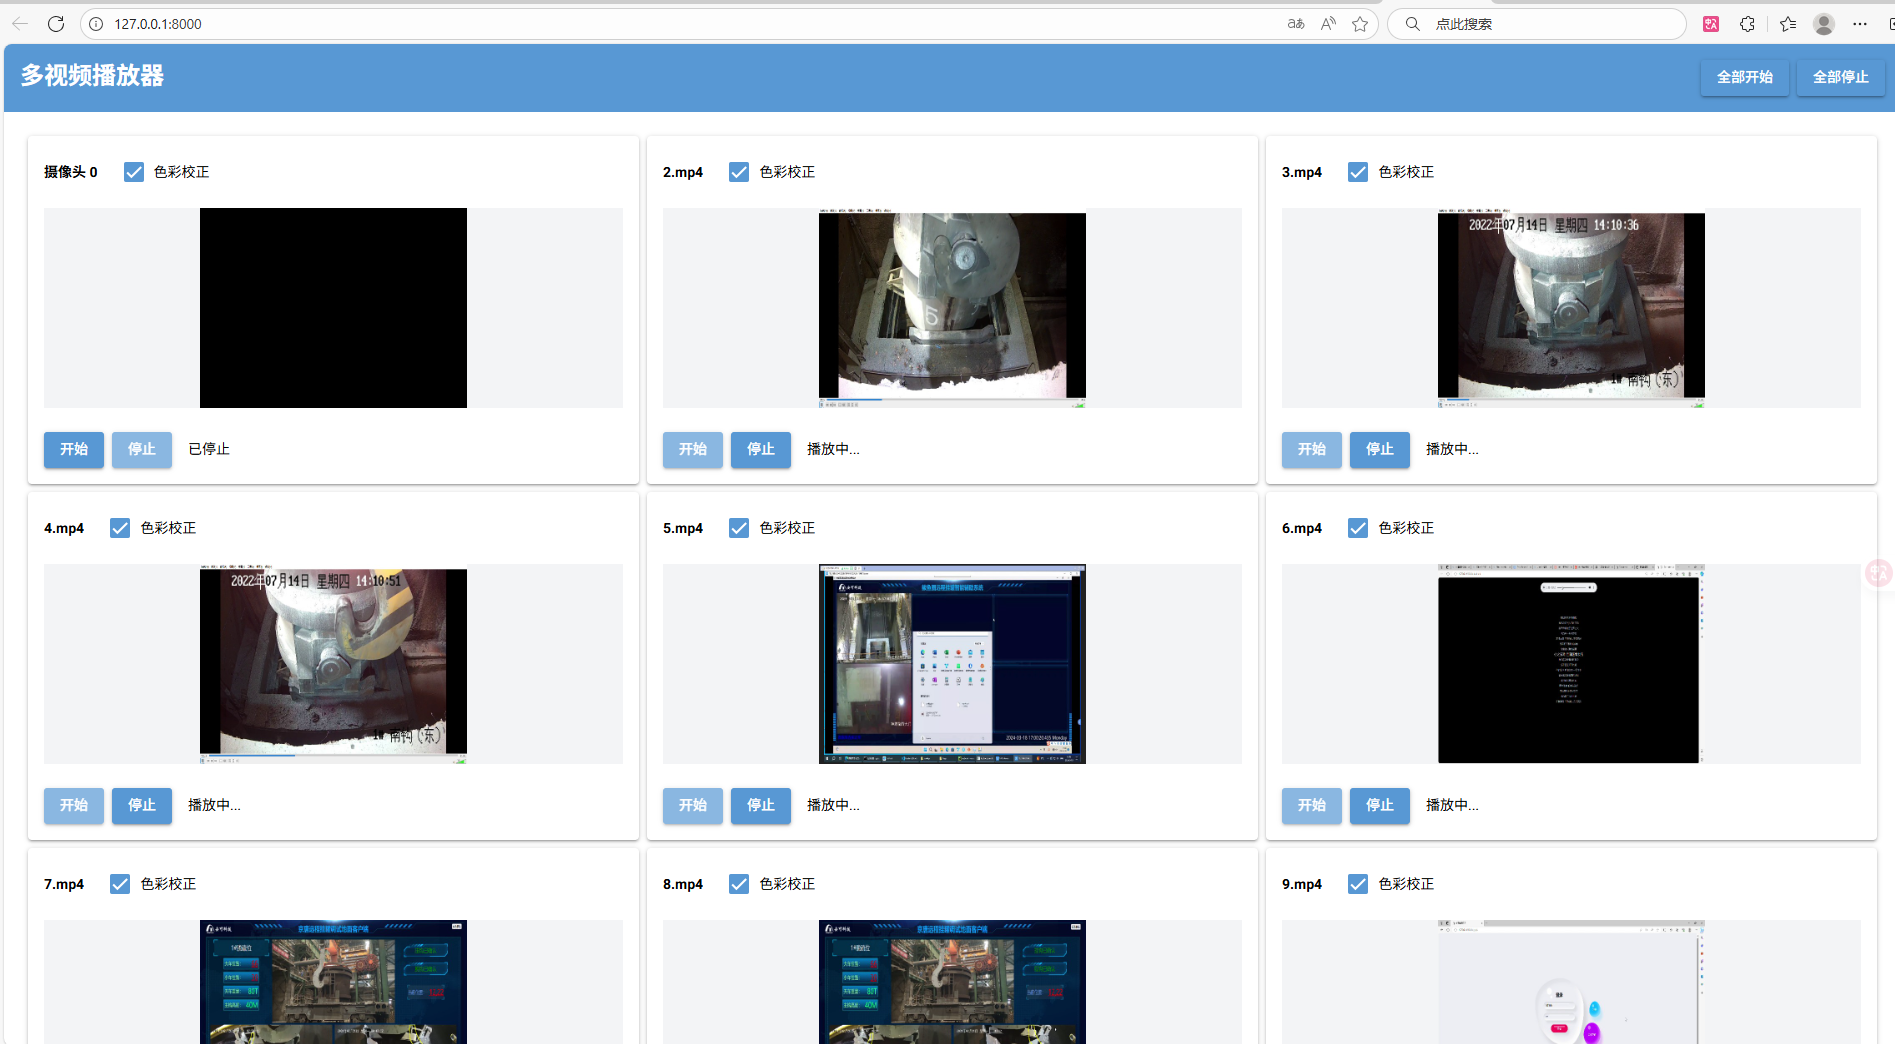
效果圖
代碼:
from nicegui import ui, native
import cv2
import numpy as np
import base64
import time
import threading
import os

class VideoStream:
  """單個視頻流管理類"""
  def __init__(self, video_source, viewer):
      self.video_source = video_source
      self.viewer = viewer
      self.cap = None
      self.is_playing = False
      self.target_fps = 10
      self.timer = None

      # 雙緩沖機制
      self.current_frame = None
      self.next_frame = None
      self.frame_ready = False
      self.last_frame_time = 0

      # 色彩校正參數
      self.color_correction_enabled = True

      # UI組件
      self.image = None
      self.start_btn = None
      self.stop_btn = None
      self.status_label = None
      self.color_checkbox = None

      # 視頻信息
      self.is_file = isinstance(video_source, str)
      self.video_name = os.path.basename(video_source) if self.is_file else f'攝像頭 {video_source}'

      # 線程安全鎖
      self.lock = threading.RLock()

  def create_ui(self, parent_container):
      """為單個視頻流創建UI組件"""
      with parent_container:
          with ui.card().classes('w-full h-full flex flex-col'):
              header = ui.row().classes('justify-between items-center')
              with header:
                  ui.label(self.video_name).classes('font-semibold')
                  self.color_checkbox = ui.checkbox('色彩校正', value=True,
                      on_change=lambda e: setattr(self, 'color_correction_enabled', e.value))

              # 視頻顯示區域
              with ui.column().classes('flex-1 justify-center items-center bg-gray-100'):
                  self.image = ui.interactive_image().classes('max-w-full max-h-[200px]')

              # 控制區域
              with ui.row().classes('justify-between items-center mt-2'):
                  control_buttons = ui.row().classes('gap-2')
                  with control_buttons:
                      self.start_btn = ui.button('開始', on_click=lambda: self.start())
                      self.stop_btn = ui.button('停止', on_click=lambda: self.stop())
                      self.stop_btn.disable()

                  self.status_label = ui.label('就緒').classes('text-sm')

  def start(self):
      """開始播放視頻"""
      if self.is_playing:
          return

      with self.lock:
          self.cap = cv2.VideoCapture(self.video_source)

          # 配置攝像頭/視頻屬性
          self.cap.set(cv2.CAP_PROP_FRAME_WIDTH, 640)
          self.cap.set(cv2.CAP_PROP_FRAME_HEIGHT, 480)
          self.cap.set(cv2.CAP_PROP_FPS, self.target_fps)

          if not self.cap.isOpened():
              if self.is_file:
                  self.status_label.set_text(f'無法打開視頻文件: {self.video_name}')
              else:
                  self.status_label.set_text(f'無法打開攝像頭 {self.video_source}')
              return

          self.is_playing = True
          self.start_btn.disable()
          self.stop_btn.enable()
          self.status_label.set_text('播放中...')

          # 使用timer更新視頻幀
          self.last_frame_time = time.time()
          self.timer = ui.timer(interval=1/self.target_fps, callback=self.update_frame)

  def stop(self):
      """停止播放視頻"""
      with self.lock:
          self.is_playing = False

          if self.timer:
              self.timer.cancel()
              self.timer = None

          if self.cap:
              self.cap.release()
              self.cap = None

          self.start_btn.enable()
          self.stop_btn.disable()
          self.status_label.set_text('已停止')

          # 顯示黑色幀
          black_frame = np.zeros((480, 640, 3), dtype=np.uint8)
          self._update_ui(black_frame)

  def update_frame(self):
      """更新視頻幀"""
      if not self.is_playing or not self.cap or not self.cap.isOpened():
          self.stop()
          return

      # 獲取一幀
      ret, frame = self.cap.read()

      # 對于視頻文件,如果播放結束則循環播放
      if not ret:
          if self.is_file:
              # 重新打開視頻文件以循環播放
              self.cap.release()
              self.cap = cv2.VideoCapture(self.video_source)
              ret, frame = self.cap.read()
              if not ret:
                  self.status_label.set_text('無法重新加載視頻文件')
                  self.stop()
                  return
          else:
              self.status_label.set_text('無法獲取視頻幀')
              self.stop()
              return

      # 使用雙緩沖
      with self.lock:
          self.next_frame = frame
          self.frame_ready = True

      # 幀率控制
      current_time = time.time()
      elapsed = current_time - self.last_frame_time

      if elapsed >= 1/self.target_fps:
          if self.frame_ready:
              with self.lock:
                  self.current_frame = self.next_frame
                  self.frame_ready = False

              # 更新UI
              self._update_ui(self.current_frame)
              self.last_frame_time = current_time

  def _update_ui(self, frame):
      """更新顯示的圖像"""
      # 調整圖像大小
      frame = cv2.resize(frame, (640, 480))
      # 色彩校正處理
      if self.color_correction_enabled:
          pass
          # 轉換為RGB格式
          # frame = cv2.cvtColor(frame, cv2.COLOR_BGR2RGB)
      else:
          # 不進行色彩校正,使用原始BGR格式
          frame = cv2.cvtColor(frame, cv2.COLOR_BGR2RGB)  # 仍然需要轉換為RGB用于顯示

      # 編碼為JPEG
      encode_params = [cv2.IMWRITE_JPEG_QUALITY, 90]
      _, encoded_image = cv2.imencode('.jpg', frame, encode_params)

      # 轉換為base64
      base64_image = base64.b64encode(encoded_image).decode('utf-8')

      # 更新圖像
      self.image.set_source(f'data:image/jpeg;base64,{base64_image}')

class MultiVideoViewer:
  """多視頻文件查看器類"""
  def __init__(self, video_sources=[]):
      # 如果未提供視頻源,使用默認攝像頭
      self.video_sources = video_sources if video_sources else [0, 1, 2, 3, 4, 5]
      self.streams = []
      self.create_ui()

  def create_ui(self):
      """創建用戶界面"""
      with ui.header():
          ui.label('多視頻播放器').classes('text-2xl font-bold')

          with ui.row().classes('gap-2 ml-auto'):
              ui.button('全部開始', on_click=self.start_all)
              ui.button('全部停止', on_click=self.stop_all)

      # 主內容區 - 網格布局顯示視頻
      # 根據視頻數量動態調整列數
      columns = 3
      if len(self.video_sources) == 8 or len(self.video_sources) == 9:
          columns = 3 if len(self.video_sources) == 9 else 4

      self.video_grid = ui.grid(columns=columns).classes('w-full gap-2 p-2')

      # 初始化視頻流
      self.initialize_streams()

  def initialize_streams(self):
      """初始化所有視頻流"""
      # 清空現有流
      self.streams.clear()
      self.video_grid.clear()

      # 創建新的視頻流
      for source in self.video_sources:
          stream = VideoStream(source, self)
          stream.create_ui(self.video_grid)
          self.streams.append(stream)

  def start_all(self):
      """啟動所有視頻"""
      for stream in self.streams:
          stream.start()

  def stop_all(self):
      """停止所有視頻"""
      for stream in self.streams:
          stream.stop()

# 示例:傳入視頻文件路徑數組
# 請將以下路徑替換為您實際的視頻文件路徑
video_files = [
  0,  # 視頻文件1
  'video/2.mp4',  # 視頻文件2
  'video/3.mp4',  # 視頻文件3
  'video/4.mp4',  # 視頻文件4
  'video/5.mp4',  # 視頻文件5
  'video/6.mp4',  # 視頻文件6
  'video/7.mp4',  # 視頻文件7
  'video/8.mp4',  # 視頻文件8
  'video/9.mp4',  # 視頻文件9
]

# 創建應用
multi_viewer = MultiVideoViewer(video_sources=video_files)

# 運行應用
ui.run(reload=False, port=native.find_open_port())

 浙公網安備 33010602011771號