
Docker Compose(V2)
Docker Compose 概述
Docker Compose 是用于定義和運(yùn)行多容器應(yīng)用程序的工具。 這是解鎖簡化和高效的開發(fā)和部署體驗(yàn)的關(guān)鍵。
Compose 簡化了對整個(gè)應(yīng)用程序堆棧的控制,讓您能夠在單個(gè)易于理解的 YAML 配置文件中輕松管理服務(wù)、網(wǎng)絡(luò)和卷。然后,只需一個(gè)命令,即可創(chuàng)建并啟動(dòng)所有服務(wù) 從您的配置文件中。
Compose 適用于所有環(huán)境;生產(chǎn)、暫存、開發(fā)、測試,以及 以及 CI 工作流程。它還具有用于管理應(yīng)用程
序整個(gè)生命周期的命令:
- 啟動(dòng)、停止和重新生成服務(wù)
- 查看正在運(yùn)行的服務(wù)狀態(tài)
- 流式傳輸正在運(yùn)行的服務(wù)的日志輸出
- 在服務(wù)上運(yùn)行一次性命令
來自 https://docs.docker.com/compose/
Command options overview and help
Usage:  docker compose [OPTIONS] COMMAND

Define and run multi-container applications with Docker.
Options:

      --ansi string                Control when to print ANSI control characters ("never"|"always"|"auto") (default "auto")

      --compatibility              Run compose in backward compatibility mode

      --dry-run                    Execute command in dry run mode

      --env-file stringArray       Specify an alternate environment file

  -f, --file stringArray           Compose configuration files

      --parallel int               Control max parallelism, -1 for unlimited (default -1)

      --profile stringArray        Specify a profile to enable

      --progress string            Set type of progress output (auto, tty, plain, quiet) (default "auto")

      --project-directory string   Specify an alternate working directory

                                   (default: the path of the, first specified, Compose file)

  -p, --project-name string        Project name


Commands:

  attach      Attach local standard input, output, and error streams to a service's running container.

  build       Build or rebuild services

  config      Parse, resolve and render compose file in canonical format

  cp          Copy files/folders between a service container and the local filesystem

  create      Creates containers for a service.

  down        Stop and remove containers, networks

  events      Receive real time events from containers.

  exec        Execute a command in a running container.

  images      List images used by the created containers

  kill        Force stop service containers.

  logs        View output from containers

  ls          List running compose projects

  pause       Pause services

  port        Print the public port for a port binding.

  ps          List containers

  pull        Pull service images

  push        Push service images

  restart     Restart service containers

  rm          Removes stopped service containers

  run         Run a one-off command on a service.

  scale       Scale services

  start       Start services

  stats       Display a live stream of container(s) resource usage statistics

  stop        Stop services

  top         Display the running processes

  unpause     Unpause services

  up          Create and start containers

  version     Show the Docker Compose version information

  wait        Block until the first service container stops

  watch       Watch build context for service and rebuild/refresh containers when files are updated

Run 'docker compose COMMAND --help' for more information on a command.
官方入門 Use Case
Step 1: Define the application dependencies
-
Create a directory for the project:
$ mkdir composetest $ cd composetest -
Create a file called
app.pyin your project directory and paste the following code in:import time import redis from flask import Flask app = Flask(__name__) cache = redis.Redis(host='redis', port=6379) def get_hit_count(): retries = 5 while True: try: return cache.incr('hits') except redis.exceptions.ConnectionError as exc: if retries == 0: raise exc retries -= 1 time.sleep(0.5) @app.route('/') def hello(): count = get_hit_count() return 'Hello World! I have been seen {} times.\n'.format(count)In this example,
redisis the hostname of the redis container on the application's network. We use the default port for Redis,6379.Handling transient errors
Note the way the
get_hit_countfunction is written. This basic retry loop lets us attempt our request multiple times if the redis service is not available. This is useful at startup while the application comes online, but also makes the application more resilient if the Redis service needs to be restarted anytime during the app's lifetime. In a cluster, this also helps handling momentary connection drops between nodes. -
Create another file called
requirements.txtin your project directory and paste the following code in:flask redis
Step 2: Create a Dockerfile
The Dockerfile is used to build a Docker image. The image contains all the dependencies the Python application requires, including Python itself.
In your project directory, create a file named Dockerfile and paste the following code in:
# syntax=docker/dockerfile:1
FROM python:3.10-alpine
WORKDIR /code
ENV FLASK_APP=app.py
ENV FLASK_RUN_HOST=0.0.0.0
RUN apk add --no-cache gcc musl-dev linux-headers
COPY requirements.txt requirements.txt
RUN pip install -r requirements.txt
EXPOSE 5000
COPY . .
CMD ["flask", "run"]
This tells Docker to:
- Build an image starting with the Python 3.10 image.
- Set the working directory to
/code. - Set environment variables used by the
flaskcommand. - Install gcc and other dependencies
- Copy
requirements.txtand install the Python dependencies. - Add metadata to the image to describe that the container is listening on port 5000
- Copy the current directory
.in the project to the workdir.in the image. - Set the default command for the container to
flask run.
Important
Check that the
Dockerfilehas no file extension like.txt. Some editors may append this file extension automatically which results in an error when you run the application.
For more information on how to write Dockerfiles, see the Docker user guide and the Dockerfile reference.
Step 3: Define services in a Compose file
Create a file called compose.yaml in your project directory and paste the following:
services:
  web:
    build: .
    ports:
      - "8000:5000"
  redis:
    image: "redis:alpine"
This Compose file defines two services: web and redis.
The web service uses an image that's built from the Dockerfile in the current directory. It then binds the container and the host machine to the exposed port, 8000. This example service uses the default port for the Flask web server, 5000.
The redis service uses a public Redis image pulled from the Docker Hub registry.
Step 4: Build and run your app with Compose
-
From your project directory, start up your application by running
docker compose up.$ docker compose up Creating network "composetest_default" with the default driver Creating composetest_web_1 ... Creating composetest_redis_1 ... Creating composetest_web_1 Creating composetest_redis_1 ... done Attaching to composetest_web_1, composetest_redis_1 web_1 | * Running on http://0.0.0.0:5000/ (Press CTRL+C to quit) redis_1 | 1:C 17 Aug 22:11:10.480 # oO0OoO0OoO0Oo Redis is starting oO0OoO0OoO0Oo redis_1 | 1:C 17 Aug 22:11:10.480 # Redis version=4.0.1, bits=64, commit=00000000, modified=0, pid=1, just started redis_1 | 1:C 17 Aug 22:11:10.480 # Warning: no config file specified, using the default config. In order to specify a config file use redis-server /path/to/redis.conf web_1 | * Restarting with stat redis_1 | 1:M 17 Aug 22:11:10.483 * Running mode=standalone, port=6379. redis_1 | 1:M 17 Aug 22:11:10.483 # WARNING: The TCP backlog setting of 511 cannot be enforced because /proc/sys/net/core/somaxconn is set to the lower value of 128. web_1 | * Debugger is active! redis_1 | 1:M 17 Aug 22:11:10.483 # Server initialized redis_1 | 1:M 17 Aug 22:11:10.483 # WARNING you have Transparent Huge Pages (THP) support enabled in your kernel. This will create latency and memory usage issues with Redis. To fix this issue run the command 'echo never > /sys/kernel/mm/transparent_hugepage/enabled' as root, and add it to your /etc/rc.local in order to retain the setting after a reboot. Redis must be restarted after THP is disabled. web_1 | * Debugger PIN: 330-787-903 redis_1 | 1:M 17 Aug 22:11:10.483 * Ready to accept connectionsCompose pulls a Redis image, builds an image for your code, and starts the services you defined. In this case, the code is statically copied into the image at build time.
-
Enter http://localhost:8000/ in a browser to see the application running.
If this doesn't resolve, you can also try http://127.0.0.1:8000.
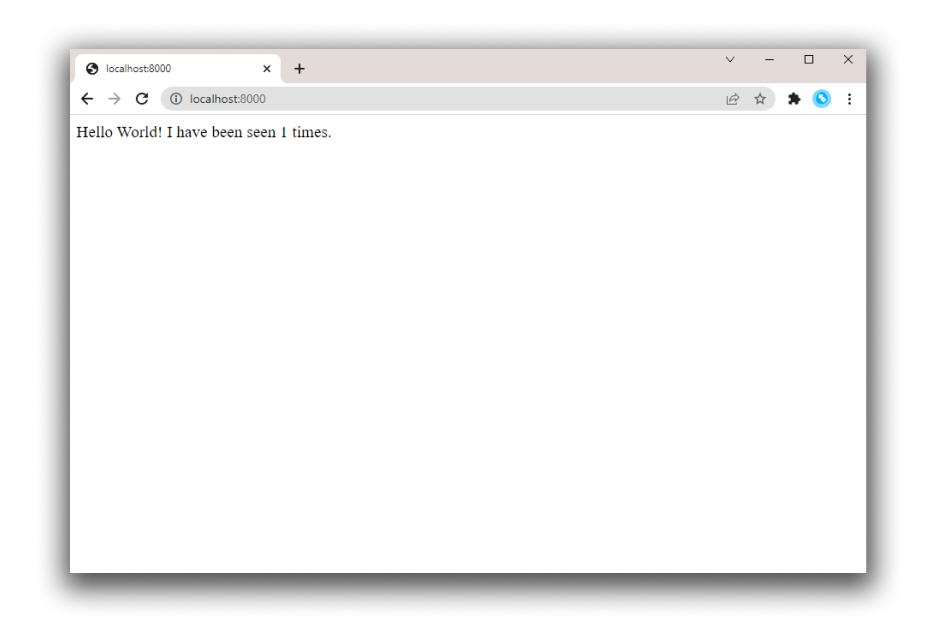
You should see a message in your browser saying:
Hello World! I have been seen 1 times.![hello world in browser]()
-
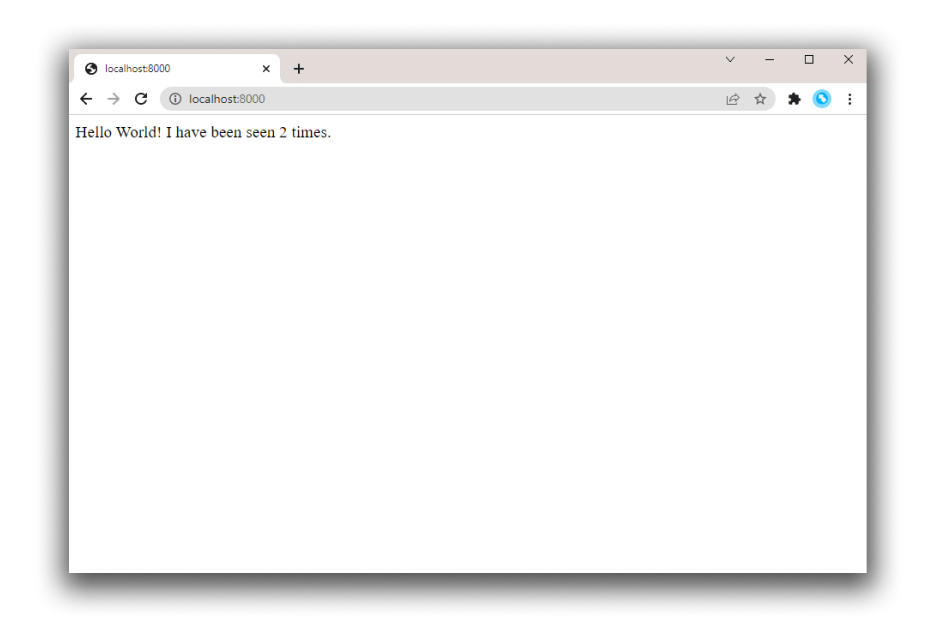
Refresh the page.
The number should increment.
Hello World! I have been seen 2 times.![hello world in browser]()
-
Switch to another terminal window, and type
docker image lsto list local images.Listing images at this point should return
redisandweb.$ docker image ls REPOSITORY TAG IMAGE ID CREATED SIZE composetest_web latest e2c21aa48cc1 4 minutes ago 93.8MB python 3.4-alpine 84e6077c7ab6 7 days ago 82.5MB redis alpine 9d8fa9aa0e5b 3 weeks ago 27.5MBYou can inspect images with
docker inspect <tag or id>. -
Stop the application, either by running
docker compose downfrom within your project directory in the second terminal, or by hitting CTRL+C in the original terminal where you started the app.
Step 5: Edit the Compose file to add a bind mount
Edit the compose.yaml file in your project directory to add a bind mount for the web service:
services:
  web:
    build: .
    ports:
      - "8000:5000"
    volumes:
      - .:/code
    environment:
      FLASK_DEBUG: "true"
  redis:
    image: "redis:alpine"
The new volumes key mounts the project directory (current directory) on the host to /code inside the container, allowing you to modify the code on the fly, without having to rebuild the image. The environment key sets the FLASK_DEBUG environment variable, which tells flask run to run in development mode and reload the code on change. This mode should only be used in development.
Step 6: Re-build and run the app with Compose
From your project directory, type docker compose up to build the app with the updated Compose file, and run it.
$ docker compose up

Creating network "composetest_default" with the default driver
Creating composetest_web_1 ...
Creating composetest_redis_1 ...
Creating composetest_web_1
Creating composetest_redis_1 ... done
Attaching to composetest_web_1, composetest_redis_1
web_1    |  * Running on http://0.0.0.0:5000/ (Press CTRL+C to quit)
...
Step 7: Update the application
As the application code is now mounted into the container using a volume, you can make changes to its code and see the changes instantly, without having to rebuild the image.
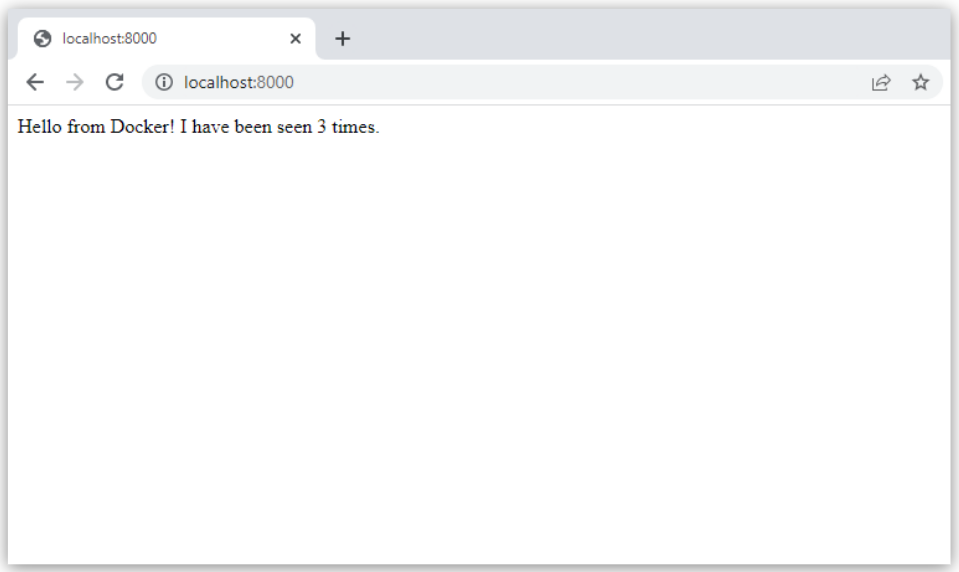
Change the greeting in app.py and save it. For example, change the Hello World! message to Hello from Docker!:
return 'Hello from Docker! I have been seen {} times.\n'.format(count)
Refresh the app in your browser. The greeting should be updated, and the counter should still be incrementing.
Step 8: Experiment with some other commands
If you want to run your services in the background, you can pass the -d flag (for "detached" mode) to docker compose up and use docker compose ps to see what is currently running:
$ docker compose up -d

Starting composetest_redis_1...
Starting composetest_web_1...

$ docker compose ps

       Name                      Command               State           Ports
-------------------------------------------------------------------------------------
composetest_redis_1   docker-entrypoint.sh redis ...   Up      6379/tcp
composetest_web_1     flask run                        Up      0.0.0.0:8000->5000/tcp
The docker compose run command allows you to run one-off commands for your services. For example, to see what environment variables are available to the web service:
$ docker compose run web env
See docker compose --help to see other available commands.
If you started Compose with docker compose up -d, stop your services once you've finished with them:
$ docker compose stop
You can bring everything down, removing the containers entirely, with the down command. Pass --volumes to also remove the data volume used by the Redis container:
$ docker compose down --volumes

 浙公網(wǎng)安備 33010602011771號(hào)