
camunda_13_postgresql
前面都是使用H2數(shù)據(jù)庫, 體驗功能非常方便, 但分析table數(shù)據(jù)就比較麻煩了, 下面介紹如何使用postgresql作為后臺數(shù)據(jù)庫.
按照Camunda官方文檔, 生產環(huán)境優(yōu)先推薦Oracle 和 Postgresql, 當然MySQL和SQL Server也是支持的.
官方參考架構文檔
下載并安裝 postgresql
按照camunda和操作系統(tǒng)的要求, 我選擇的是 postgresql 10.
安裝過程序需要設定端口和超級賬號 postgres 的密碼.
下載網(wǎng)址
下載 jdbc driver
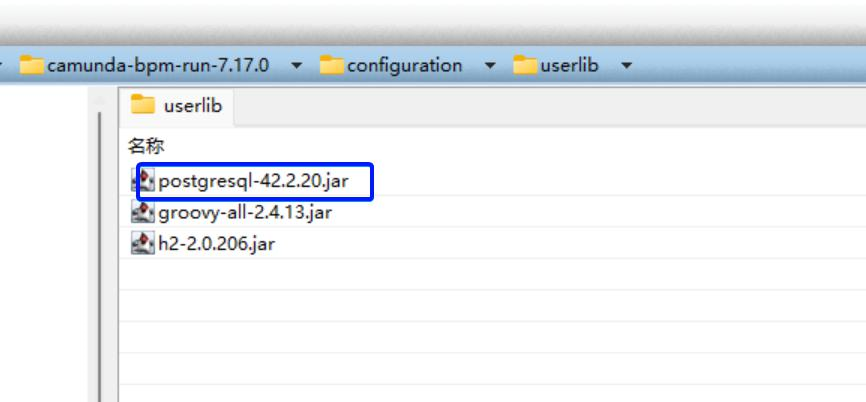
通過 dbeaver 軟件很方便下載 postgresql jdbc driver, 并復制一份 jar 到 camunda 的 configuration\userlib\ 路徑下.
創(chuàng)建數(shù)據(jù)庫和table
-
在 dbeaver 手工創(chuàng)建一個 camunda 數(shù)據(jù)庫, encoding選擇 UTF8,

-
執(zhí)行 configuration\sql\create\ 下的兩個sql腳本, 創(chuàng)建數(shù)據(jù)表.
也可以在yaml文件中配置 schema-update 為 true, 由系統(tǒng)自動創(chuàng)建數(shù)據(jù)表.

修改 camunda 配置文件
生產環(huán)境應該參考 production.yml 進行設置. camunda 提供很多可配置項, 可參考官網(wǎng), 配置屬性
我是直接修改的 default.yml 文件, 僅改動了 datasource 和 logging.
spring.datasource:
    url: jdbc:postgresql://localhost:5432/camunda
    driver-class-name: org.postgresql.Driver
    username: postgres
    password: saas

logging:
    level.root: INFO
    file.name: logs/camunda-bpm-run.log

camunda.bpm:
    history-level: FULL
    history-level-default: FULL

    database:
        schema-update: true
        type: postgres
        jdbc-batch-processing: true
啟動服務
啟動完成后,登錄http://localhost:8080/, 輸入demo/demo賬號登錄.

 浙公網(wǎng)安備 33010602011771號