
Caddy2靜態(tài)網(wǎng)站設(shè)置
============================
caddy2 文檔
============================
https://caddy2.dengxiaolong.com/docs/
https://github.com/phpple/caddy2-cn-doc
============================
網(wǎng)站路徑規(guī)劃
============================
/root/web/caddy 目錄存儲(chǔ)Caddyfile
/root/web/site 目錄存儲(chǔ)web網(wǎng)頁(yè)
/${HOME}/.local/share/caddy   Caddy2 會(huì)自動(dòng)創(chuàng)建的 data storage 目錄,用來(lái)存儲(chǔ)CA證書(shū)
/${HOME}/.config/caddy/     Caddy2會(huì)自動(dòng)創(chuàng)建的配置文件路徑,比如存放 autosave.json 文件等
============================
CentOS 7環(huán)境的下載并安裝
============================
最好是關(guān)閉SELinux, 否則 systemctl 自動(dòng)啟動(dòng)會(huì)碰到很多問(wèn)題.
#download
wget https://github.com/caddyserver/caddy/releases/download/v2.4.6/caddy_2.4.6_linux_amd64.tar.gz

#upzip
tar -zxf caddy_2.4.6_linux_amd64.tar.gz caddy

#copy file to program path
mv ./caddy  /usr/local/bin/

#設(shè)置僅root賬號(hào)能寫(xiě)caddy二進(jìn)制文件,其他賬號(hào)可讀可執(zhí)行
chmod 755 /usr/local/bin/caddy

#check caddy 程序
which caddy
caddy version
============================
創(chuàng)建專有的用戶
============================
systemd service自動(dòng)啟動(dòng)需要先設(shè)置專有的用戶
groupadd --system caddy

useradd --system \
--gid caddy \
--create-home \
--home-dir /var/lib/caddy \
--shell /usr/sbin/nologin \
--comment "Caddy web server" \
caddy
============================
創(chuàng)建相關(guān)目錄和文件
============================
#創(chuàng)建一個(gè)空的 Caddyfile, 該文件并不是json格式, Caddy還支持另一種adapt的Json配置文件, 用的較少
#推薦將Caddyfile放到 /etc/caddy 路徑下,這里為了方便備份放到 root 賬號(hào)的路徑下了。
mkdir -p /root/web/caddy/


#設(shè)置目錄的owner為root賬號(hào)和caddy group賬號(hào)
chown -R root:caddy  /root/web/caddy
touch /root/web/caddy/Caddyfile
#創(chuàng)建web網(wǎng)頁(yè)的存儲(chǔ)目錄
mkdir -p /root/web/site

#將目錄的owner設(shè)置好為caddy group和user賬號(hào)
chown caddy:caddy /root/web/site
============================
創(chuàng)建自啟動(dòng)服務(wù)配置文件
============================
#該配置文件中包含 Caddyfile 路徑
touch /etc/systemd/system/caddy.service

#設(shè)置僅root賬號(hào)可以修改該文件
chmod 644 /etc/systemd/system/caddy.service
下面是 /etc/systemd/system/caddy.service 文件的內(nèi)容, 摘自caddy 的 github caddy.service 文件.
修改的僅僅是caddy 的執(zhí)行路徑:
# caddy.service
#
# For using Caddy with a config file.
#
# Make sure the ExecStart and ExecReload commands are correct
# for your installation.
#
# See https://caddyserver.com/docs/install for instructions.
#
# WARNING: This service does not use the --resume flag, so if you
# use the API to make changes, they will be overwritten by the
# Caddyfile next time the service is restarted. If you intend to
# use Caddy's API to configure it, add the --resume flag to the
# `caddy run` command or use the caddy-api.service file instead.

[Unit]
Description=Caddy
Documentation=https://caddyserver.com/docs/
After=network.target network-online.target
Requires=network-online.target

[Service]
Type=notify
User=caddy
Group=caddy
ExecStart=/usr/local/bin/caddy run --environ --config /root/web/caddy/Caddyfile
ExecReload=/usr/local/bin/caddy reload --config /root/web/caddy/Caddyfile
TimeoutStopSec=5s
LimitNOFILE=1048576
LimitNPROC=512
PrivateTmp=true
ProtectSystem=full
AmbientCapabilities=CAP_NET_BIND_SERVICE

[Install]
WantedBy=multi-user.target
============================
設(shè)置80/443端口防火墻
============================
#(可選,僅CentOS),關(guān)閉防火墻(如果之前沒(méi)關(guān)閉的話)
systemctl status firewalld
systemctl stop firewalld
systemctl mask firewalld

# 如果不想關(guān)閉,可以加如下規(guī)則
firewall-cmd --permanent --zone=public --add-service=http
firewall-cmd --permanent --zone=public --add-service=https
firewall-cmd --reload
============================
啟動(dòng) Caddy 服務(wù)
============================
# reloading daemon to apply caddy system service file
sudo systemctl daemon-reload

# starting caddy
sudo systemctl start caddy

# activating caddy system file
sudo systemctl enable caddy
sudo systemctl restart caddy

#check status
systemctl status caddy.service
============================
幾種配置域名SSL證書(shū)的方式
============================
1 自簽名方式,caddyfile中的語(yǔ)法: tls self_signed Caddy生成一個(gè)不可信的自簽名證書(shū),但可達(dá)到了密文傳輸?shù)男Ч?該證書(shū)持續(xù)7天,所以它一般僅用于本地開(kāi)發(fā)。 2. 手工向證書(shū)發(fā)行方申請(qǐng) 手動(dòng)從證書(shū)發(fā)行方申請(qǐng)證書(shū),然后在Caddy配置中指定證書(shū)和秘鑰文件路徑: tls /path/example.com.crt /path/example.com.key 3. 主機(jī)自動(dòng)申請(qǐng)方式 如果目標(biāo)域名(例如: example.com)已經(jīng)解析到了本機(jī),那么 Caddy2 啟動(dòng)后會(huì)嘗試自動(dòng)通過(guò) ACME HTTP 申請(qǐng)證書(shū)(默認(rèn)的證書(shū)發(fā)行方為 let's encrypt)。 優(yōu)點(diǎn):配置簡(jiǎn)單, 語(yǔ)法如下, 后面的 email 參數(shù)是告知 CA 申請(qǐng)人的郵箱。 tls email 2. dns 自動(dòng)申請(qǐng)方式 Let's encrypt通過(guò)域名服務(wù)商提供的域名解析記錄api,來(lái)驗(yàn)證我們對(duì)域名的所有權(quán)。 優(yōu)點(diǎn):不需要任何公網(wǎng)IP地址,只要通過(guò)dns的解析記錄即可完成驗(yàn)證; 另外,如果網(wǎng)站啟用了 CDN,必須使用這個(gè)方式。 缺點(diǎn):配置比較麻煩,需要設(shè)置一些環(huán)境變量,另外還需要下載對(duì)應(yīng)dns 服務(wù)商的插件(插件簡(jiǎn)化了caddy調(diào)用DNS服務(wù)商API的過(guò)程),。 caddyfile中的語(yǔ)法: tls { dns <provider> ... }
==================================
編輯 Caddyfile 文件,并實(shí)現(xiàn)域名HTTP重定向HTTPS
==================================
/root/web/caddy/Caddyfile 文件內(nèi)容如下:
下面配置已經(jīng)支持404錯(cuò)誤跳轉(zhuǎn),
http://example.com {
        redir https://example.com{url}
}

https://example.com {
        tls hostmaster@example.com
        root * /root/web/site
        encode gzip
        file_server
        header / {
                Content-Security-Policy = "upgrade-insecure-requests; default-src 'self'; style-src 'self'; script-src 'self'; img-src 'self'; object-src 'self'; worker-src 'self'; manifest-src 'self';"
                Strict-Transport-Security = "max-age=63072000; includeSubDomains; preload"
                X-Xss-Protection = "1; mode=block"
                X-Frame-Options = "DENY"
                X-Content-Type-Options = "nosniff"
                Referrer-Policy = "strict-origin-when-cross-origin"
                Permissions-Policy = "fullscreen=(self)"
                cache-control = "max-age=0,no-cache,no-store,must-revalidate"
        }
        handle_errors {
                @404 {
                     expression {http.error.status_code}==404
                }
                rewrite @404 /404.html
                file_server
        }
}
說(shuō)明:
1.First line tells the caddy the domain name(example.com) that
block of configuration belongs to. It’s also used to fetch SSL
certificates.
2.The TLS block helps us to configure SSL for the
domain, for this specific file configuration email the hostname for any
issuance and errors in the SSL fetching and configuration
3.Root tells the root directory of the website contents
4.Encoding of the content
5.File_server helps caddy to serve static files
6.Header
block tells caddy to send these headers along with the response, the
specific config tells caddy to serve CSP, XSS, HSTS and cache control
headers along with the response
============================
常用命令
============================
# 以后臺(tái)的方式啟動(dòng) caddy
caddy start --config  /root/web/caddy/Caddyfile

# 以前臺(tái)的方式啟動(dòng) caddy
caddy run --config  /root/web/caddy/Caddyfile

# 停止
caddy stop

# reload 配置文件
caddy reload  --config  /root/web/caddy/Caddyfile


# 安裝 CA 證書(shū)到本地目錄
caddy trust

# 美化(格式化) Caddyfile
caddy fmt --overwrite /root/web/caddy/Caddyfile

# 將標(biāo)準(zhǔn)的 Caddyfile 轉(zhuǎn)成 json 格式的等效配置文件, 一般不用這種配置文件
caddy adapt --config  /root/web/caddy/Caddyfile -pretty
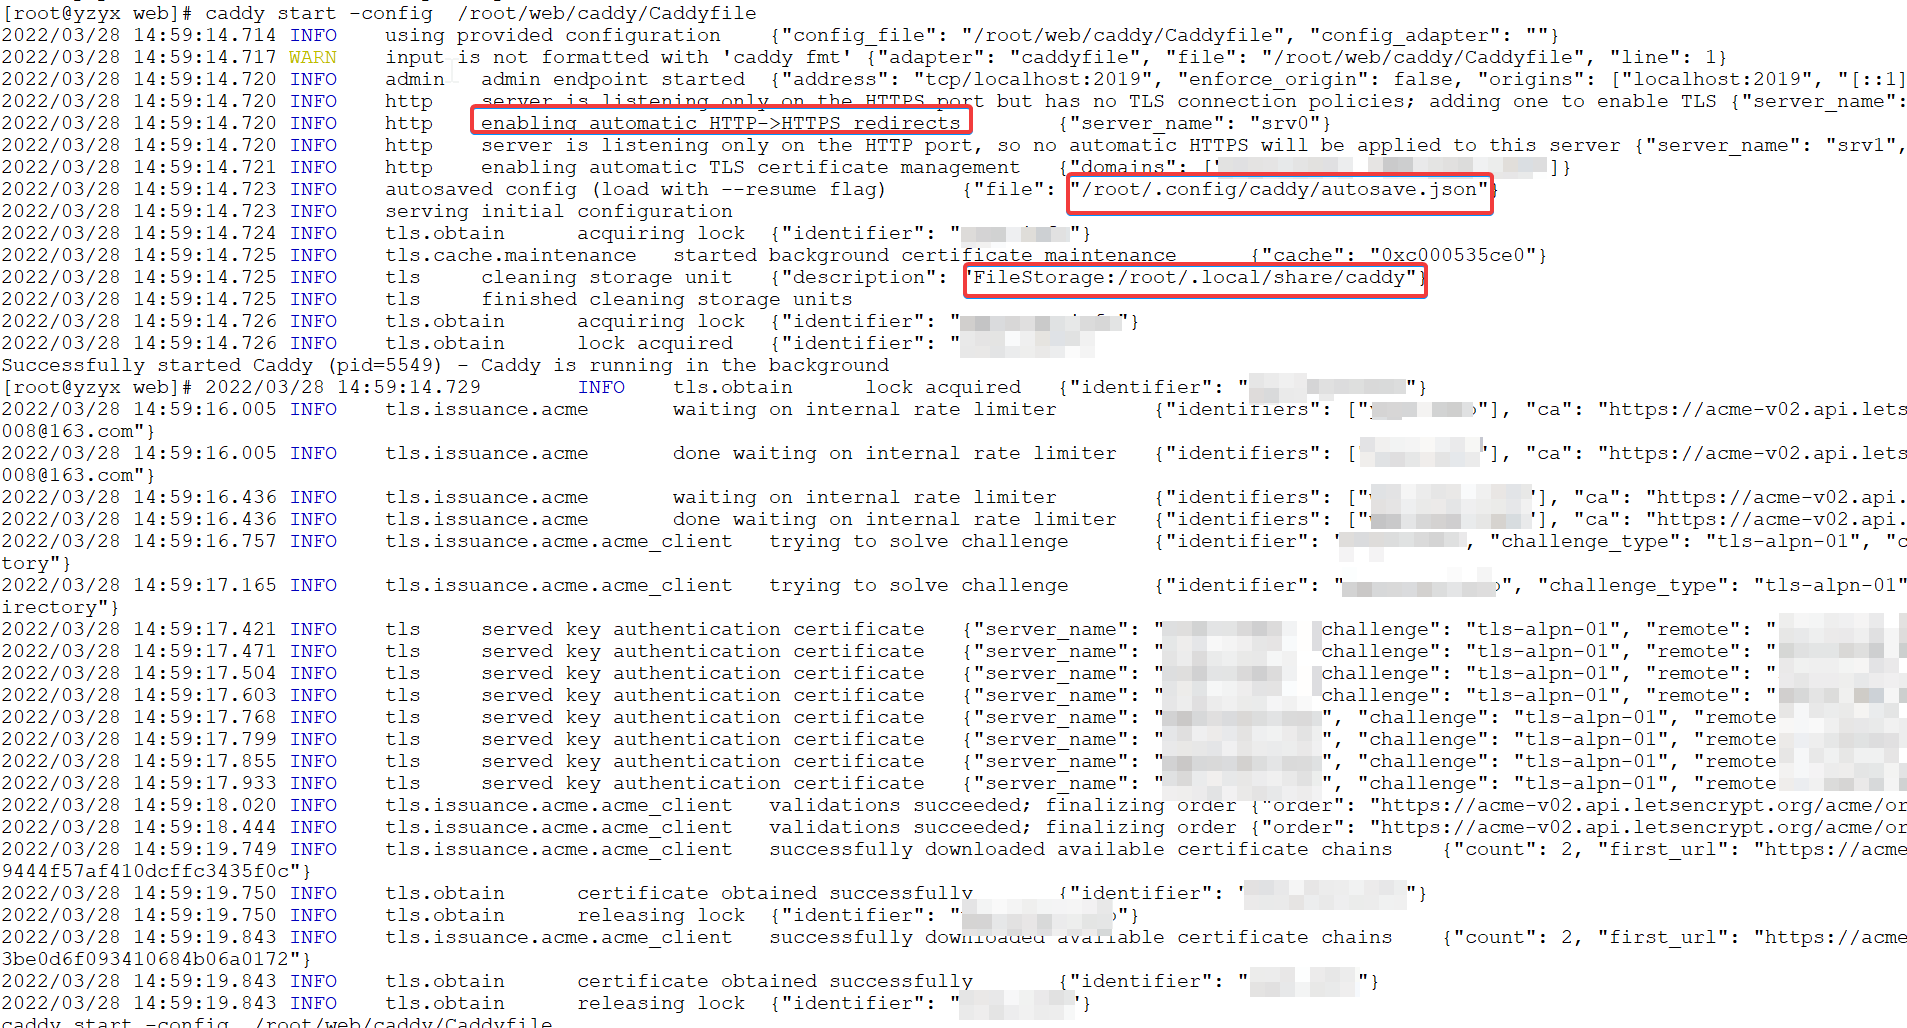
下面是 caddy start -config /root/web/caddy/Caddyfile 的啟動(dòng)截圖:
============================
調(diào)整 ulimit 限定和 file-max 設(shè)定
============================
linux對(duì)每個(gè)用戶都有默認(rèn)的 ulimit 限制,一般情況下這這些設(shè)定值不適合作為web 服務(wù)器, 需要上調(diào)設(shè)定值, 設(shè)定值分soft和 hard兩類, 硬配置必須大于等于軟配置。
vi /etc/security/limits.conf
# 新增內(nèi)容
*        soft    noproc 10240
*        hard    noproc 10240
*        soft    nofile 10240
*        hard    nofile 10240
ulimit 設(shè)定的是每個(gè)用戶可打開(kāi)句柄, fs.file-max 參數(shù)是整個(gè)操作系統(tǒng)可以打開(kāi)的文件句柄數(shù)
vi /etc/sysctl.conf
# 新增內(nèi)容
fs.file-max = 6553560
設(shè)置后需要重啟Linux.
============================
參考
============================
https://caddy2.dengxiaolong.com/docs/
https://github.com/phpple/caddy2-cn-doc
https://www.jianshu.com/p/808a479ad138
https://www.geeksforgeeks.org/how-to-deploy-static-website-using-caddy-webserver/
https://zhuanlan.zhihu.com/p/389189311
https://tophat.top/posts/47d46cc9.html
https://vip.kingdee.com/article/2478?productLineId=1

 浙公網(wǎng)安備 33010602011771號(hào)