
Windows本地安裝LLaMA-Factory
以下是LLaMA-Factory官方推薦的依賴組件及其版本,如果在linux上安裝建議使用表格中的推薦版本,但是在windows上安裝時(shí),由于各組件提供的windows版本沒有l(wèi)inux版本完備,為了兼容性考慮可節(jié)省時(shí)間(使用發(fā)布的wheel包而不是本地編譯),這里并沒有完全采用官方推薦的版本。

以下為window本地安裝LLaMA-Factory的詳細(xì)步驟
1、更新顯卡驅(qū)動(dòng)(推薦使用nvidia顯卡)
-
選擇你的顯卡型號(hào),下載最新的 Game Ready Driver 或 Studio Driver。
-
運(yùn)行安裝程序,選擇“自定義安裝”和“執(zhí)行清潔安裝”,完成后重啟電腦。
在windows上安裝LLaMA-Factory,需要安裝windows版本的PyTorch 、bitsandbytes 和FlashAttention
2、 安裝 CUDA Toolkit
-
根據(jù)準(zhǔn)備使用的PyTorch 、bitsandbytes 和FlashAttention的版本來決定CUDA的版本,不同版本可能存在不兼容的情況,例如不同版本的bitsandbytes 需要指定版本的PyTorch和CUDA toolkit,并且不同版本的PyTorch對(duì)CUDA toolkit的版本也有要求,因此不要盲目安裝最新版 CUDA。(本文中使用CUDA12.1,https://developer.nvidia.com/cuda-12-1-0-download-archive?target_os=Windows&target_arch=x86_64&target_version=11&target_type=exe_local)
-
訪問 CUDA Toolkit 下載,選擇與 PyTorch 匹配的版本(例如 12.1)、系統(tǒng)(Windows)、架構(gòu)(x86_64)和安裝類型(
exe [local])。(https://developer.nvidia.com/cuda-toolkit-archive:下載歷史CUDA版本) -
運(yùn)行安裝程序,選擇“自定義”安裝,組件保持默認(rèn)全選即可

3、安裝Conda
LLaMA-Factory的安裝需要安裝大量的python包和其他組件,使用Conda可以有效避免python版本沖突帶來的問題
- 下載Conda,Distribution Installers,Miniconda Installers均可(Download Success | Anaconda)
- 初始化環(huán)境變量
conda init
- 創(chuàng)建conda虛擬環(huán)境,python使用3.10版本
# 創(chuàng)建 Python 3.10 環(huán)境
conda create -n llama-factory python=3.10

# 激活環(huán)境
conda activate llama-factory
4、安裝Visual Studio Build Tools
如果安裝了visual studio,則不需要再單獨(dú)安裝
5、安裝PyTorch
查看 PyTorch 支持的版本:訪問 PyTorch 官網(wǎng)。安裝與CUDA版本兼容的PyTorch版本(PyTorch Version: 2.5.1+cu121)
pip install torch torchvision torchaudio --index-url https://download.pytorch.org/whl/cu121

使用以下腳本驗(yàn)證PyTorch是否成功安裝
import torch

# 1. 打印PyTorch版本
print(f"PyTorch Version: {torch.__version__}")

# 2. 打印PyTorch構(gòu)建所用的CUDA版本(這里顯示12.1是正常的)
print(f"PyTorch CUDA Version: {torch.version.cuda}")

# 3. 最關(guān)鍵的一步:檢查CUDA是否可用
print(f"CUDA Available: {torch.cuda.is_available()}")

# 4. 如果可用,打印GPU信息
if torch.cuda.is_available():
    print(f"Number of GPUs: {torch.cuda.device_count()}")
    print(f"Current GPU Name: {torch.cuda.get_device_name(0)}")
    print(f"Current GPU Index: {torch.cuda.current_device()}")

    # 5. 做一個(gè)簡單的張量運(yùn)算來測試功能
    x = torch.tensor([1.0, 2.0, 3.0]).cuda()
    y = torch.tensor([4.0, 5.0, 6.0]).cuda()
    z = x + y
    print(f"Tensor computation on GPU: {z}")
    print(f"Tensor device: {z.device}")
6、安裝bitsandbytes (如果不需要啟用量化LoRA,可跳過此步)
訪問Release Wheels · jllllll/bitsandbytes-windows-webui · GitHub查看release的wheel文件,根據(jù)安裝的CUDA toolkit版本(12.1)和PyTorch版本(2.5.1+cu121)選擇與之兼容的bitsandbytes版本,下載wheel文件并安裝
pip install bitsandbytes-0.41.1-py3-none-win_amd64.whl
使用以下腳本驗(yàn)證bitsandbytes是否成功安裝
import bitsandbytes as bnb
# 這個(gè)操作會(huì)觸發(fā)bitsandbytes加載CUDA庫,并顯示其編譯/鏈接的CUDA版本。
# 通常如果成功導(dǎo)入且無報(bào)錯(cuò),就說明它找到了匹配的CUDA環(huán)境。

# 更直接的方法:創(chuàng)建一個(gè)量化層,看是否報(bào)錯(cuò)
try:
    # 嘗試創(chuàng)建一個(gè)4bit量化層,這會(huì)用到CUDA kernel
    linear = bnb.nn.Linear4bit(10, 20)
    print("? bitsandbytes 安裝成功,并且CUDA運(yùn)行正常!")
    print(f"   它正在使用與PyTorch相同的CUDA環(huán)境。")
except Exception as e:
    print(f"? 錯(cuò)誤: {e}")
7、安裝flash-attention(lldacing/flash-attention-windows-wheel · Hugging Face)(如果不需要啟用 FlashAttention-2,可跳過此步)
首先查看 Releases · kingbri1/flash-attention 上有沒有編輯好的兼容本地CUDA toolkit版本(12.1)和PyTorch版本(2.5.1+cu121)的wheel包,有的話直接下載安裝即可,沒有的話則需要按照以下步驟在本地build wheel包:
- clone flash-attention 的源碼到本地,Dao-AILab/flash-attention: Fast and memory-efficient exact attention
- 根據(jù)實(shí)際情況(例如CUDA toolkit版本和PyTorch版本)選擇使用的代碼版本,這里使用了 v2.7.0.post2
- 使用 lldacing/flash-attention-windows-wheel · Hugging Face 中提供的WindowsWhlBuilder_cuda.bat文件buildwheel包,其中‘
CUDA_ARCH’ 參數(shù)要根據(jù)本地顯卡型號(hào)做設(shè)置,可通過以下命令獲取,不同 NVIDIA 顯卡對(duì)應(yīng)不同的數(shù)值(格式為主版本.次版本,通常簡化為整數(shù),如 8.9 簡寫為 89)nvidia-smi --query-gpu=name,compute_cap --format=csv

4. 在‘Native Tools Command Prompt for Visual Studio’中執(zhí)行腳本,注意需要激活創(chuàng)建的conda虛擬環(huán)境(llama-factory),編譯過程中會(huì)使用虛擬環(huán)境中安裝的CUDA、PyTorch和Python版本
WindowsWhlBuilder_cuda.bat CUDA_ARCH="89" FORCE_CXX11_ABI=TRUE
編譯過程根據(jù)機(jī)器性能可能花費(fèi)幾十分鐘到幾小時(shí)不等(本人用了7小時(shí)),編譯好的wheel包,例如‘flash_attn-2.7.0.post2+cu121torch2.5.1cxx11abiFALSE-cp310-cp310-win_amd64.whl’,代表flash-attention的版本是2.7.0.post2,CUDA的版本是12.1,torch的版本是2.5.1,python的版本是3.10
最后使用編譯好的wheel包安裝flash-attention
pip install flash_attn-2.7.0.post2+cu121torch2.5.1cxx11abiFALSE-cp310-cp310-win_amd64.whl
使用以下腳本驗(yàn)證flash-attention是否成功安裝
import torch
import flash_attn

print("="*50)
print("驗(yàn)證環(huán)境配置")
print("="*50)
print(f"PyTorch 版本: {torch.__version__}")
print(f"PyTorch CUDA 版本: {torch.version.cuda}")
print(f"CUDA 是否可用: {torch.cuda.is_available()}")
print(f"GPU 設(shè)備: {torch.cuda.get_device_name(0)}")

print(f"\nFlashAttention 版本: {flash_attn.__version__}")
print("\n? 驗(yàn)證成功!FlashAttention 已安裝并可正常導(dǎo)入。")
print("   它正在使用您PyTorch環(huán)境中的CUDA 12.1。")

# 可選:進(jìn)行一個(gè)簡單的前向計(jì)算測試(如果擔(dān)心運(yùn)行時(shí)錯(cuò)誤)
print("\n進(jìn)行簡單計(jì)算測試...")
try:
    dim = 64
    q = torch.randn(1, 8, 128, dim, device='cuda', dtype=torch.float16)
    k = torch.randn(1, 8, 128, dim, device='cuda', dtype=torch.float16)
    v = torch.randn(1, 8, 128, dim, device='cuda', dtype=torch.float16)

    output = flash_attn.flash_attn_func(q, k, v, causal=True)
    print("? 計(jì)算測試通過!FlashAttention CUDA kernel 工作正常。")
except Exception as e:
    print(f"? 計(jì)算測試失敗: {e}")
7、安裝LLaMA-Factory
Clone LLama-Factory源碼(hiyouga/LLaMA-Factory: Unified Efficient Fine-Tuning of 100+ LLMs & VLMs (ACL 2024)),根據(jù)提供的文檔安裝即可(安裝 - LLaMA Factory),核心安裝命令
pip install -e ".[torch,metrics]"
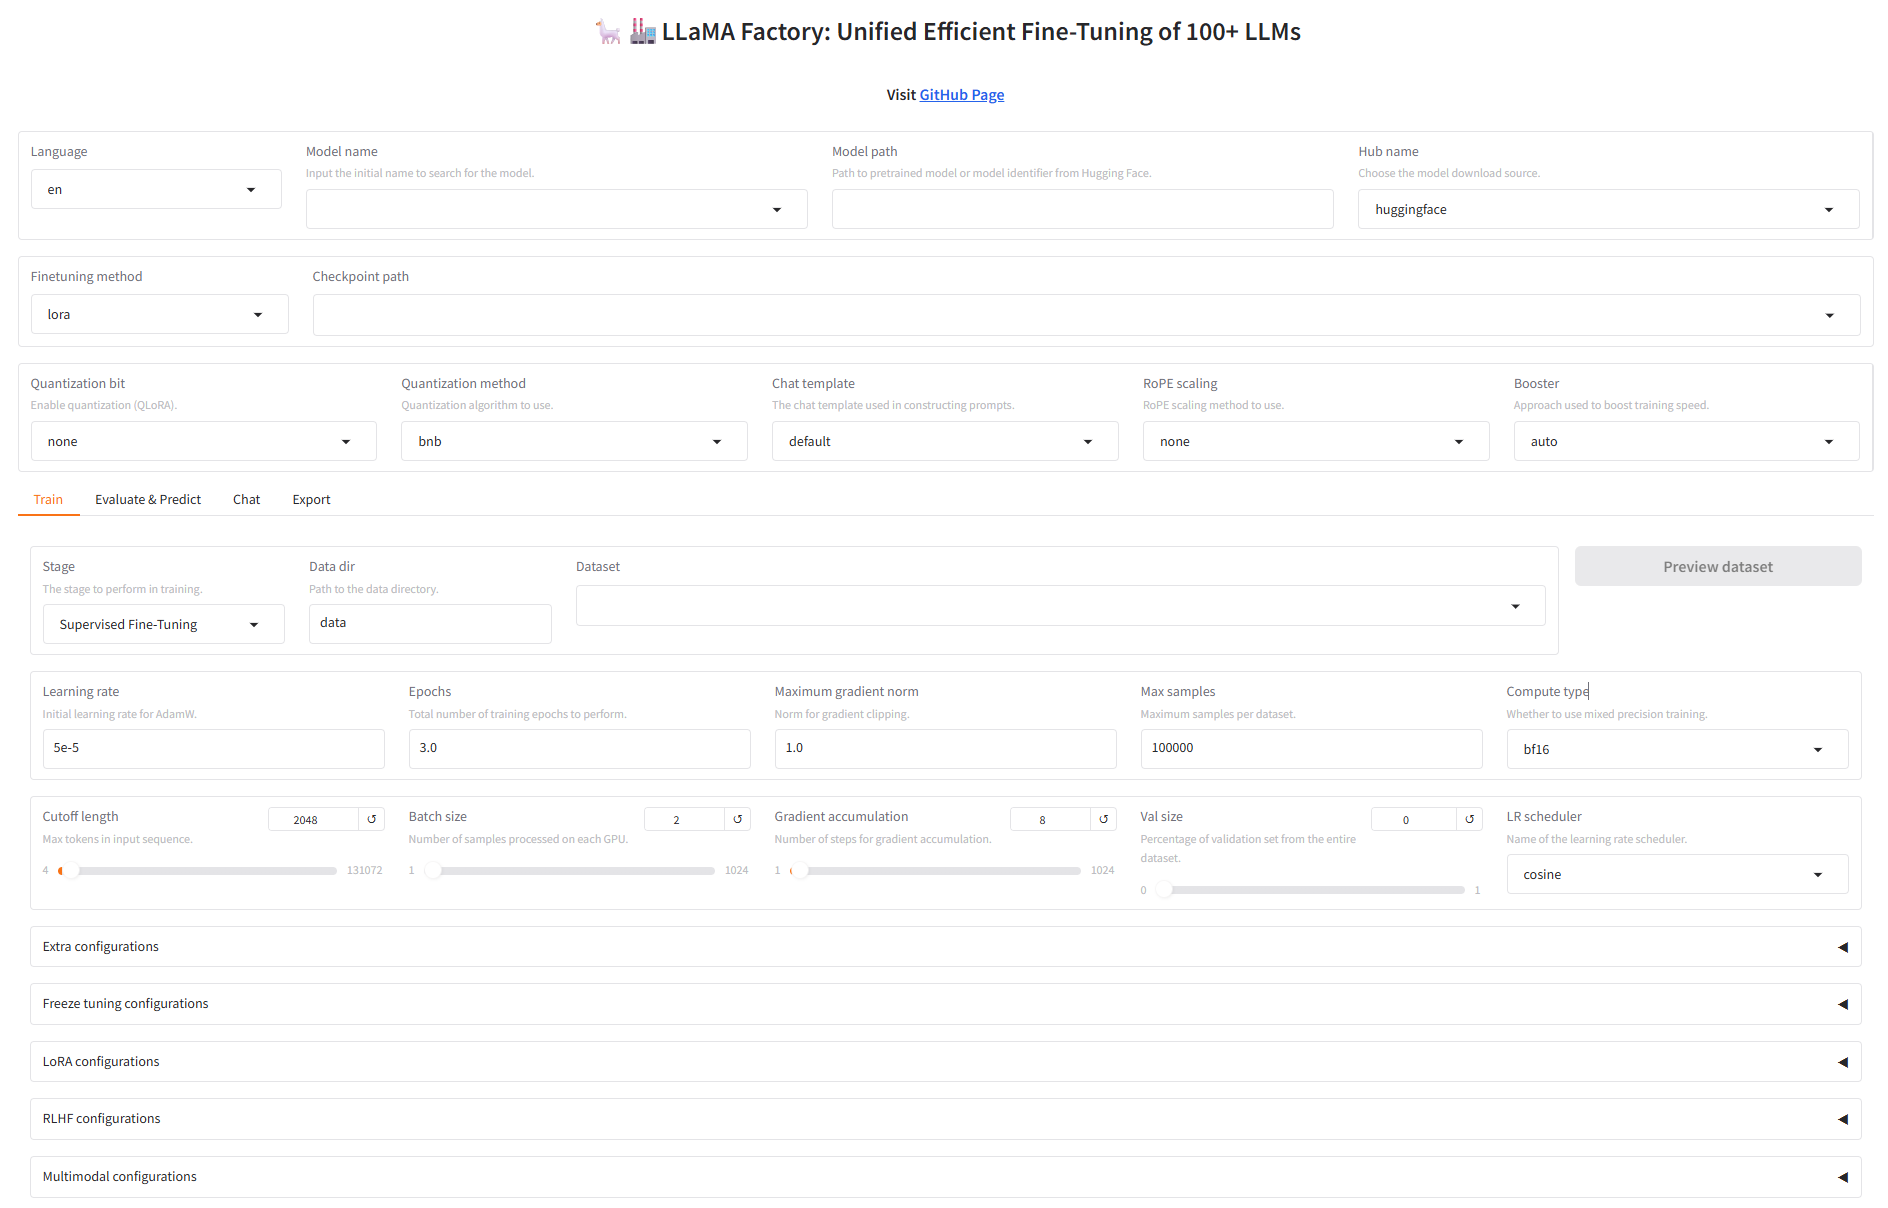
啟動(dòng)webui
llamafactory-cli webui
訪問webui:http://localhost:7860/,大功告成!!!!!!!!

 浙公網(wǎng)安備 33010602011771號(hào)