
WasomCodeX試用---Ubuntu20.04系統
安裝WasomeIDE
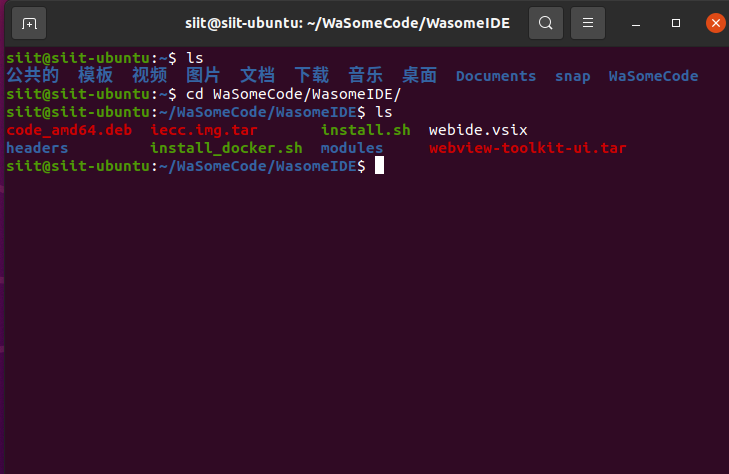
下載安裝包并解壓
可獲得如下文件內容:
/WasomeIDE$ ls
code_amd64.deb  iecc.img.tar       install.sh  webide.vsix
headers         install_docker.sh  modules     webview-toolkit-ui.tar
執行install.sh文件
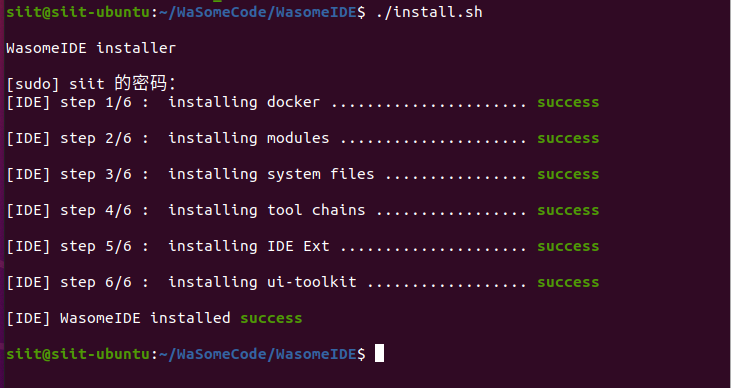
如果系統未安裝vscode,則在執行install.sh時會自動安裝。
安裝完成后會要求重啟,重啟之后,打開vscode即可使用。
注意,如果使用的是ubuntu24.04,vscode會有顯示問題。
但此時是沒有PLC在運行的,所以需要針對性再安裝PLC相關支持軟件。這樣,可以把PC變為PLC來使用。有點類似codesys的刷gateway和runtime,但這邊具體名字和操作有些不同。
安裝PLC
查看目標機系統架構
$ uname -i
x86_64
我是使用的ubuntu虛擬機,和主機一樣是x86_64架構。
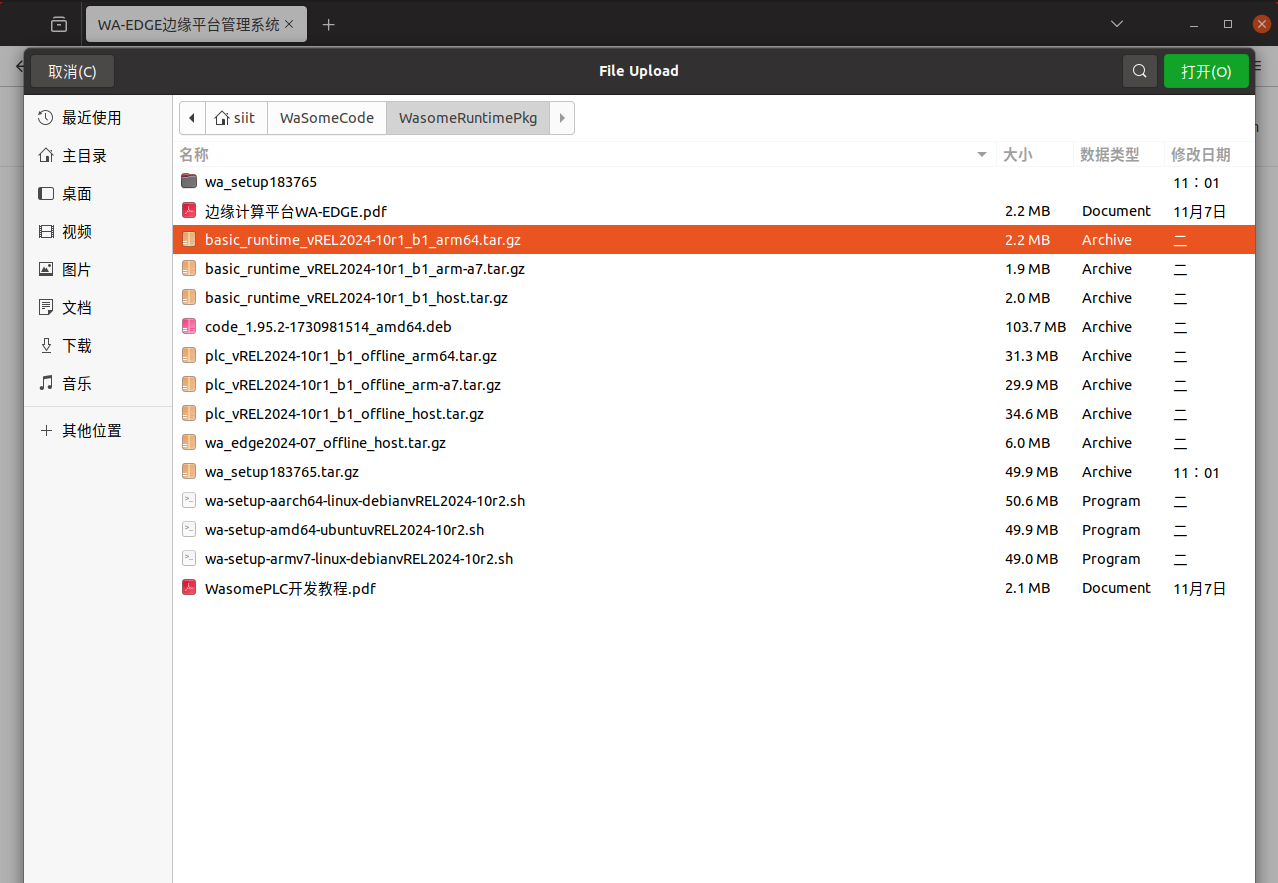
選擇合適的安裝文件
wa-setup-aarch64-linux-debianvREL2024-10r2.sh
wa-setup-amd64-ubuntuvREL2024-10r2.sh
wa-setup-armv7-linux-debianvREL2024-10r2.sh
選擇amd64的安裝文件,并運行。
此時安裝的被稱為邊緣管理平臺軟件,安裝完成后可以再在設備上安裝PLC-runtime。
$ ./wa-setup-amd64-ubuntuvREL2024-10r2.sh

 __          __   ______    _
 \ \        / /  |  ____|  | |
  \ \  /\  / /_ _| |__   __| | __ _  ___
   \ \/  \/ / _` |  __| / _` |/ _` |/ _ \
    \  /\  / (_| | |___| (_| | (_| |  __/
     \/  \/ \__,_|______\__,_|\__, |\___|
                               __/ |
                              |___/


checking the required tools..
checking the install package..
extracting the install package..


*************************************************************
                  WaEdge Install Program
*************************************************************
...installing from: [/home/siit/WaSomeCode/WasomeRuntimePkg/wa_setup167536]
SHELL_ENV=Linux
The installation requires administrator previlidge, please run
the command:
sudo /home/siit/WaSomeCode/WasomeRuntimePkg/wa_setup167536/install.sh
此處提示需要使用sudo提升權限。
再次執行
$ sudo ./wa-setup-amd64-ubuntuvREL2024-10r2.sh
 __          __   ______    _
 \ \        / /  |  ____|  | |
  \ \  /\  / /_ _| |__   __| | __ _  ___
   \ \/  \/ / _` |  __| / _` |/ _` |/ _ \
    \  /\  / (_| | |___| (_| | (_| |  __/
     \/  \/ \__,_|______\__,_|\__, |\___|
                               __/ |
                              |___/


checking the required tools..
checking the install package..
extracting the install package..


*************************************************************
                  WaEdge Install Program
*************************************************************
...installing from: [/home/siit/WaSomeCode/WasomeRuntimePkg/wa_setup183765]
SHELL_ENV=Linux
...sourcing install_env.sh

*************************************************************
             Board AMD64 Common Setup Program
*************************************************************
setup platform environment...done
Installing platform: [x86_64]..supported.
Installing platform has GLIBC  2.31 ( 2.31)
The factory package requires GLIBC version 2.17..met
提示選擇board name
選generic,直接回車Enter即可。
Enter the board name (blank for generic):
-------------------------------
core
generic
intel-eci
juheng001
-------------------------------
->
安裝路徑
直接回車,選擇默認。
...you selected board [generic]
INSTALL_ETC_DIR=/etc/ams
Enter the install path (blank for /wa-edge):
->
選擇后,會有一連串的安裝提示
install path: /wa-edge
BOARD_INSTALL_DIR=/wa-edge/wa-board
DATA_DIR=/wa-edge/data
No setup_me.sh under [/wa-edge/wa-board/board]

start to install ethercat tools...
enter: /wa-edge/wa-board/scripts/config_netmgr.sh auto
usage: config_netmgr.sh [NetworkManager|networkd|auto] [remove_netplan]
/wa-edge/wa-board/scripts/config_netmgr.sh: 24: [[: not found
/wa-edge/wa-board/scripts/config_netmgr.sh: 28: [[: not found
netplan renderer is not unknow [  renderer: NetworkManager]
networkd_status=inactive
network_mgr_enabled=enabled
netplan_render=Unknown
quit /wa-edge/wa-board/scripts/config_netmgr.sh
enter cgroup_v2.sh
check if cgroup v2 is supported..
cgroup v2 is supported
cgroup v2 is not enabled, now trying to enable it
cgroup v2 is not enabled
modify /etc/default/grub
modify /etc/default/grub
find update-grub and run it
Sourcing file `/etc/default/grub'
Sourcing file `/etc/default/grub.d/init-select.cfg'
正在生成 grub 配置文件 ...
找到 Linux 鏡像:/boot/vmlinuz-5.15.0-67-generic
找到 initrd 鏡像:/boot/initrd.img-5.15.0-67-generic
Found memtest86+ image: /boot/memtest86+.elf
Found memtest86+ image: /boot/memtest86+.bin
完成
configured GRUB_CMDLINE_LINUX_DEFAULT="systemd.unified_cgroup_hierarchy=1"
please reboot to enable cgroup v2
start to install nodejs...
installing NODEJS node-v14.15.4-linux-x64 locally..
chmod: 無法訪問 'node-v14.15.4-linux-x64/bin/*': 沒有那個文件或目錄
...done
CHECKING python3...
python3 is already installed.
B_INSTALL_SSH=yes
CHECKING openssh server...
openssh-server is already installed.
install openssh-server done..
running [/home/siit/WaSomeCode/WasomeRuntimePkg/wa_setup183765/shared/platform_install.sh]
enter amd64 platform installation..

Start install web-console
./install.sh
Enter installing Web Console...
set the npm registry to taobao

install modules for console server in /wa-edge/wa-board/web
Setup webconsole without pm2..

...start installing ams client
command: AMS install path is /wa-edge/ams
setup_root = [/home/siit/WaSomeCode/WasomeRuntimePkg/wa_setup183765/ams_client_setup]
AMS was not previously installed.
...setup installation directory strcuture...done
...copy the AMS software files into target folder...done
...create the link for i_provision...done
...setup the AMS environments ...done
...install AMS software to [/wa-edge/ams]...done


setup the board startup scripts
/wa-edge/wa-board/tools/wa_utilities.sh /wa-edge/wa-board /etc/ams
systemd is used
...board startup path: /etc/ams/board/local_startup_board
...setup the board auto start file...done
...setup systemd startup service [wasome]
Created symlink /etc/systemd/system/multi-user.target.wants/wasome.service → /etc/systemd/system/wasome.service.
...setup systemd startup service [wasome]...done
...setup the WaEdge auto start...done
installed python libs to /wa-edge/ams/python-lib
選擇安裝etherCat驅動
然后會看到提示,選擇是否要安裝ethercat驅動,是從source去build的。
Installing ethercat driver.
You can choose to build ethercat driver from source.
>> Input b to build from source;
>> Any other key to continue without installing ethercat; >>
選擇b再回車的話。就會看到開始下載安裝。
注意:整個過程會分為下載和安裝兩部分,所以需要保持網絡連接狀態
安裝完成后會詢問是否需要重啟,選擇yes回車。
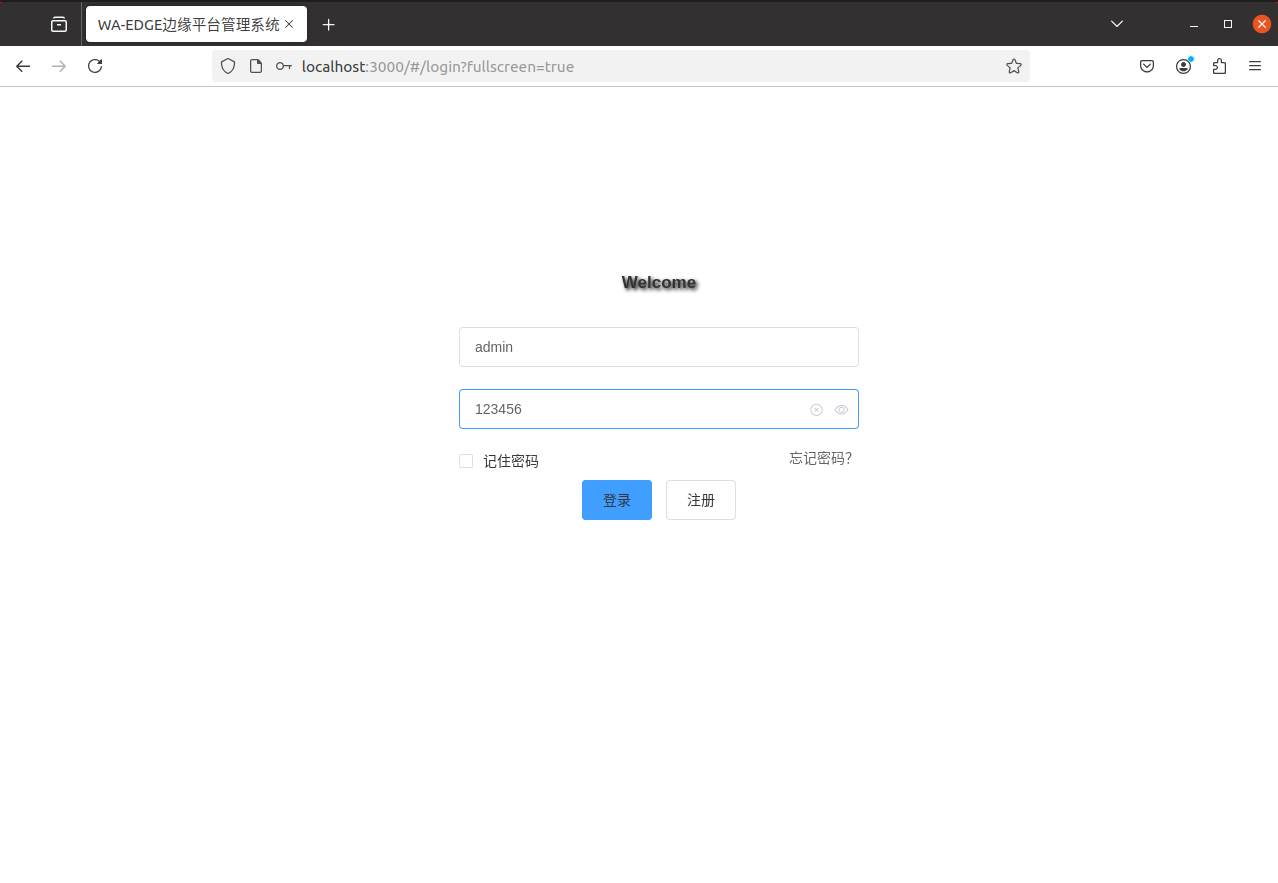
登陸邊緣管理平臺軟件
打開瀏覽器,通過localhost:3000(本機)或者目標IP:3000登陸邊緣管理平臺。
即,這個管理軟件可以安裝在本機或者網絡環境中的另一臺linux主機上。
這邊,如果機子上已有占了3000端口的軟件在,會出現問題。比如我之前裝的Open WebUI就占了3000端口。我這邊是把'Open WebUI`的docker停掉。這邊希望WasomeCodeX這邊在安裝軟件時可以選擇端口。
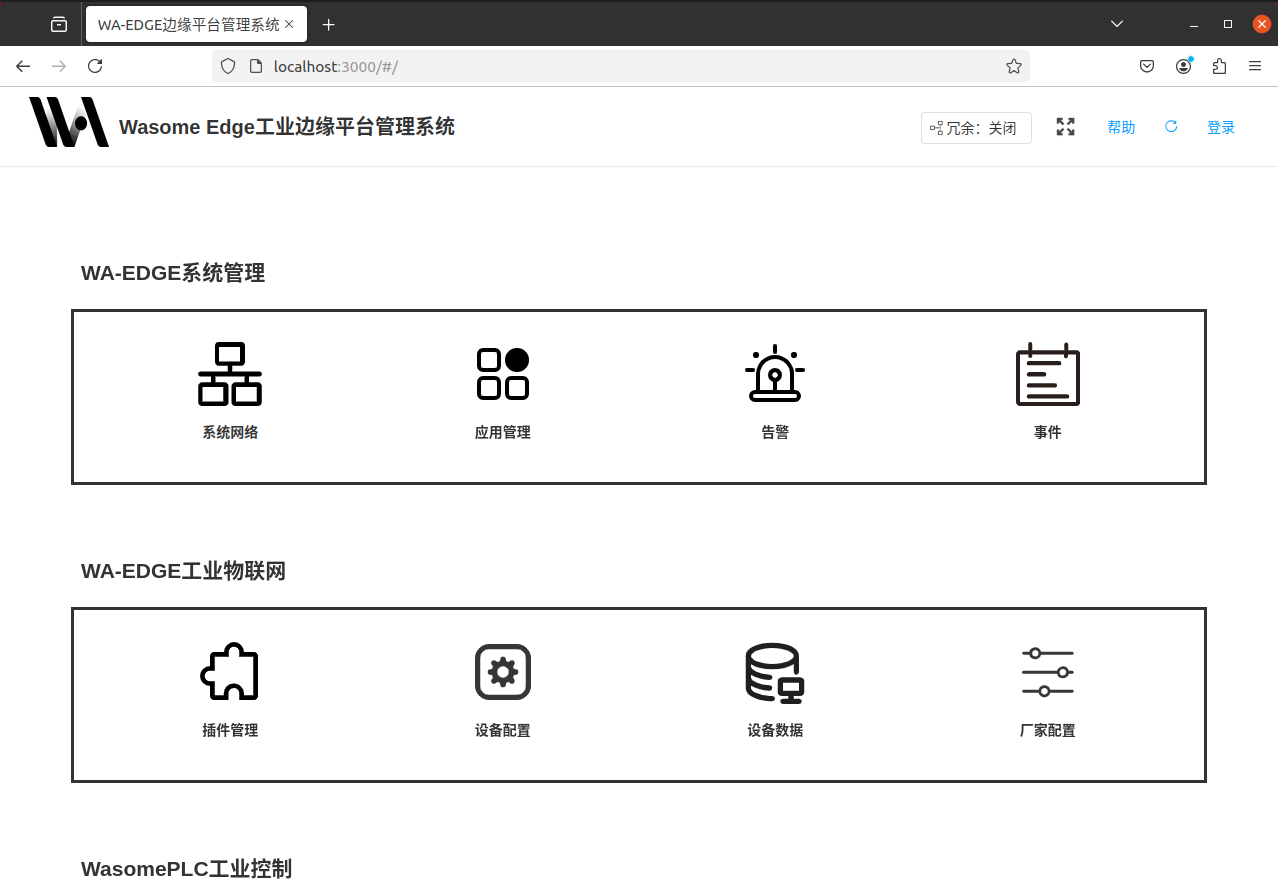
然后通過右上角登陸按鍵登陸系統。
安裝PLC
點擊應用管理,通過網關軟件列表里面選擇本地安裝
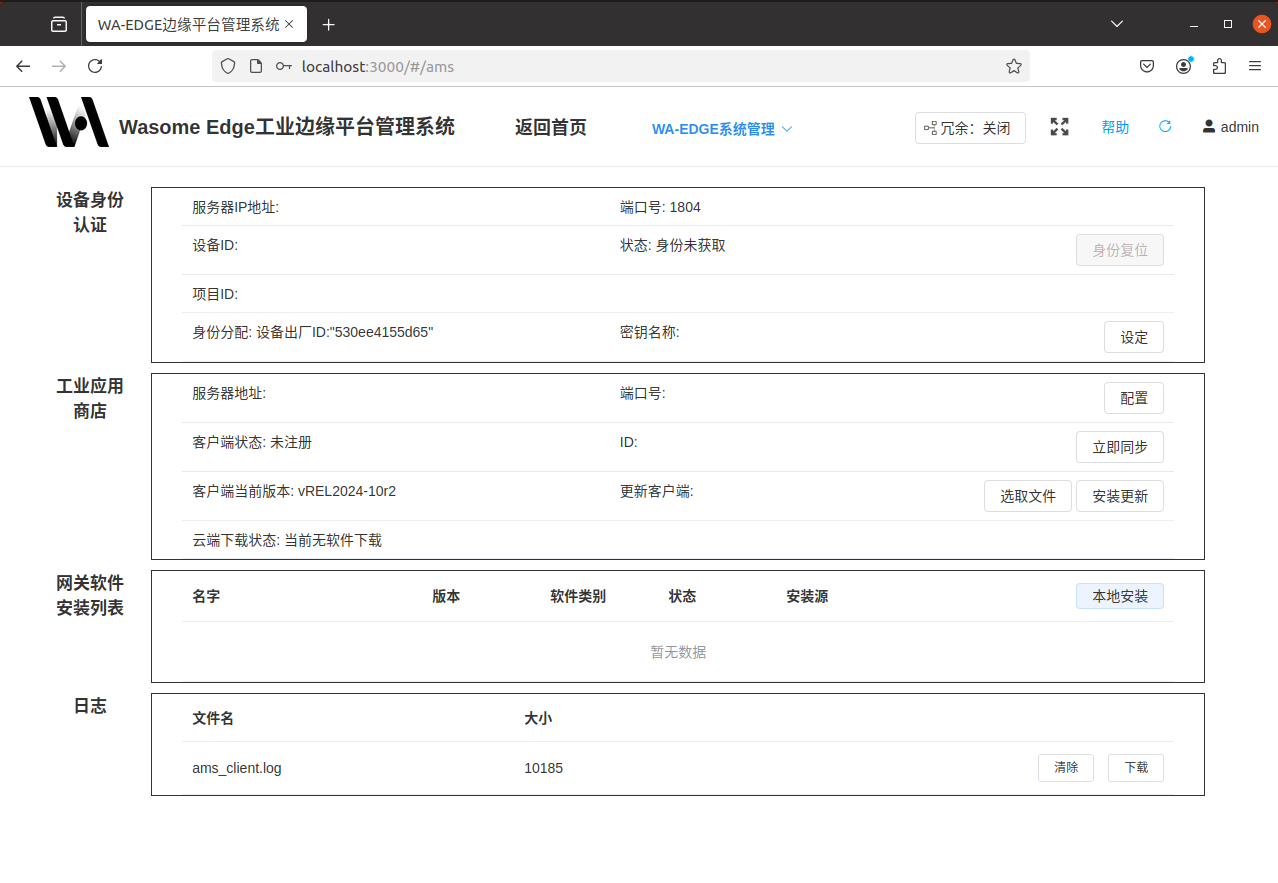
選擇basicruntime和plc安裝包。
此時同樣需要注意cpu架構要和主機匹配。
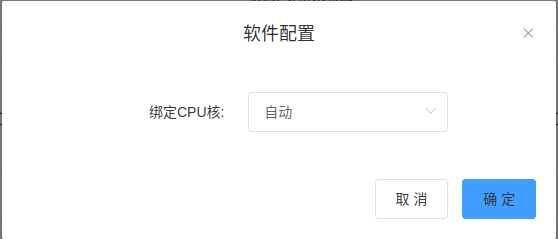
安裝PLC的過程會有提示匹配實時核。

可以選擇綁定哪個核。
安裝完成后,可以看到此處多了兩個。

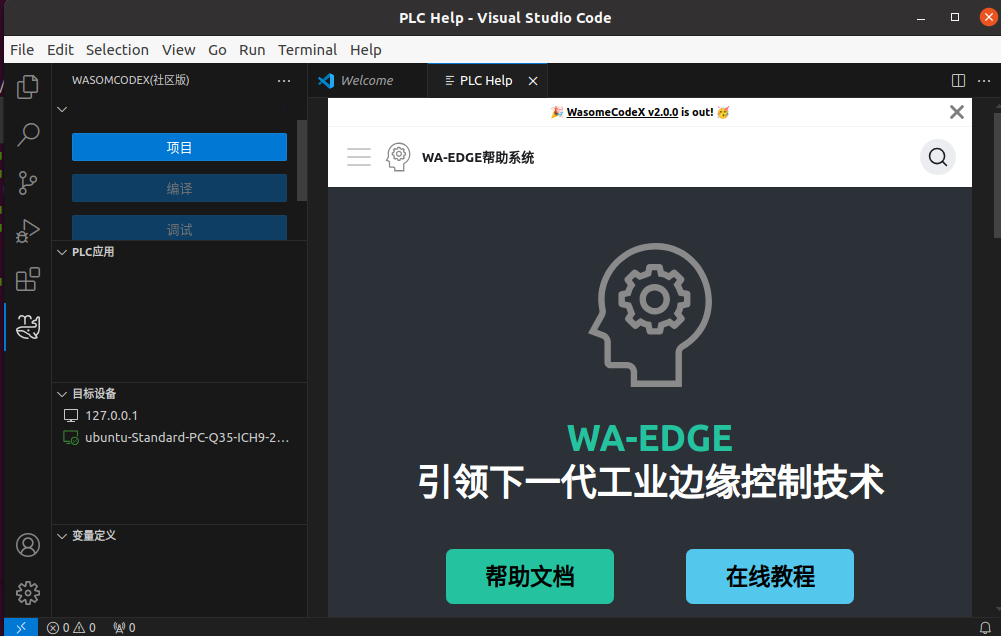
再次打開WacomeIDE
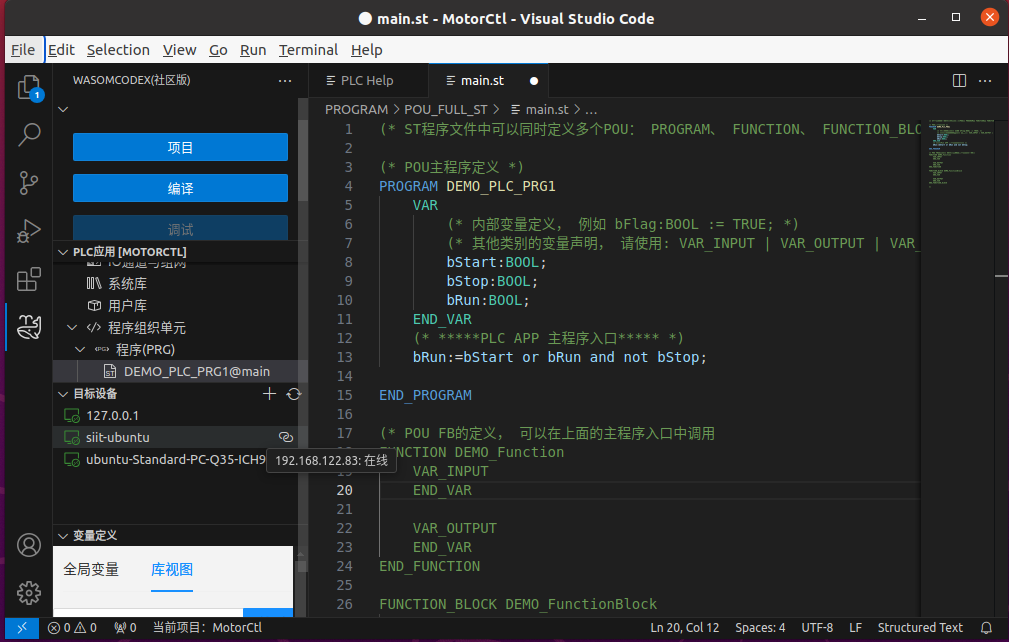
打開VScode,在界面左下角目標設備可以看到新安裝的PLC已經運行起來了。
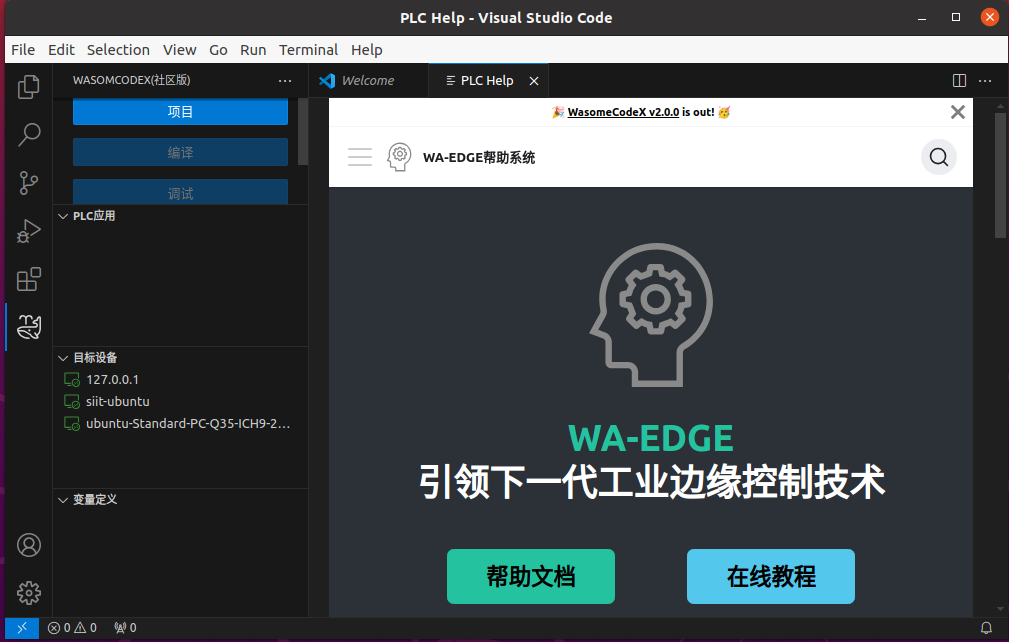
圖上的siit-ubuntu就是我這臺裝了IDE的ubuntu虛擬機本機,下面那臺ubuntu...是另一臺虛擬機。
實際的話,應該就是局域網內的PLC都可以識別出來,即使認不出,通過目標設備右側的+號再輸入目標IP進行添加即可。
新建項目
點擊左側項目按鍵
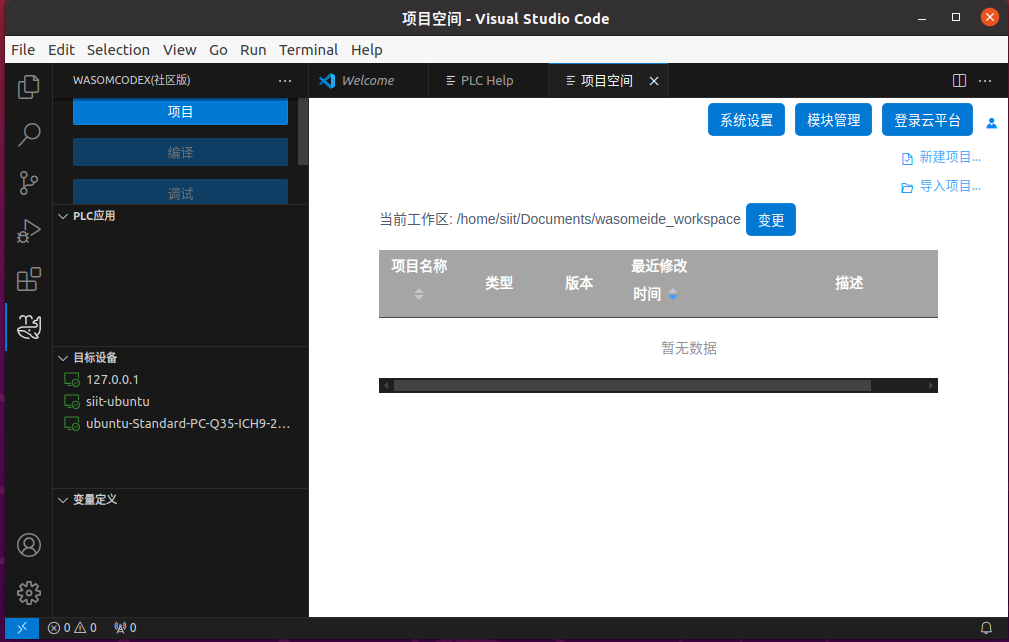
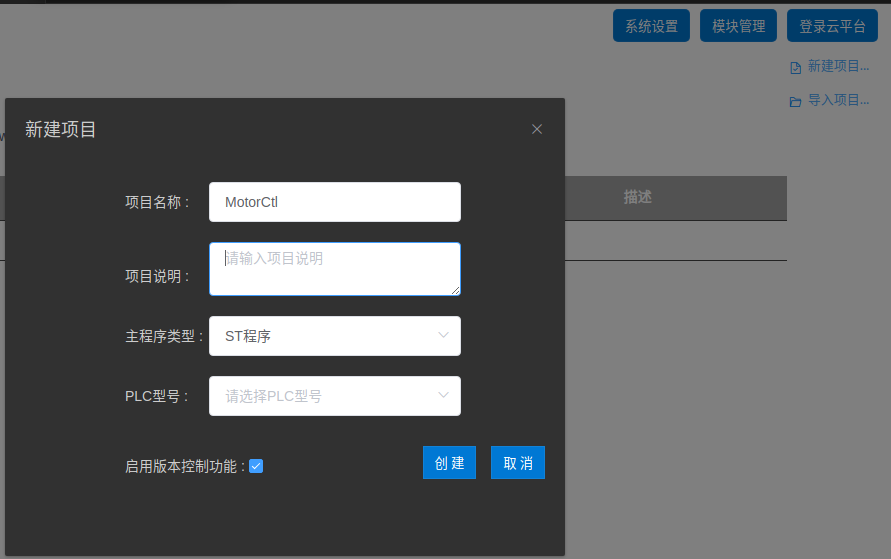
再右側新建項目,新建一個項目。
敲個小程序
定義變量,會有快捷下拉列表出來。
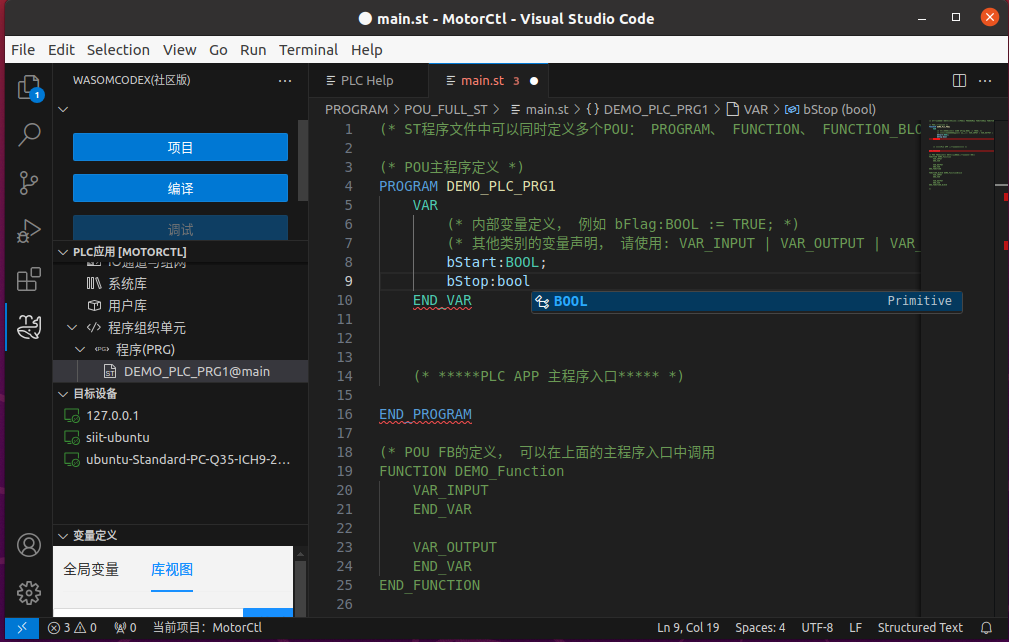
但是如果手動輸入,需要注意大小寫,否則可能會出問題,比如
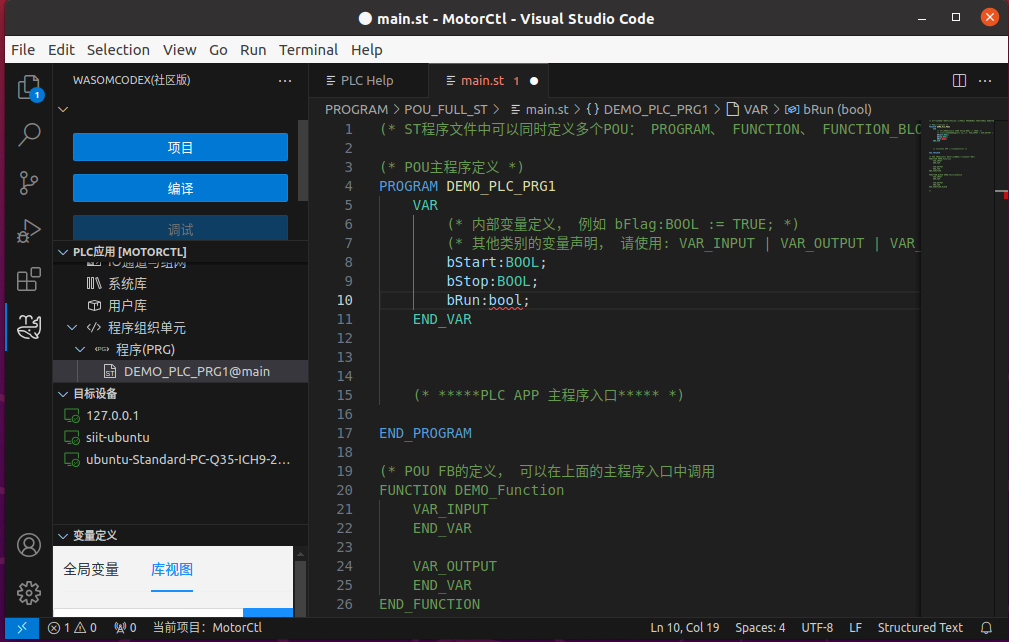
可以看到小寫的bool量系統是不認的。
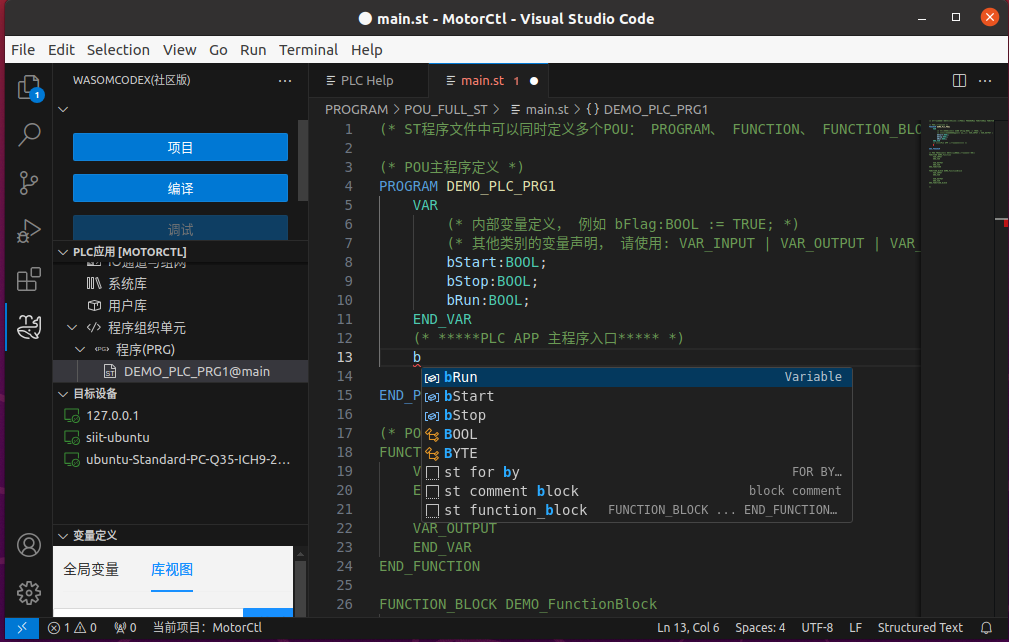
再寫程序,可以看到非常舒服地,已經設置過的變量可以自動彈出了。
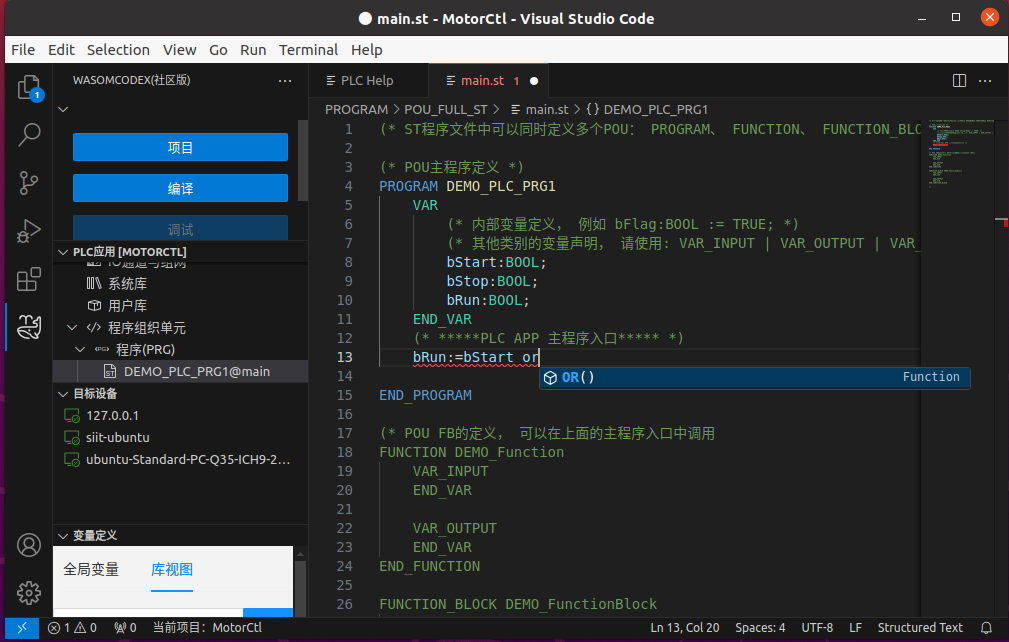
但也會有一些問題,比如我只想輸入個操作符or的時候,自動彈出了OR()Function。
連接PLC
把鼠標放到目標設備下面想登陸的PLC上。可以看到目標IP和右側有個登陸的圖標(鼠標放上去會有提示)。
點擊之后會提示輸入密碼,輸入123456,然后回車。

然后可以看到登陸上了對應的PLC。
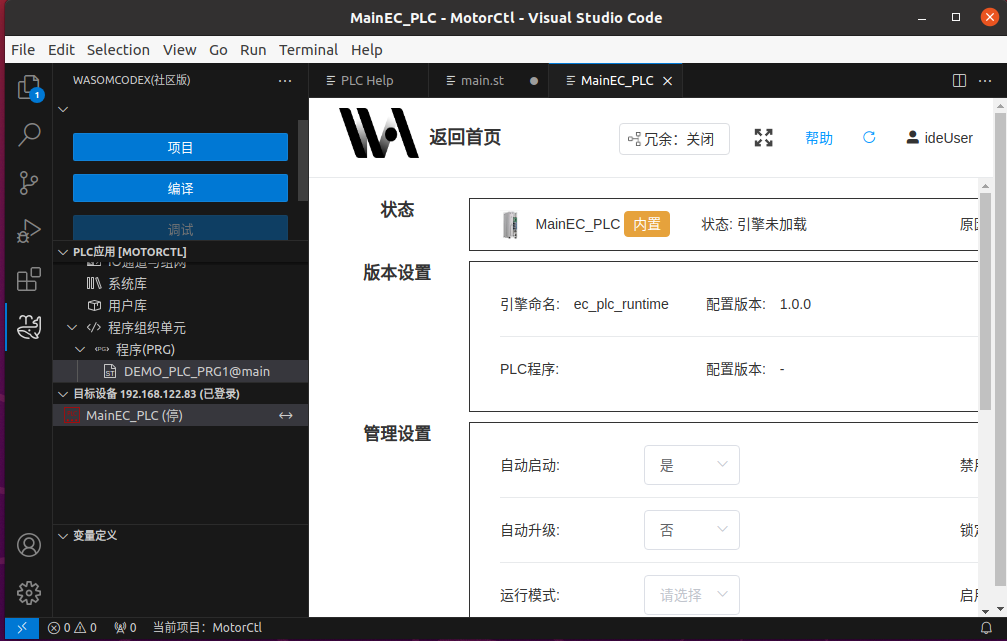
然后再點擊對應PLC名字MainEC_PLC右側的箭頭(鼠標放上去會提示連接)。

可以看到顯示已連接,但未裝載APP。這邊的APP就是PLC程序了。這點描述上和codesys有類似的地方,但可能對于原本的主流PLC用戶會感覺不同。
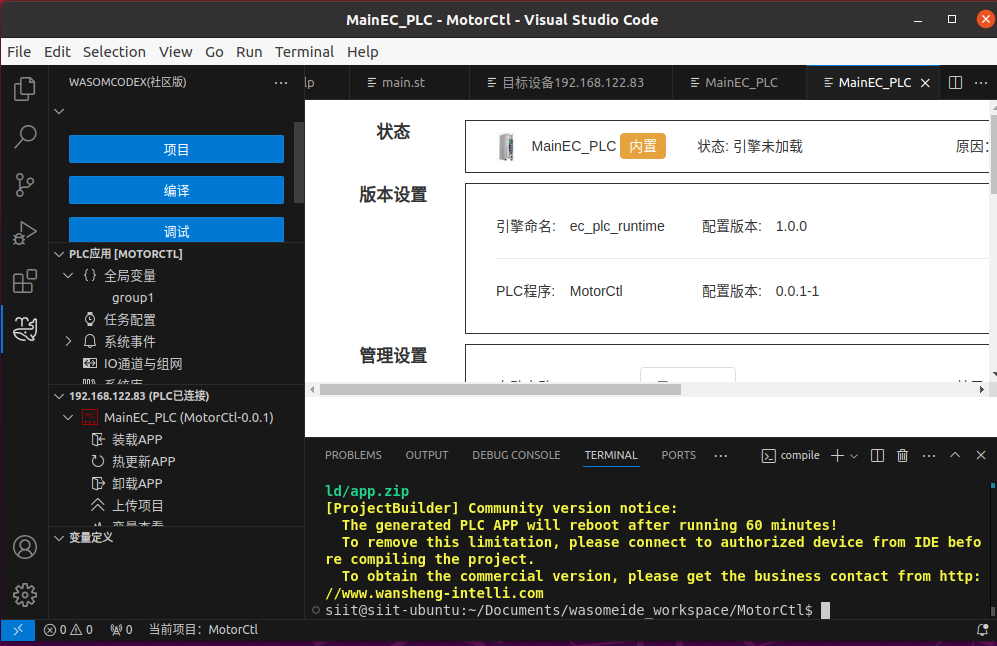
雙擊裝載APP,會在軟件右下角提示要編譯。
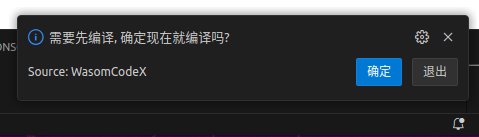
點擊確定,然后就會自動編譯裝載,同時在terminal可以看到過程。
完成后,點擊左側調試按鍵。
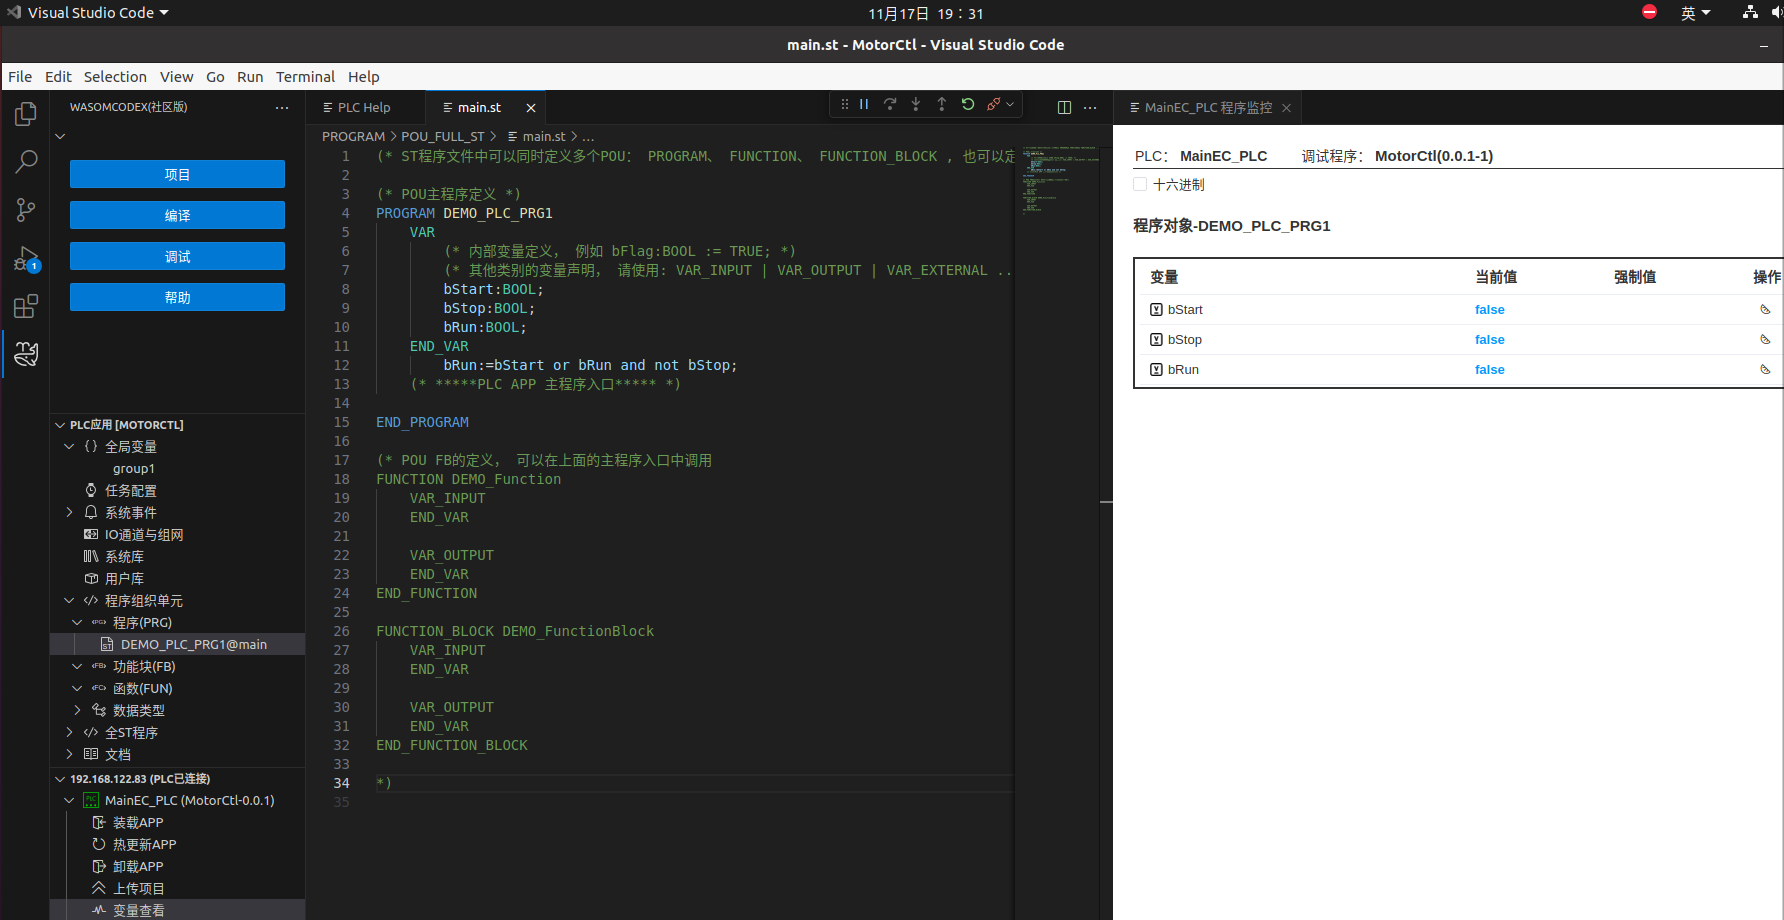
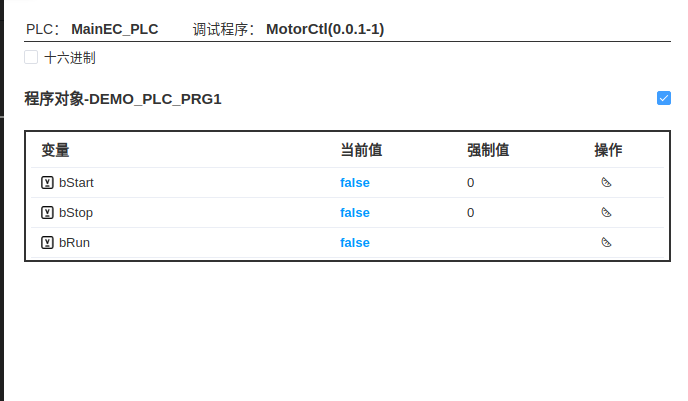
點擊“強制”,輸入1,再點確定。
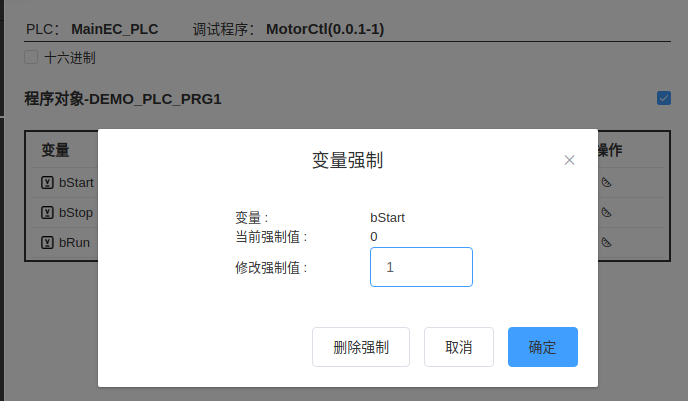
可以看到bRun變true。
再試下把bStop強制操作一下1-0,可以看到bRun恢復false。
另
點擊左側變量查看也可以調出調出變量監控界面。
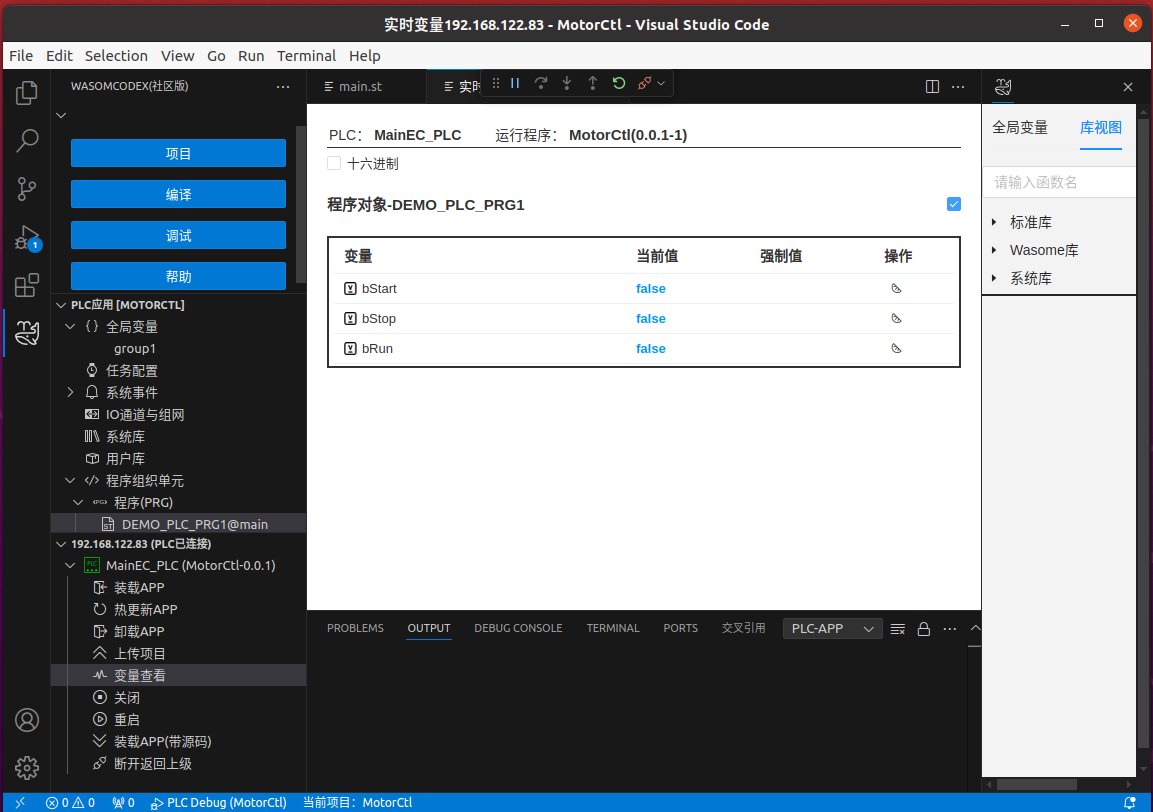
或者雙擊左側MainEC_PLC打開MainEC_PLC狀態頁面,通過查看實時變量入口打開查看實時變量頁面。
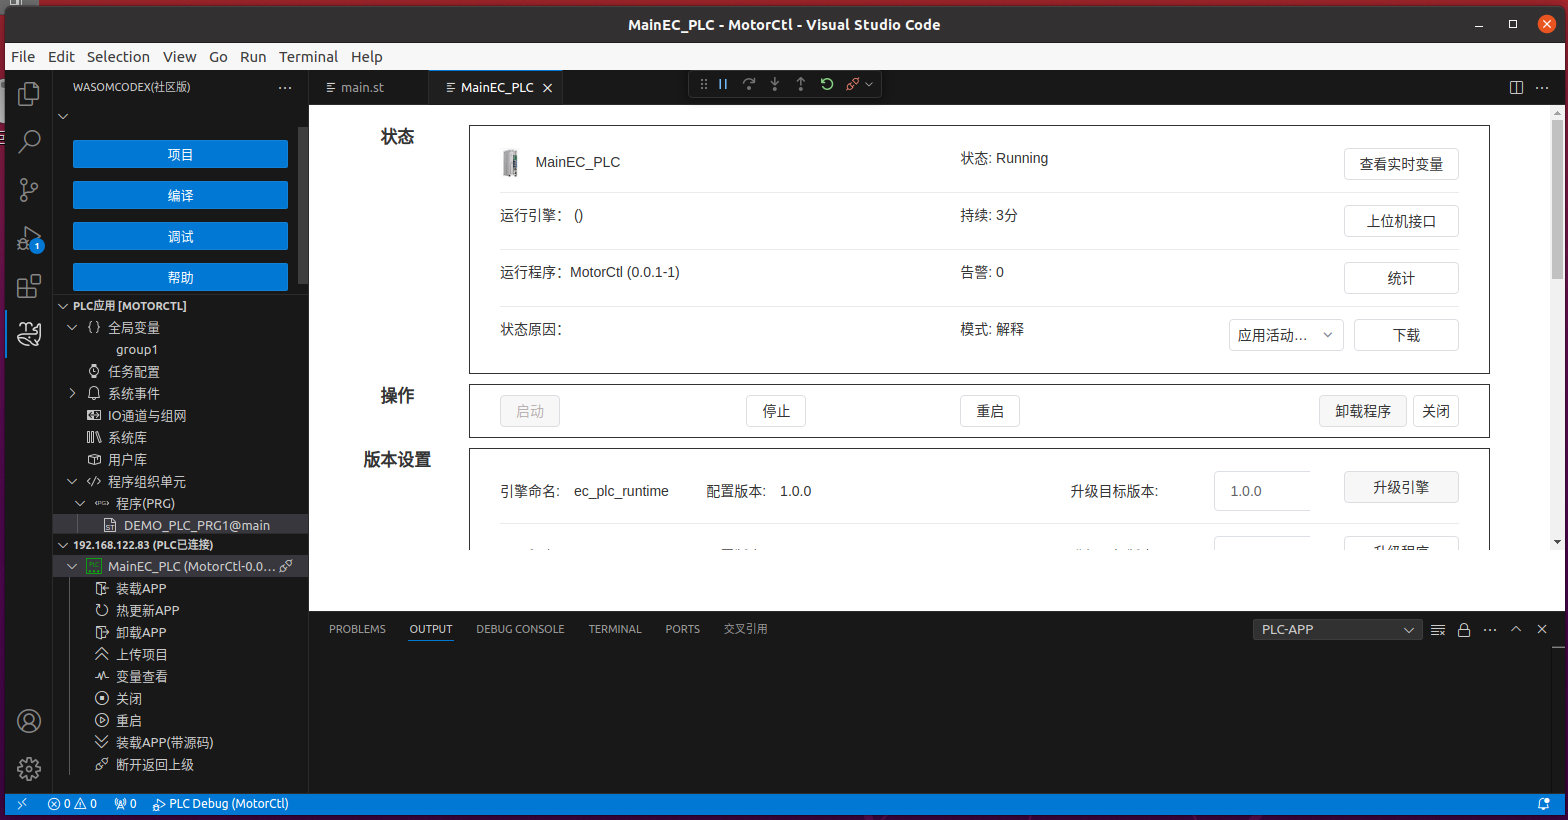
可以看到全局變量等更多內容。


 浙公網安備 33010602011771號