
Windows 11 + WSL + VS Code + Rust 環境配置
最近,秋招基本結束,畢設中期也完事了,算是有一些時間了,打算開始學點新東西。
前言
可以在 Win 或者 Linux 上搭建 rust 環境,在網上搜索后,我發現在 Linux 上搭建 Rust 環境要比在 Win 上快捷很多,但是我日常又使用 Win 系統。
所以最終選擇在 Win11 的 WSL2 中搭建 Rust 環境,在用 Vs Code 連接 WSL。
總體步驟
- Win11 安裝 WSL
- Win11 WSL 換源
- Win11 WSL 安裝 gcc
- Win11 WSL 安裝 rust
- Win11 vscode 安裝 Remote-WSL
- Win11 vscode 安裝 rust-analyzer
- 簡單驗證
- 運行與調試
Win11 安裝 WSL
前提條件:

以管理員模式打開 PowerShell 或 Windows 命令提示符,輸入 wsl --install 命令,就開始安裝 WSL 了,這了默認會安裝最新的穩定版本的 Ubuntu。可以手動選擇別的版本,具體操作見 微軟教程.
安裝完成后,需要重啟電腦,配置才能生效。
ps:可能是因為我一直開著梯子的原因,安裝 WSL 的時候,一直提示 wsl: 檢測到 localhost 代理配置,但未鏡像到 WSL。NAT 模式下的 WSL 不支持 localhost 代理。
不知道會不會對 WSL 的網絡產生影響,保險起見我 按照 教程做了一些配置。
WSL 中有一個配置文件用于配置高級設置選項,那就是 .wslconfig.這個文件默認是沒有的,如果要配置,我們要手動創建。
這個文件在 C:\Users\<UserName>\.wslconfig 中。
創建文件后,填入以下內容并保存。
[experimental]
autoMemoryReclaim=gradual  # gradual  | dropcache | disabled
networkingMode=mirrored
dnsTunneling=true
firewall=true
autoProxy=true
再打開 power shell,輸入 wsl --shutdown,重新打開 WSL,就沒有之前的提示了。
Win11 WSL 換源
WSL 和正常的 Ubunut 系統一樣,原始使用國外源,但是我們使用不方便,所以可以改為國內源,更改方法和 ubunut 系統中一模一樣。
ps:要先確定下 WSL 中安裝的系統版本,我這里默認安裝的 Ubuntu 22.04.3 LTS.
國內源
清華源:
# 默認注釋了源碼鏡像以提高 apt update 速度,如有需要可自行取消注釋
deb https://mirrors.tuna.tsinghua.edu.cn/ubuntu/ jammy main restricted universe multiverse
# deb-src https://mirrors.tuna.tsinghua.edu.cn/ubuntu/ jammy main restricted universe multiverse
deb https://mirrors.tuna.tsinghua.edu.cn/ubuntu/ jammy-updates main restricted universe multiverse
# deb-src https://mirrors.tuna.tsinghua.edu.cn/ubuntu/ jammy-updates main restricted universe multiverse
deb https://mirrors.tuna.tsinghua.edu.cn/ubuntu/ jammy-backports main restricted universe multiverse
# deb-src https://mirrors.tuna.tsinghua.edu.cn/ubuntu/ jammy-backports main restricted universe multiverse
deb https://mirrors.tuna.tsinghua.edu.cn/ubuntu/ jammy-security main restricted universe multiverse
# deb-src https://mirrors.tuna.tsinghua.edu.cn/ubuntu/ jammy-security main restricted universe multiverse

# 預發布軟件源,不建議啟用
# deb https://mirrors.tuna.tsinghua.edu.cn/ubuntu/ jammy-proposed main restricted universe multiverse
# deb-src https://mirrors.tuna.tsinghua.edu.cn/ubuntu/ jammy-proposed main restricted universe multiverse
阿里源:
deb http://mirrors.aliyun.com/ubuntu/ jammy main restricted universe multiverse
deb-src http://mirrors.aliyun.com/ubuntu/ jammy main restricted universe multiverse
deb http://mirrors.aliyun.com/ubuntu/ jammy-security main restricted universe multiverse
deb-src http://mirrors.aliyun.com/ubuntu/ jammy-security main restricted universe multiverse
deb http://mirrors.aliyun.com/ubuntu/ jammy-updates main restricted universe multiverse
deb-src http://mirrors.aliyun.com/ubuntu/ jammy-updates main restricted universe multiverse
deb http://mirrors.aliyun.com/ubuntu/ jammy-proposed main restricted universe multiverse
deb-src http://mirrors.aliyun.com/ubuntu/ jammy-proposed main restricted universe multiverse
deb http://mirrors.aliyun.com/ubuntu/ jammy-backports main restricted universe multiverse
deb-src http://mirrors.aliyun.com/ubuntu/ jammy-backports main restricted universe multiverse
中科大源:
deb https://mirrors.ustc.edu.cn/ubuntu/ jammy main restricted universe multiverse
deb-src https://mirrors.ustc.edu.cn/ubuntu/ jammy main restricted universe multiverse
deb https://mirrors.ustc.edu.cn/ubuntu/ jammy-updates main restricted universe multiverse
deb-src https://mirrors.ustc.edu.cn/ubuntu/ jammy-updates main restricted universe multiverse
deb https://mirrors.ustc.edu.cn/ubuntu/ jammy-backports main restricted universe multiverse
deb-src https://mirrors.ustc.edu.cn/ubuntu/ jammy-backports main restricted universe multiverse
deb https://mirrors.ustc.edu.cn/ubuntu/ jammy-security main restricted universe multiverse
deb-src https://mirrors.ustc.edu.cn/ubuntu/ jammy-security main restricted universe multiverse
deb https://mirrors.ustc.edu.cn/ubuntu/ jammy-proposed main restricted universe multiverse
deb-src https://mirrors.ustc.edu.cn/ubuntu/ jammy-proposed main restricted universe multiverse
網易源:
deb http://mirrors.163.com/ubuntu/ jammy main restricted universe multiverse
deb http://mirrors.163.com/ubuntu/ jammy-security main restricted universe multiverse
deb http://mirrors.163.com/ubuntu/ jammy-updates main restricted universe multiverse
deb http://mirrors.163.com/ubuntu/ jammy-proposed main restricted universe multiverse
deb http://mirrors.163.com/ubuntu/ jammy-backports main restricted universe multiverse
deb-src http://mirrors.163.com/ubuntu/ jammy main restricted universe multiverse
deb-src http://mirrors.163.com/ubuntu/ jammy-security main restricted universe multiverse
deb-src http://mirrors.163.com/ubuntu/ jammy-updates main restricted universe multiverse
deb-src http://mirrors.163.com/ubuntu/ jammy-proposed main restricted universe multiverse
deb-src http://mirrors.163.com/ubuntu/ jammy-backports main restricted universe multiverse
選擇一個國內源后,執行
sudo apt-get update
sudo apt-get upgrade
Win11 WSL 安裝 gcc
打開WSL,執行下面的命令
apt-get update  # 確保apt-get是最新,可能install gcc時報錯
sudo apt install gcc
Win11 WSL 安裝 rust
兩行命令即可:
sudo apt install rustc
sudo apt install cargo
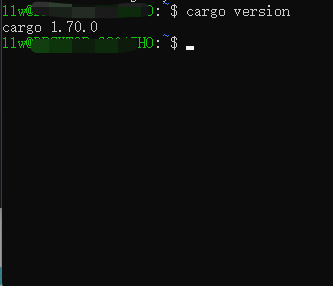
等安裝完成后在終端運行 cargo version
若出現以下內容則證明 rust 安裝成功。
Win11 vscode 安裝 Remote-WSL
目前,vscode 已經提供插件可使用 windows 的 vscode 連接到 wsl2 中,這個插件就是 WSL
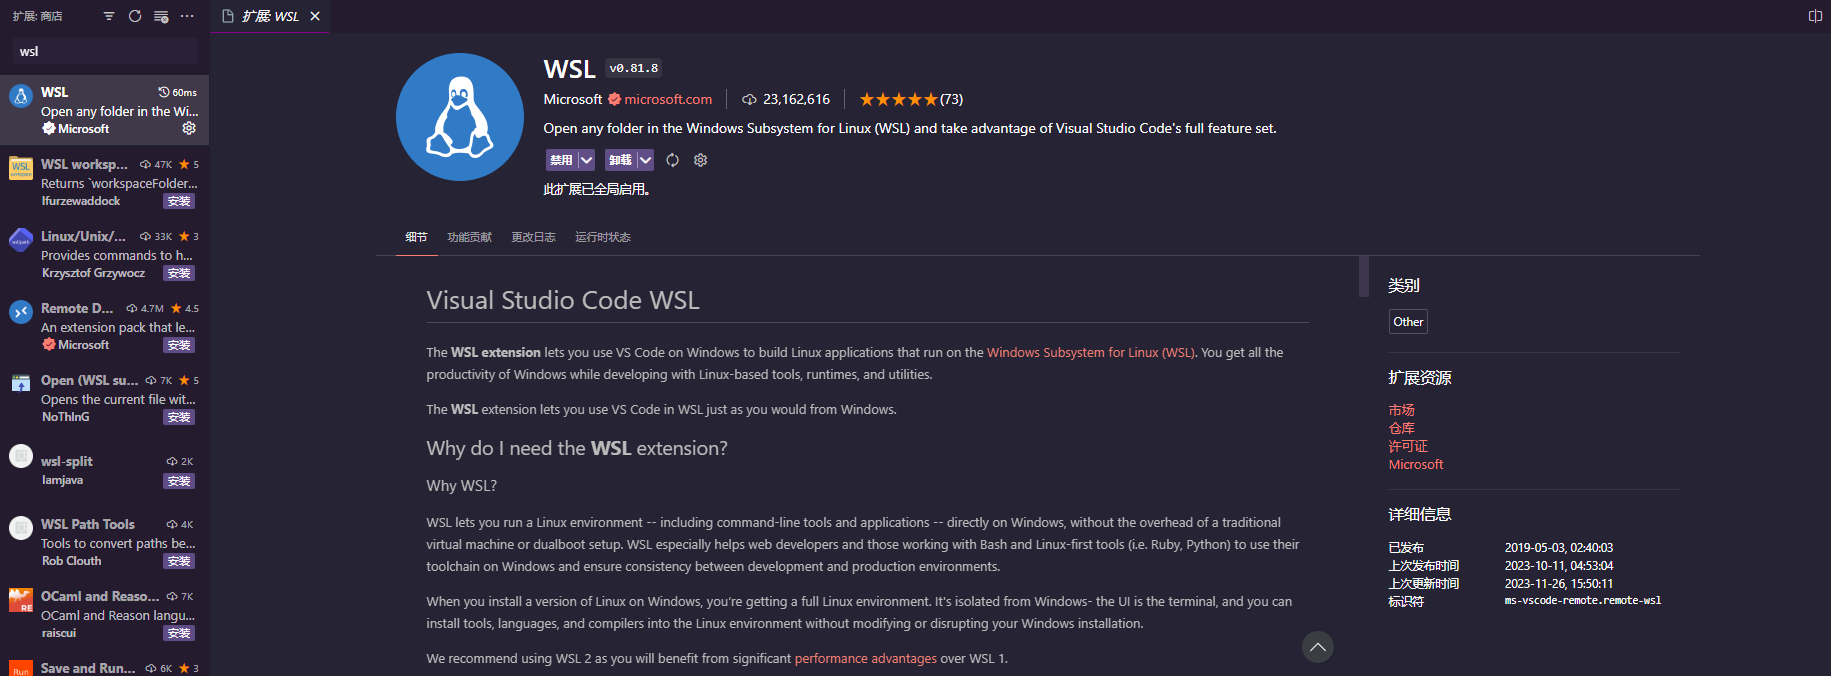
所以,只要 windows 上的 vscode 安裝該插件就可以連接到 wsl2 中。
第一次的時候需要等待一些時間,因為需要做一些初始化的工作
當初始化完成后點擊 Open Folder 將會選擇 wsl2 里的某個文件夾。
Win11 vscode 安裝 rust-analyzer
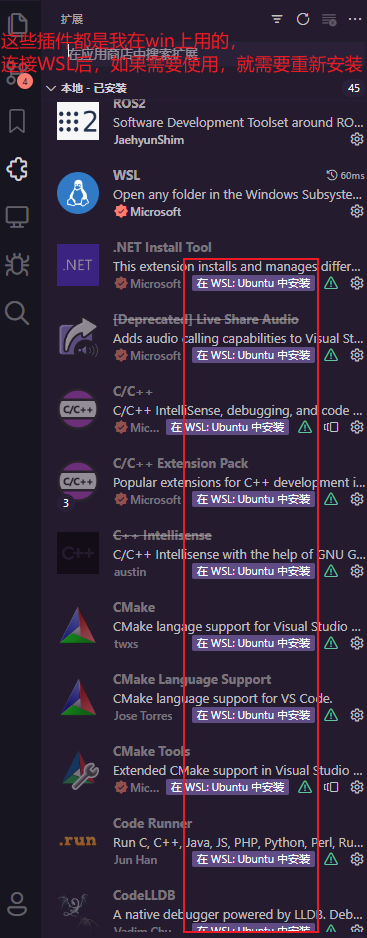
當用vscode連接WSL后,安裝的插件就有兩個“版本”。一個是win上使用的,一個是安裝在WSL中的。
而這里,我們暫時只需要一個,那就是rust-analyzer
在連接WSL的Vs Code窗口中,搜索rust-analyzer,安裝插件就可以。
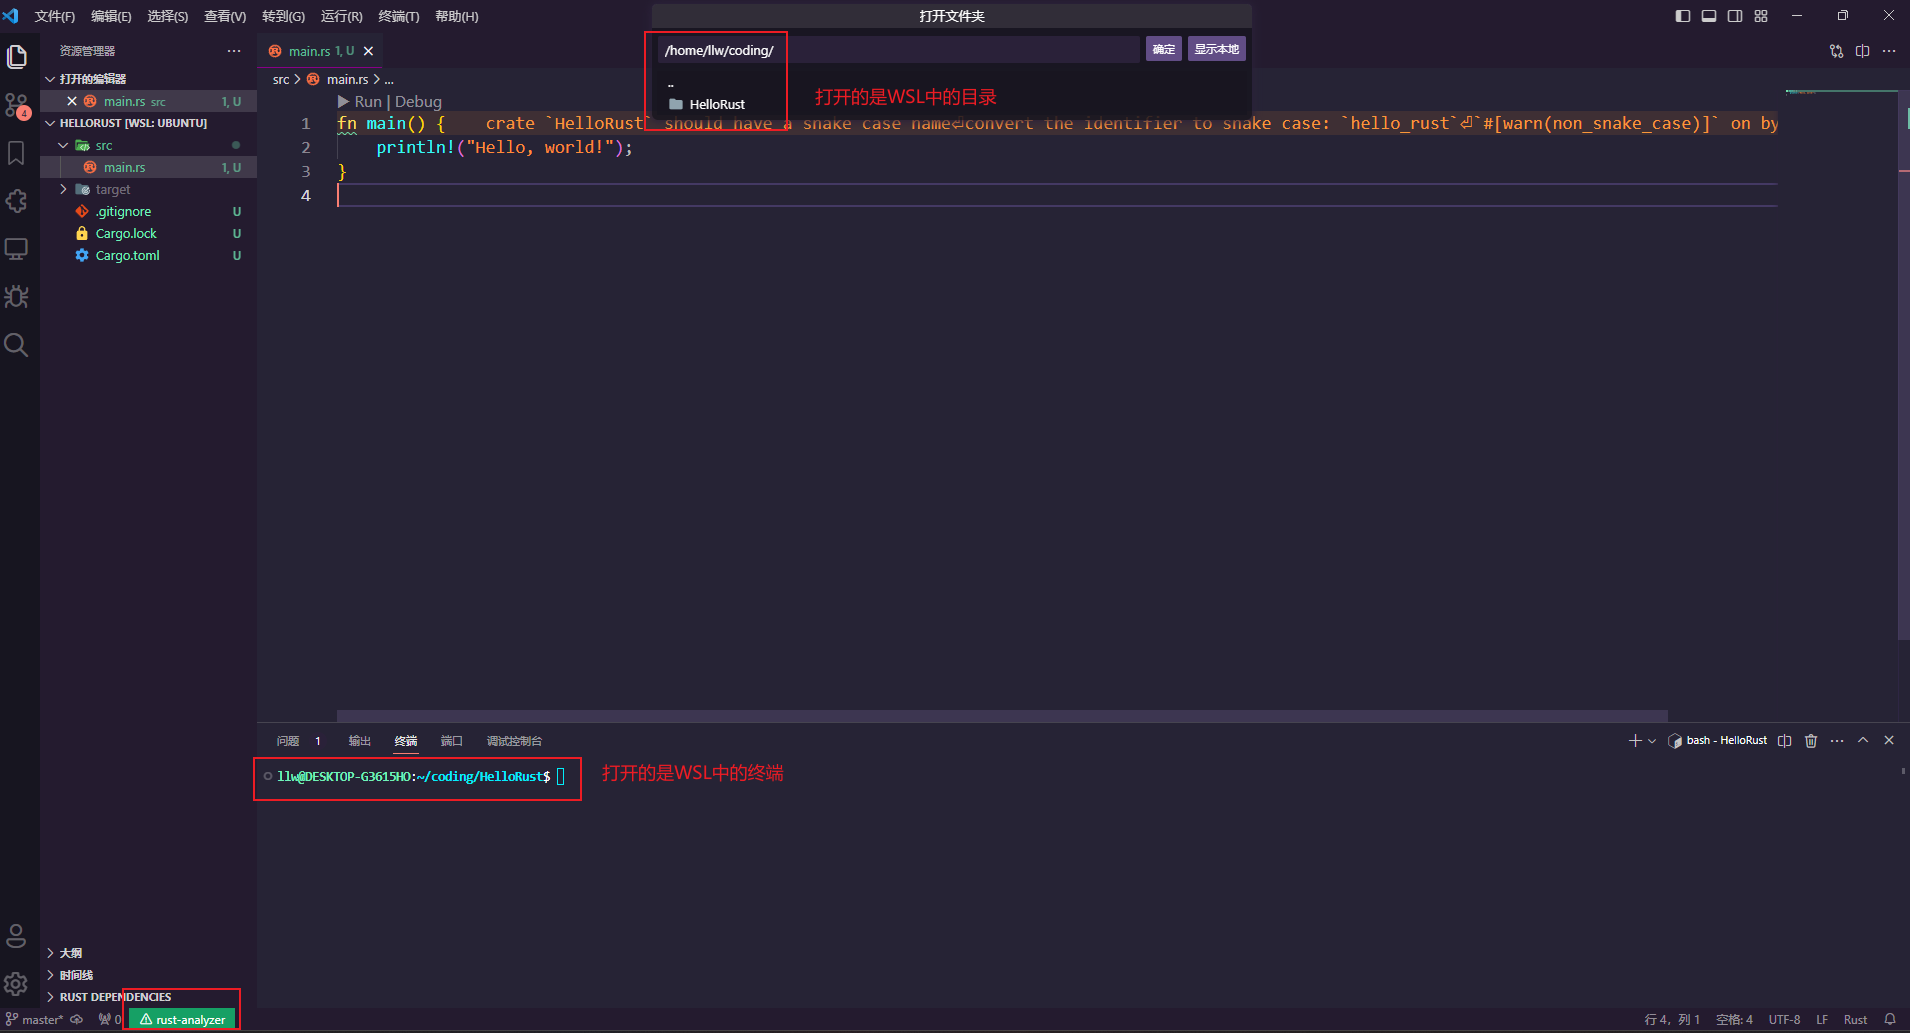
簡單驗證
在WSL中,隨便找一個目錄,輸入 cargo init hello-world
再輸出 code .,就可以使用Vs Code打開Rust項目了。
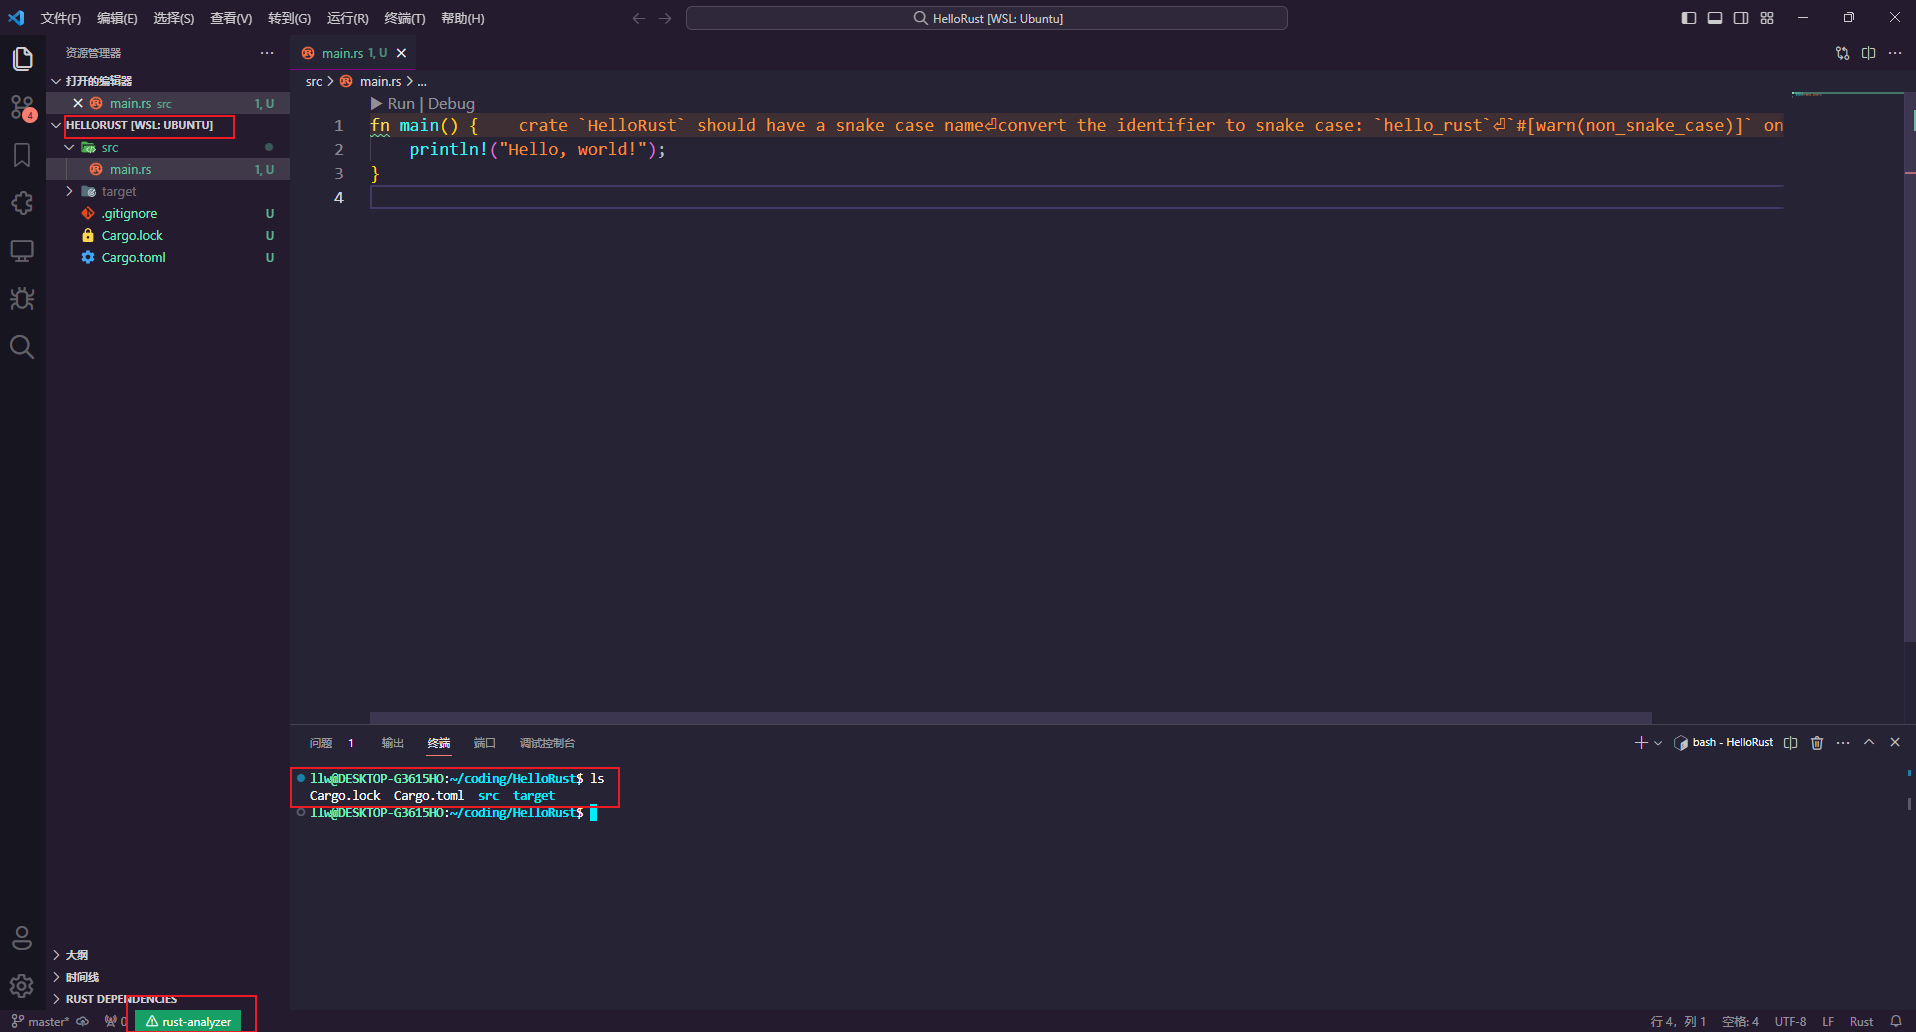
在Vs Code的終端中運行 cargo run,驗證環境是否配置成功。如果成果,效果如下圖所示。
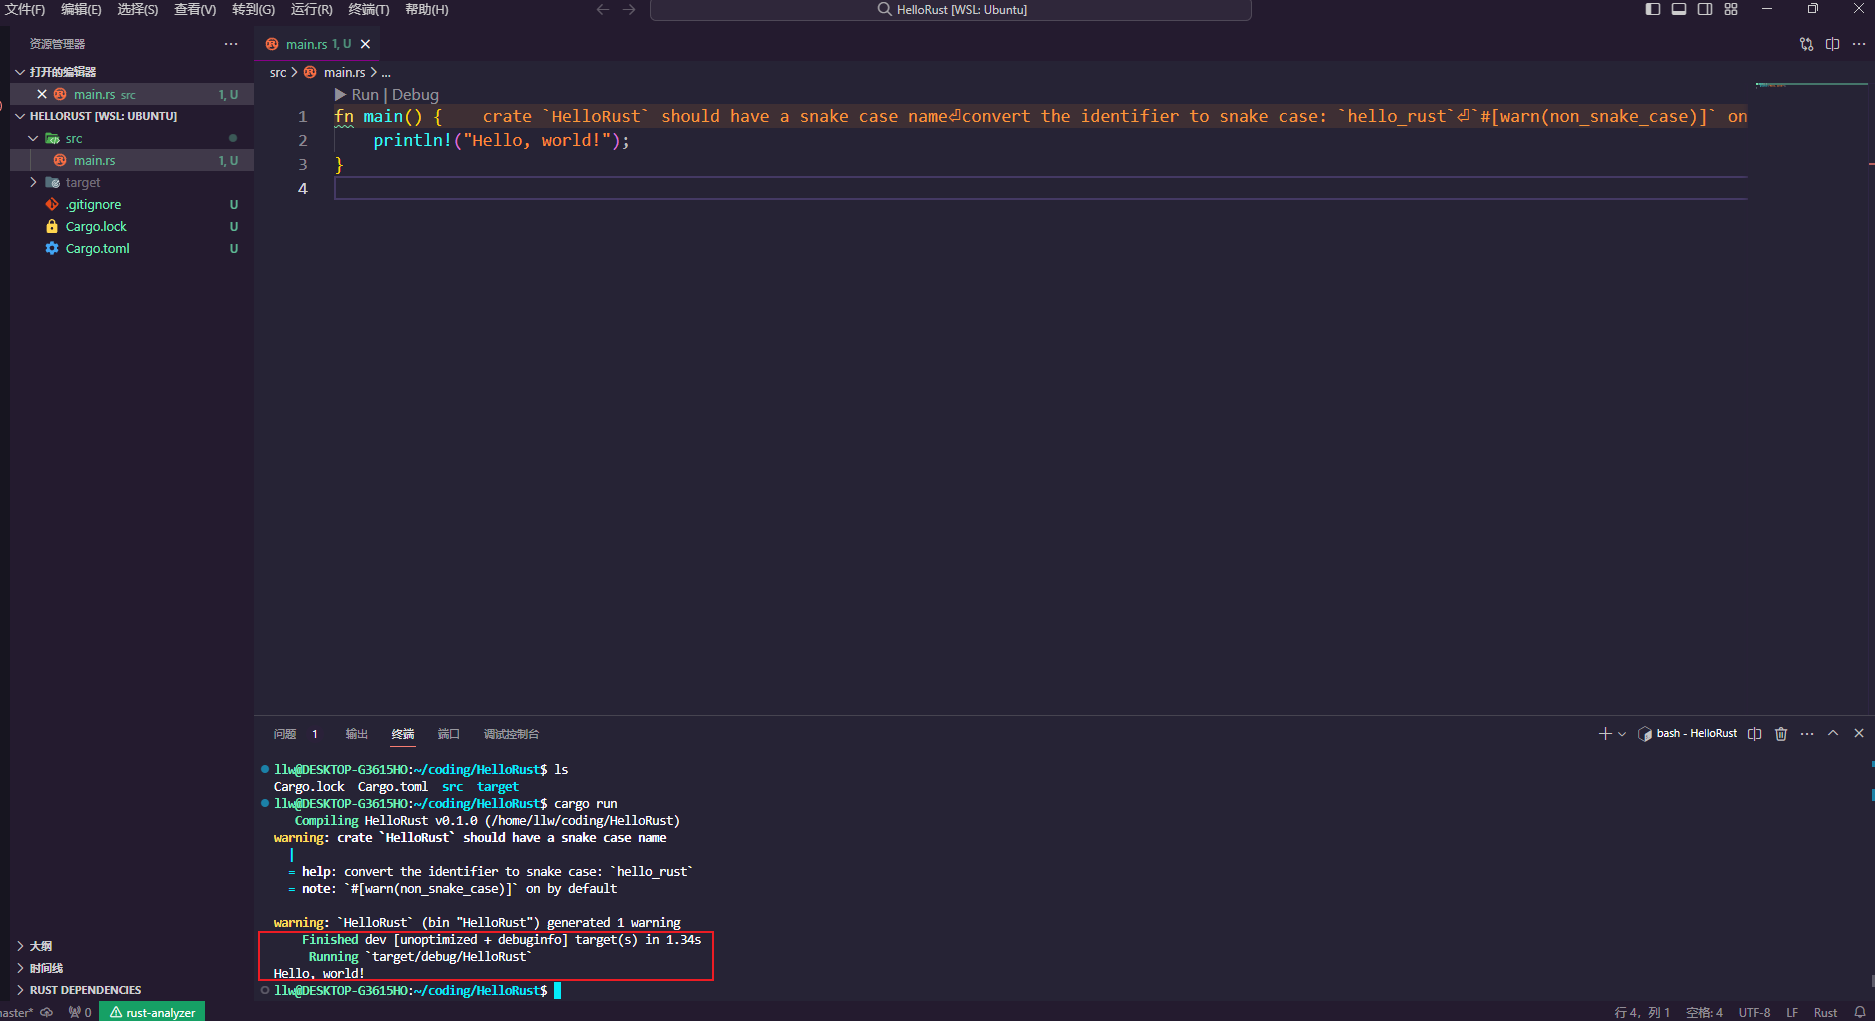
到這里,Rust的基本環境就配置成功了。
運行與調試
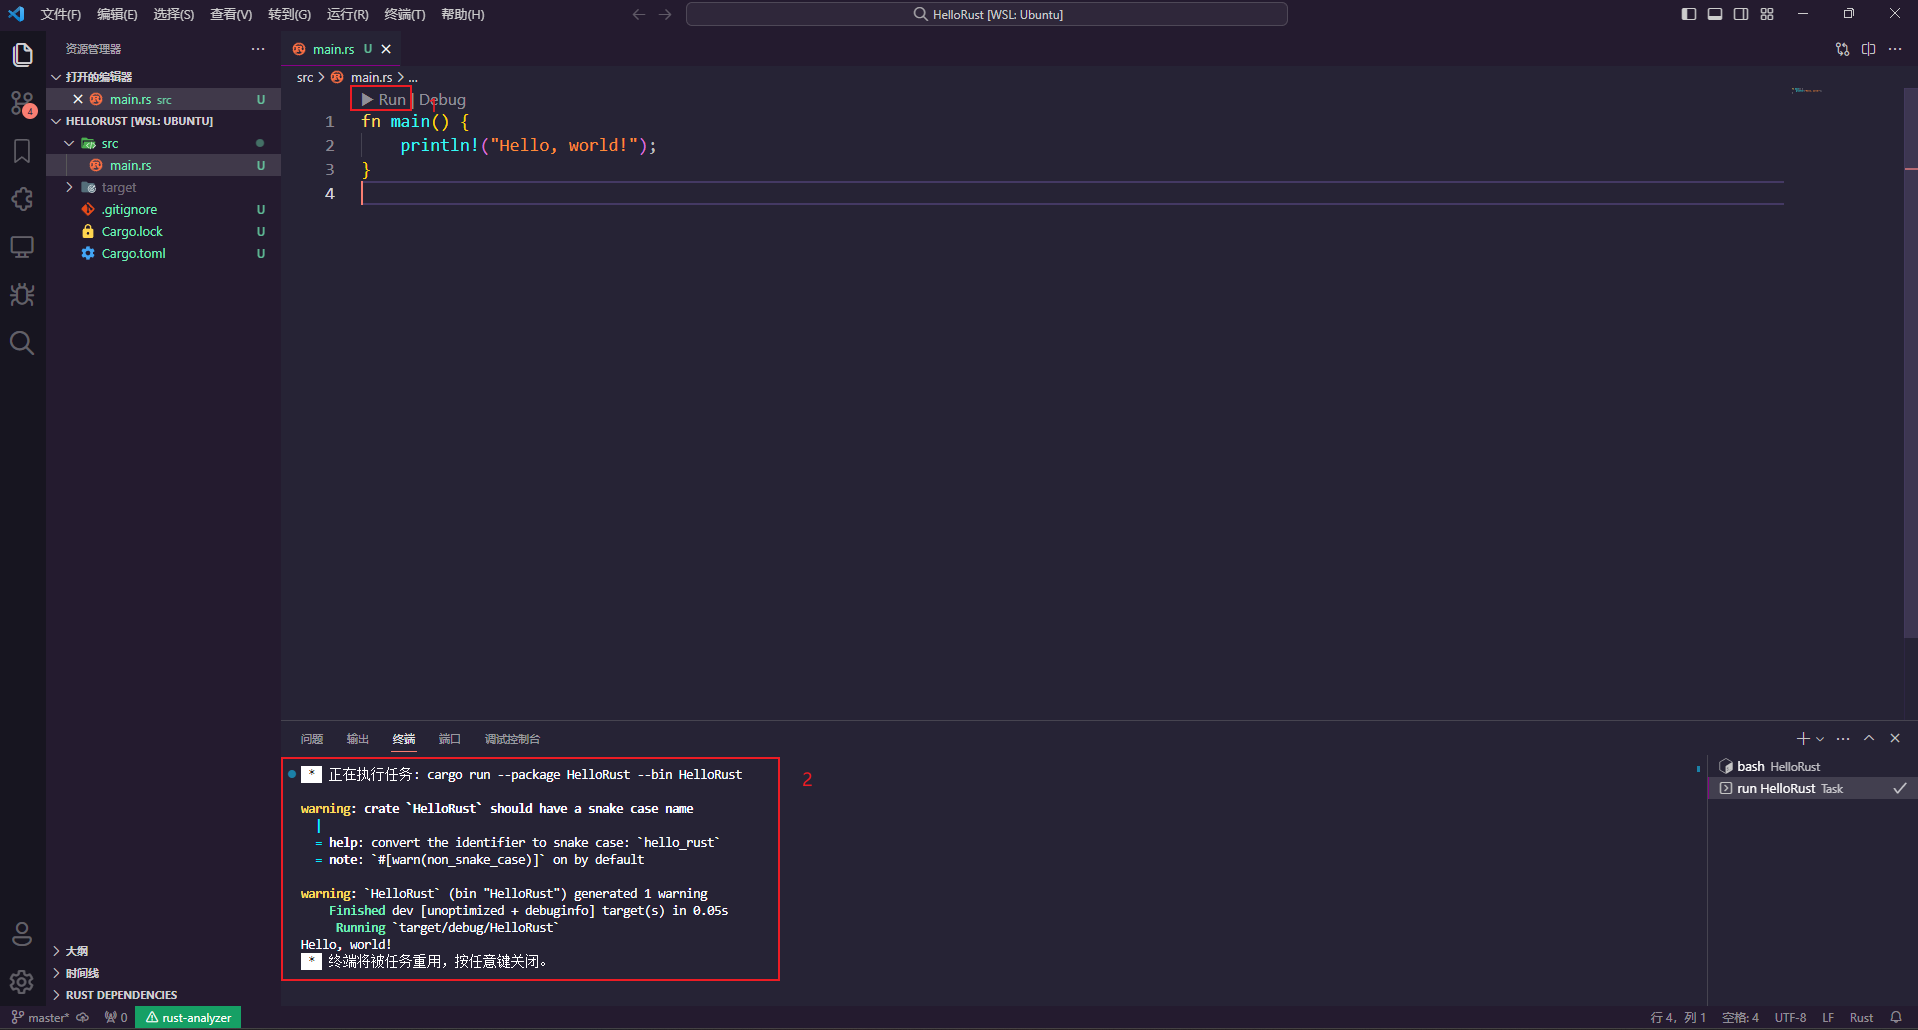
在WSL中輸入code .打開VS Code后,點擊代碼左上角的“Run”就可以執行程序。
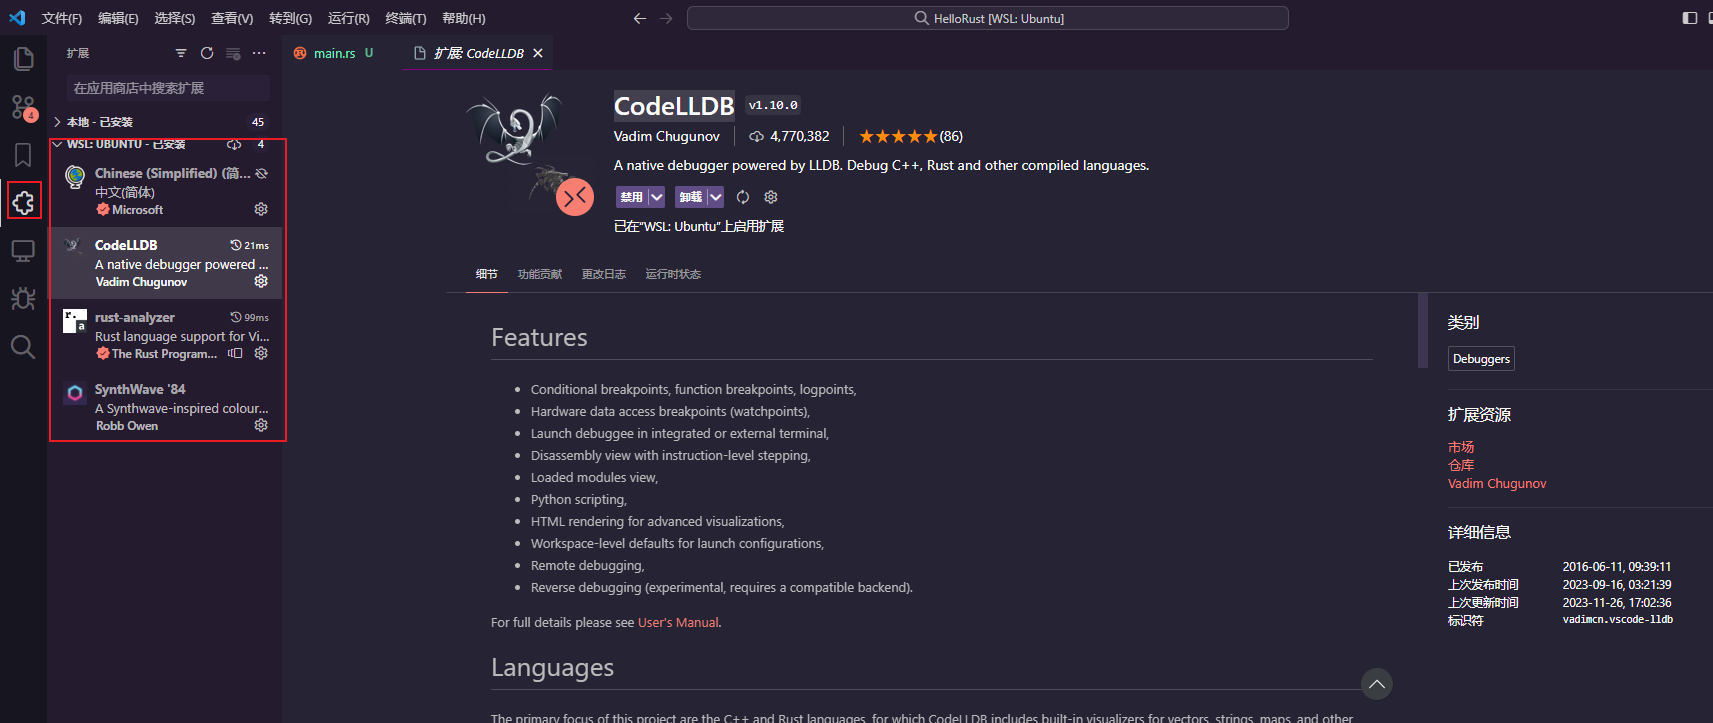
若向debug,需要安裝插件 CodeLLDB。
安裝插件后,就可以使用調試。
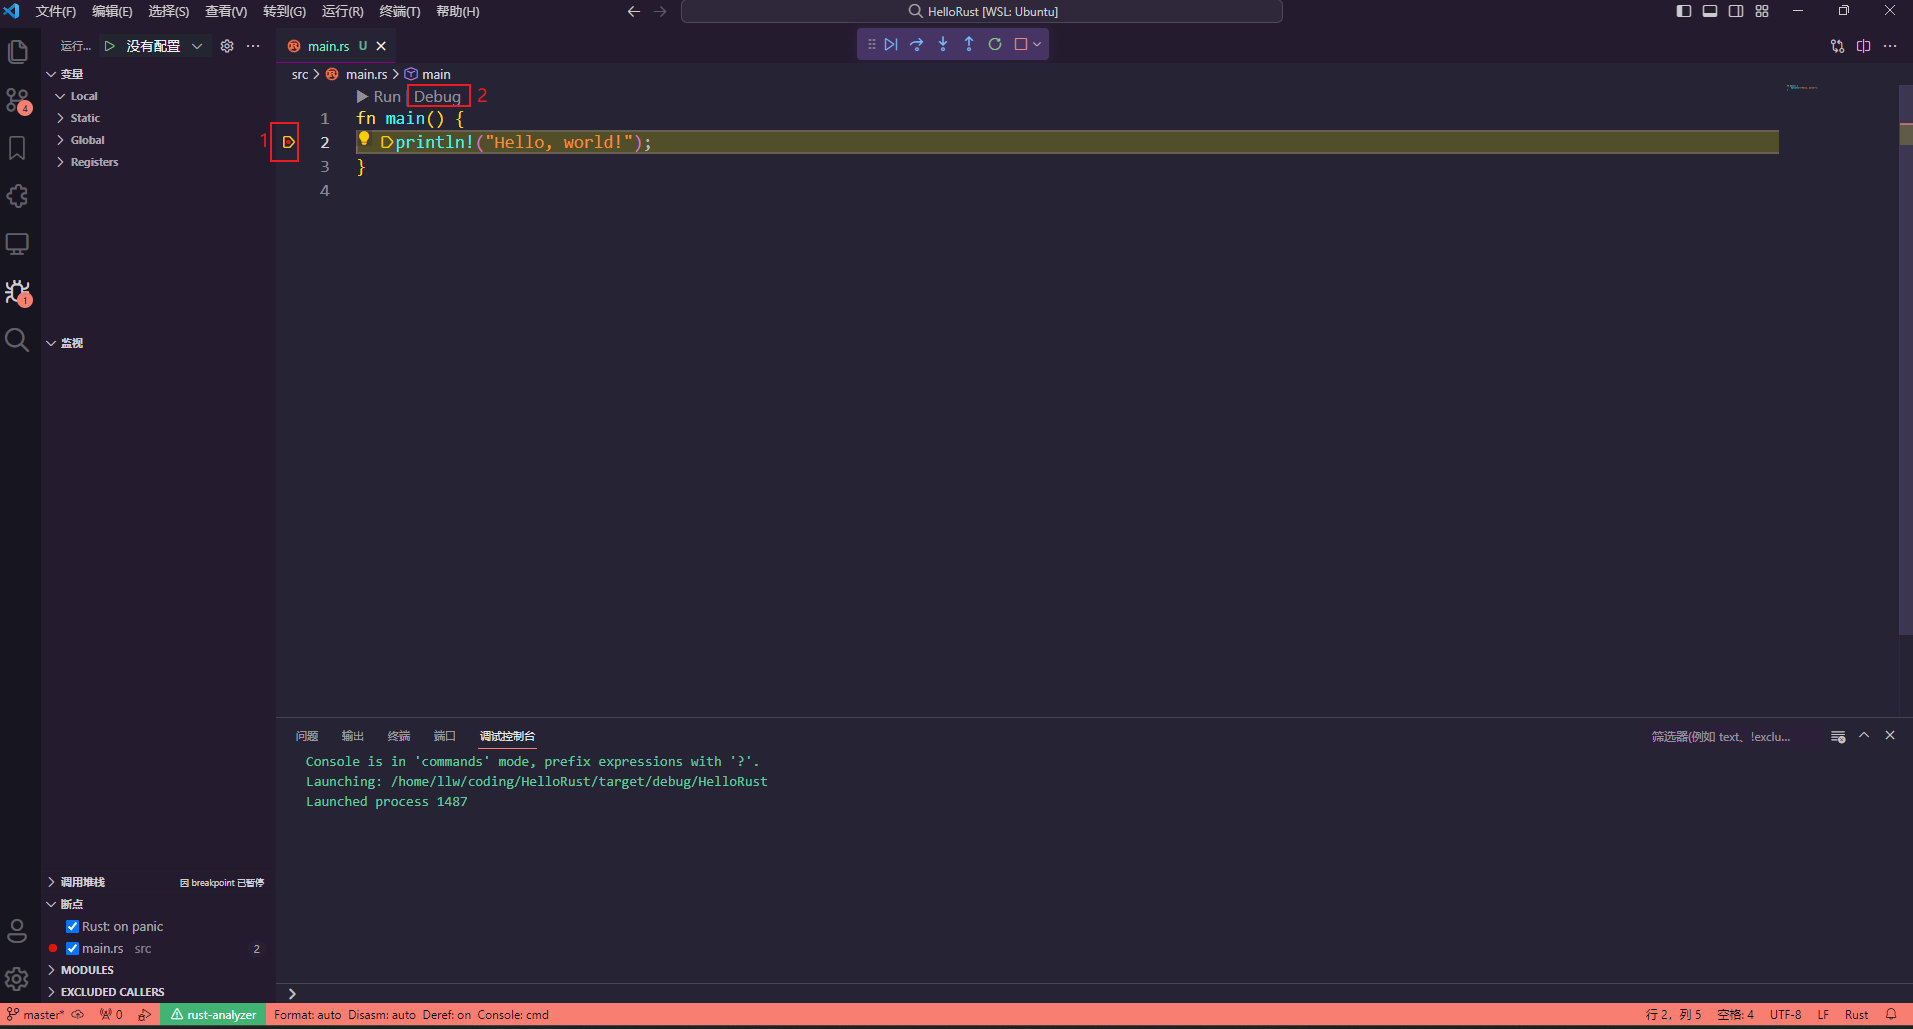
目前在WSL上安裝的插件如下圖。

 浙公網安備 33010602011771號