

1、首先要安裝node和npm或cnpm
//在容器里執(zhí)行安裝node v18.16.1:
apt update && apt install -y vim
apt install wget
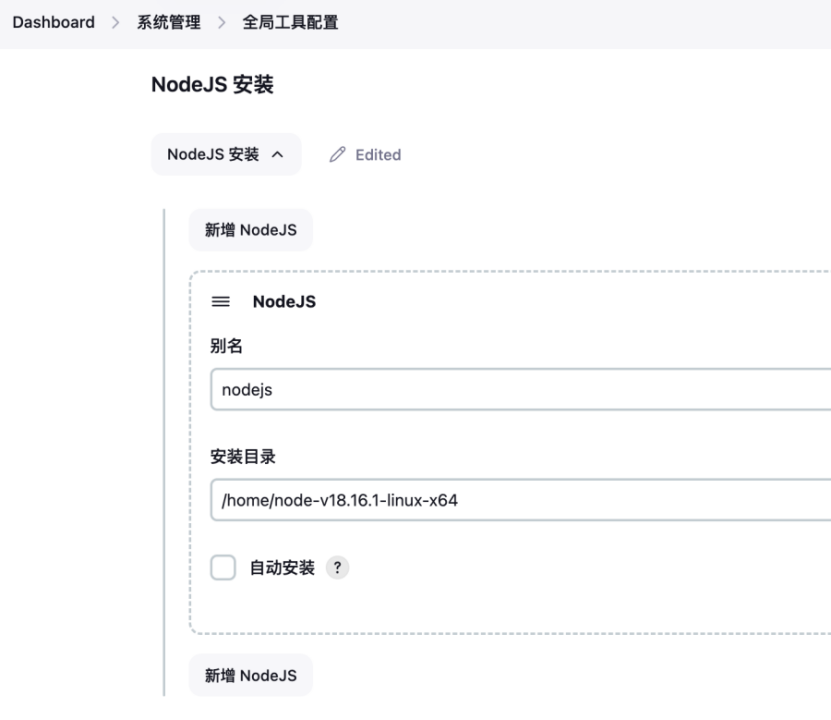
wget https://nodejs.org/dist/v18.16.1/node-v18.16.1-linux-x64.tar.gz
tar -zxvf node-v18.16.1-linux-x64.tar.gz
vim /etc/profile
export PATH=/home/node-v18.16.1-linux-x64/bin:$PATH
source /etc/profile
node -v
//在容器里執(zhí)行安裝cnpm
apt-get update
apt-get install
npm config set strict-ssl false
npm install -g cnpm --registry=https://registry.npm.taobao.org
npm config set strict-ssl true
二、
為了滿足下面的install和build,提前在容器里面的jenkins的workspace的項(xiàng)目中執(zhí)行
apt-get update
apt-get install
npm config set strict-ssl false
npm install -g cnpm --registry=https://registry.npm.taobao.org
npm config set strict-ssl true
shell腳本如下:
echo "開始構(gòu)建"
echo $USER
node -v
npm -v
cnpm install
cnpm run build
echo "完成構(gòu)建"
三、最后安裝nginx后配置conf如下:
server {
listen 80; # 監(jiān)聽80端口,對(duì)于HTTPS則為443
server_name 192.168.20.84; # 你的域名
root /var/www/zhyq; # Vue應(yīng)用構(gòu)建后的文件夾路徑
index index.html; # 默認(rèn)文檔
location / {
try_files $uri $uri/ /index.html; # 用于支持基于HTML5 History API的路由
}
# 用于處理靜態(tài)文件的過期時(shí)間,可根據(jù)需要調(diào)整
location ~* \.(?:css|js|jpg|jpeg|gif|png|ico|svg|woff2|woff|ttf|otf)$ {
expires 1M;
access_log off;
add_header Cache-Control "public";
}
# 其他可能的配置,比如日志路徑
access_log /var/log/nginx/vue-app-access.log;
error_log /var/log/nginx/vue-app-error.log;
}
四、重啟nginx
systemctl reload nginx
完成

 浙公網(wǎng)安備 33010602011771號(hào)